How to Photograph Tops & Jackets for Selling Poshmark (A Checklist!)
Taking great photos is about answering questions for potential buyers before they even have to ask. Let's take things one shot at a time. You may want to have this open the next time you take photos!
Are your pictures missing key info? Let's fix that with a quick checklist.
Taking great photos is about answering questions for potential buyers before they even have to ask. Let's take things one shot at a time. You may want to have this open the next time you take photos!
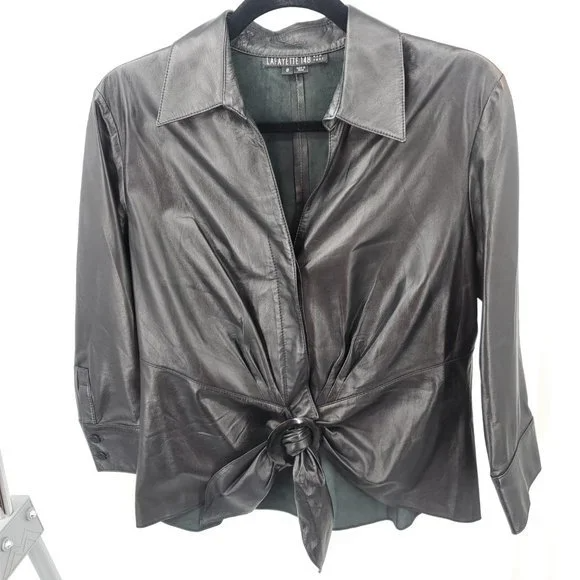
Full Length Front and Back Photos

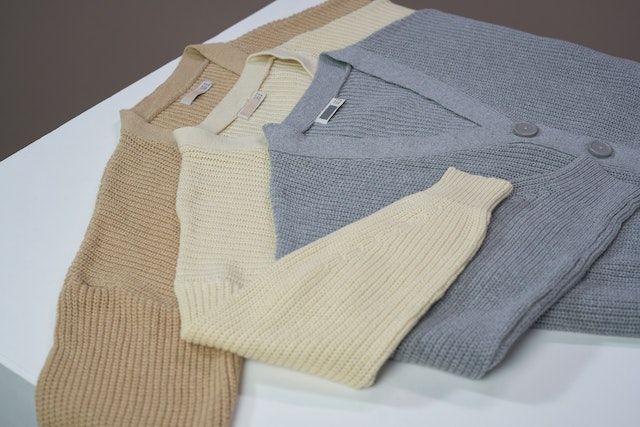
Skip these and you run the risk of looking like you're trying to hide something. Take the photo as close as you can without cutting anything off. Aim for an even wash of light that presents the color the item as accurately as possible.
Natural light is great for "first impression" photos, but you can also adjust in your phone or camera settings in "white balance" if your photos are still looking funny. The simplest way to get this right is simply to look at the item vs. your photos and choose the setting that renders the most realistic color. A good rule of thumb is to go slightly cooler at night/in indoor-only lighting, or slightly warmer if you're in harsh outdoor light.
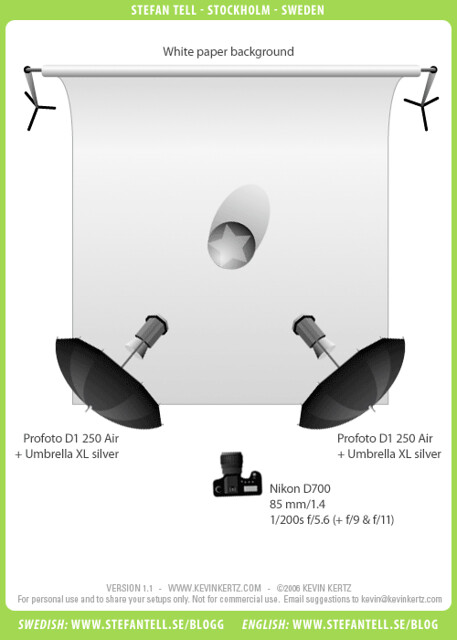
To reduce shadows, try aiming light in from the sides of your item as well as front/overhead. Soft light aimed at your background from just a few feet away on one side can further reduce shadows.
Top/Bottom Half of Front/Back
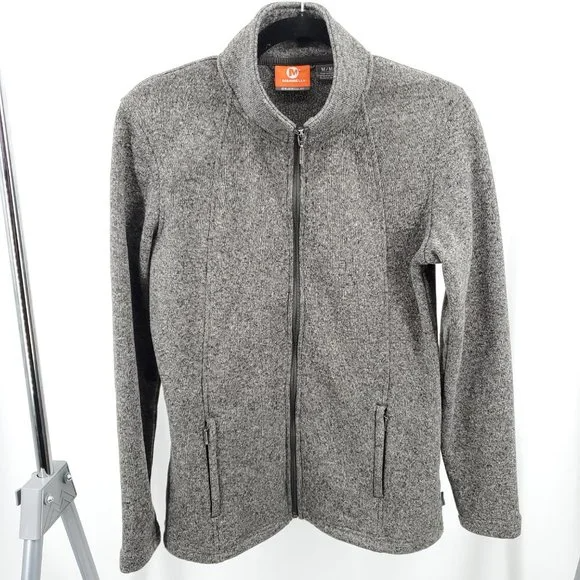
Again, this gives buyers a "big picture" view of the item to plainly show flaws or lacktherof with better detail. They'll also be able to take in finer points like seaming, neckline, closures, and overall condition.
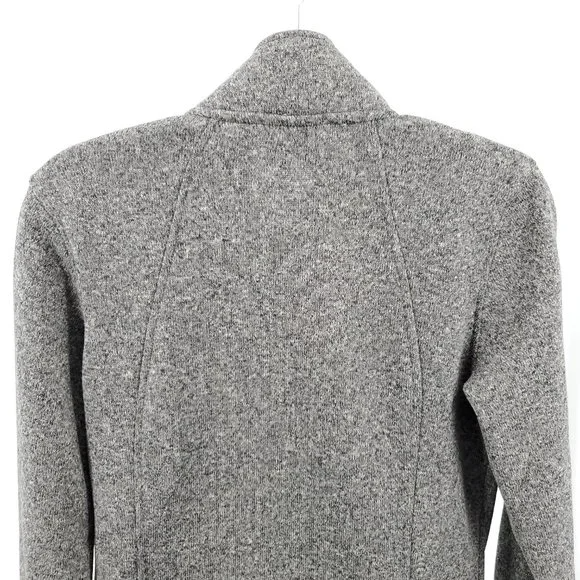
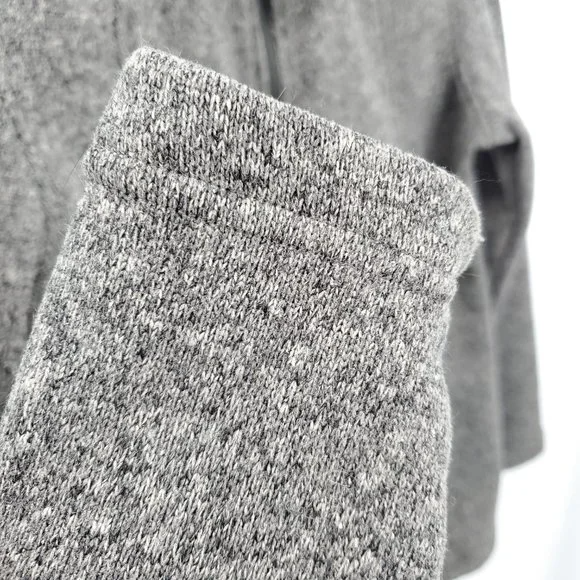
Shoulder Closeups
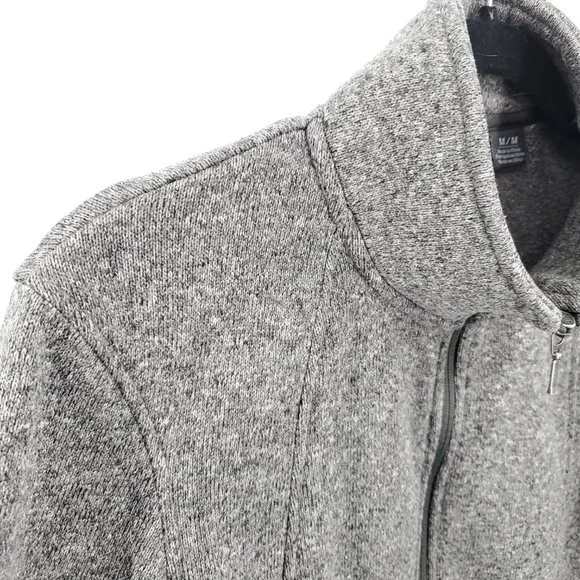
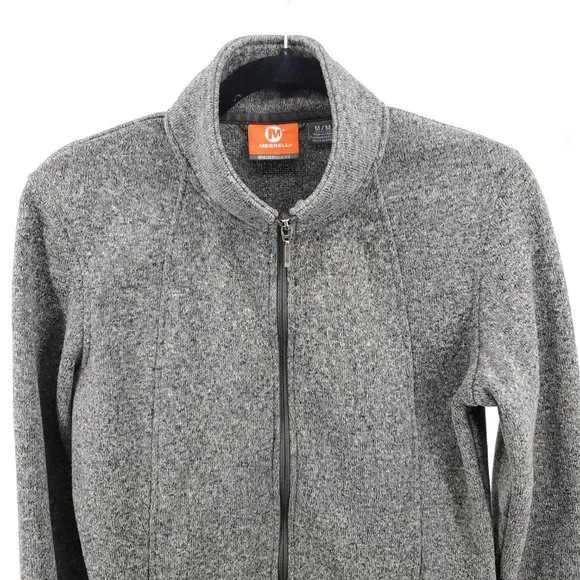
I like including closeups of shoulders to even more explicitly show shoulder seaming, neckline, and condition of armpit area. Taking the photo from an angle gives buyers a better sense of texture. Remember to describe in the listing what buyers are seeing in the photos: full zip stand-up collar and fully fashioned, reinforced seam shoulders could be descriptors with this piece. When in doubt, consult how the manufacturer describes the piece (search brand/item number info from tags, or run a google image search and read descriptions).
It's great generally to understand how to describe different necklines, sleeve lengths, and seam styles, so do some Googling and familiarize yourself! Accurately describing your item will help buyers searching for exactly what you're selling find you.
Brand Tags, Size Tags, Care Tags, Material Tags
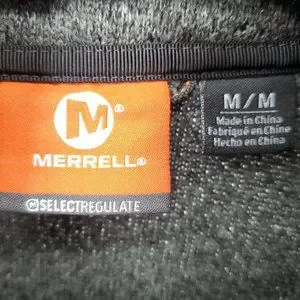
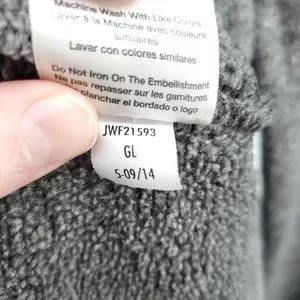

So much key info for buyers here! Make sure to capture legible photos of all of these. Buyers may also want to see style names and numbers; be sure to capture these if they're available. Athleta customers, for example, pay close attention to these--you'll want to call them out in the item description as well to help buyers searching by these numbers find your piece. J. Crew and Madewell helpfully including season and year codes; this is important to capture to get your buyer a sense of recency (and again, you'll want to call out in the listing and maybe even title if the piece is very recent).
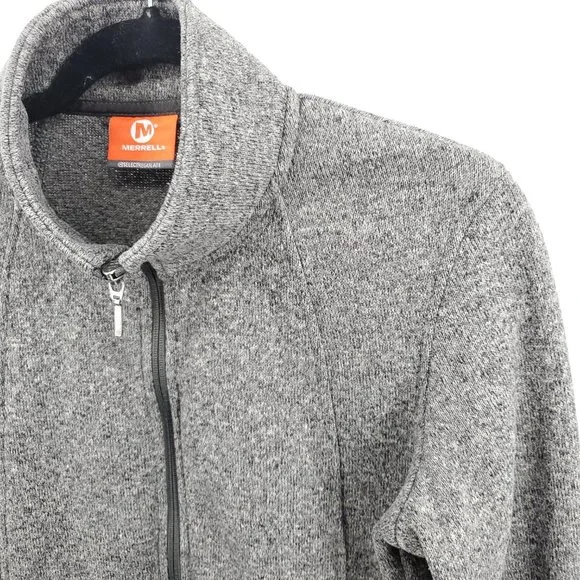
Detail Closeups: "High Risk" Areas, Flaws, Special Details, Branding
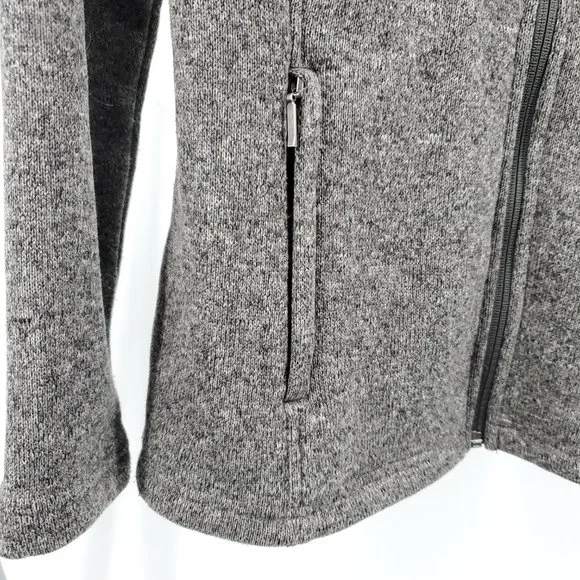
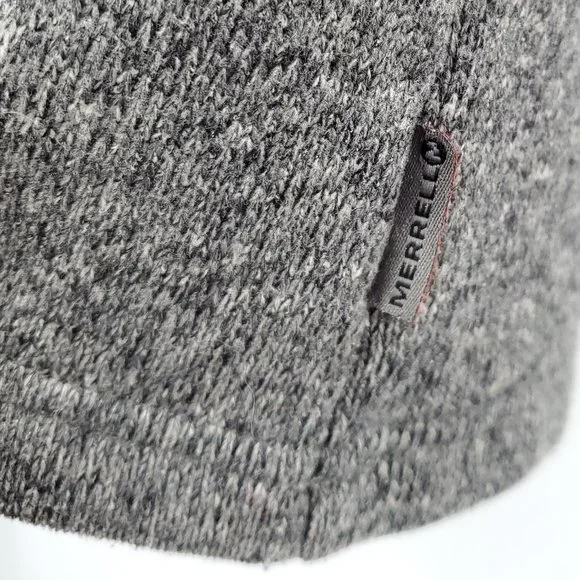
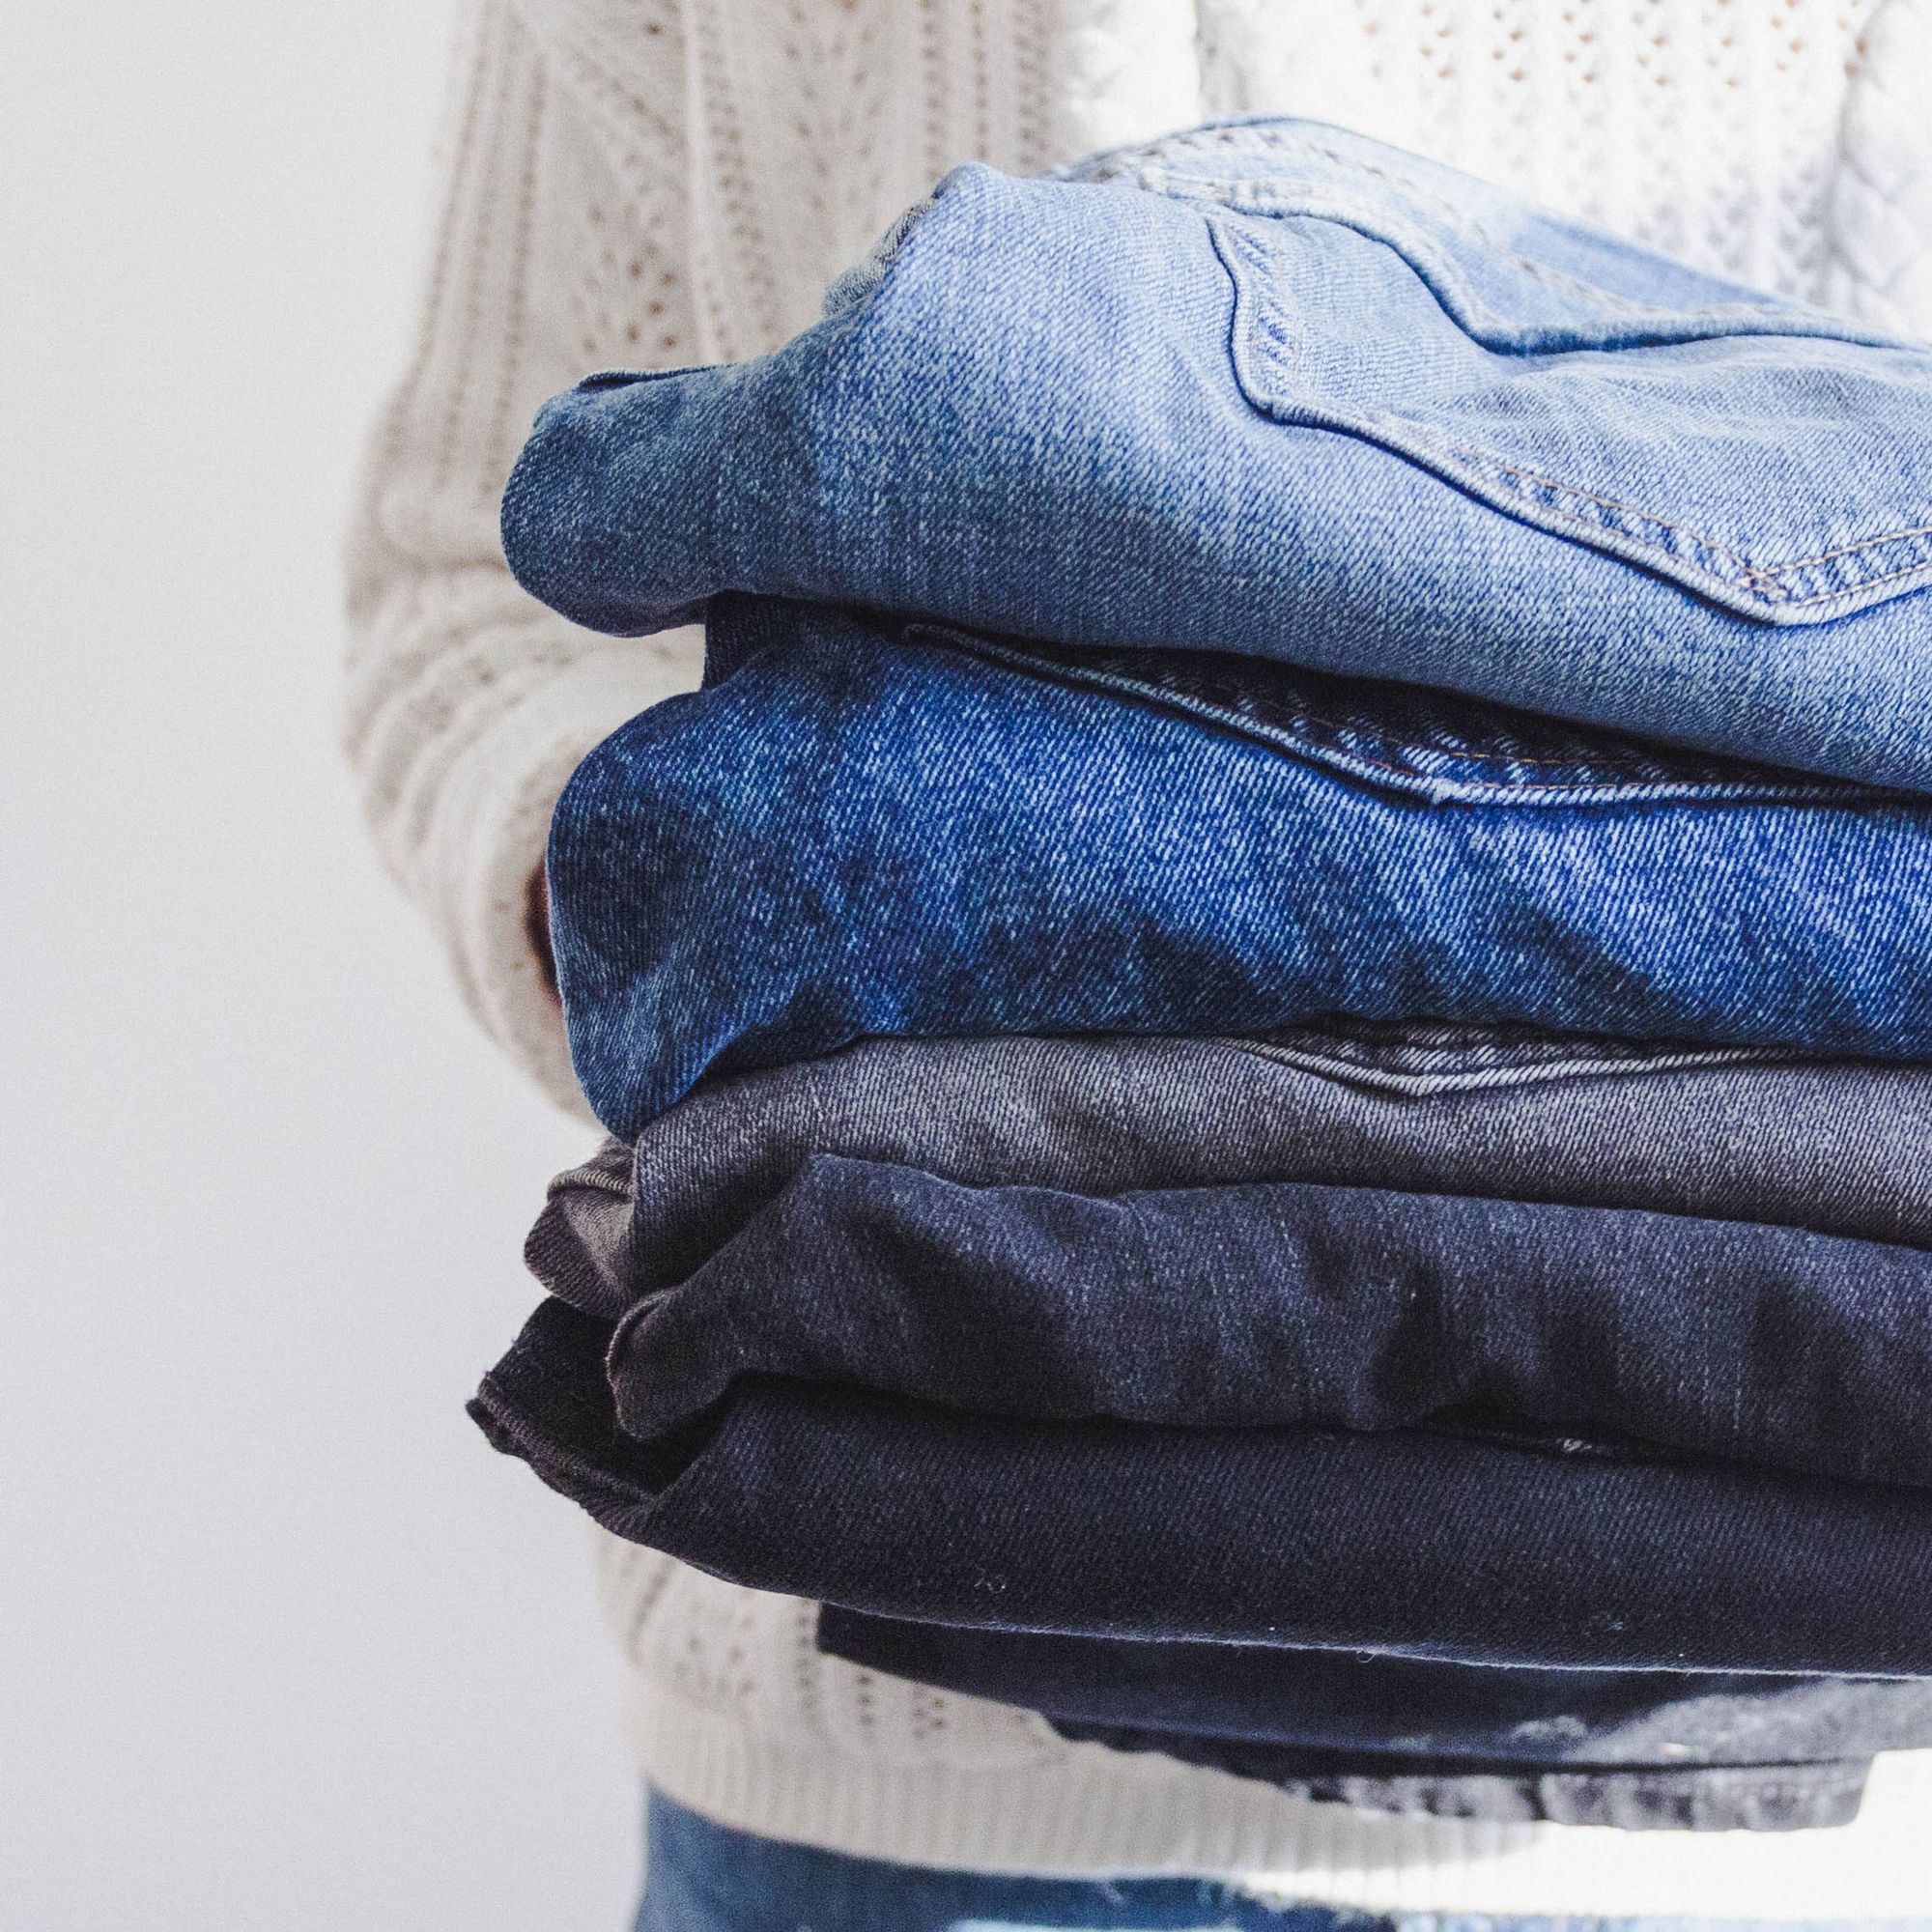
Make sure to accurately capture condition of areas of clothing that get a lost of stress: bottom hems of jeans, sleeve cuffs and shirts, armpits, crotches, etc! Be sure if you are capturing a flaw that you specifically mention it in your listing as well, referencing which photo depicts the flaw (ie. "Item has some pilling under arms and on sleeve cuffs; see last two photos for reference"). Items with big brand following, like Lululemon, Patagonia, Arc'teryx, etc. should include any photos of logos or exterior brand tags. If the item has functional or decorative details (pretty buttons, zip-up pockets, cozy lining, toggled hem) make sure to get shots of these too and mention in the listing.
Bottom Half of Item (Front and Back)
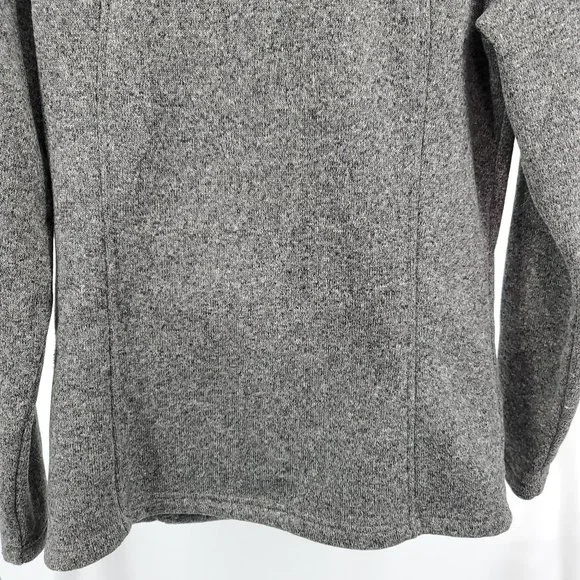
Again, this helps buyers see general condition of the item and is a great way to capture additional details if you run out of photos while listing. Lower half photos can showcase pockets, sleeve cuffs, interesting seaming, hem condition, or special details like thumbholes in the sleeves, branding, etc.
Extra Credit
Other photos you might find helpful to snap:
Measurements
These usually include: 1. photos with a tape measure from armpit to armpit (to show chest width), 2. from shoulder seam to sleeve cuff (to show sleeve length), 3. from shoulder seam to bottom hem (length), and where it makes sense, waist (narrowest part of top between chest and hem).
They're an especially good idea to include if the tag size of an item seems slightly off for how a piece fits.
Modeled/on a Mannequin/Stock Photos
This is to demo for buyers how an item looks when worn (especially useful for drapey or super body-con items). Stock photos are a bit controversial, but can be the best way to show how an item looks on a body and styled. Modeling items yourself can also be a bit controversial; some buyers argue they don't want to think about someone else wearing their garment before purchasing, while others appreciate a realistic idea of how it looks on a person. Mannequins may not be suitable for the full range of sizes you might be selling (if you're expanding beyond your personal closet), though some dress forms are adjustable.
I personally prefer using stock images for presentation and laziness purposes, but be warned: Poshmark may delete your listing if a brand complains, and do so without warning.
Styling/Flat Lays
Some sellers like to show items with matching bottoms, shoes, and/or accessories to showcase a full "look." This can be a fun and creative way to show off complementary items in similar sizes in your close, but can also be time consuming.
Any photos on your personal shot list missing here? Share below!
Love and magic,
Cathy @ClosetWitch
Read More: