Your Poshmark Shipping Checklist: Is Your Sold Item Fit to Send?

There's an odd anxiety that comes with the excitement of selling an item. They bought it! But will they like it? Will they find something wrong with it? Did I miss a stain, or god forbid, a hole? What should I ship the item in, and how do I pack it? And when the heck does the post office close again?
Having a routine for prepping your items will better your batting average for happy customers, and ease your mind. The result will be less stress, faster ship times, and 5 star ratings. Let's go!
1. Inspect Under Excellent Light
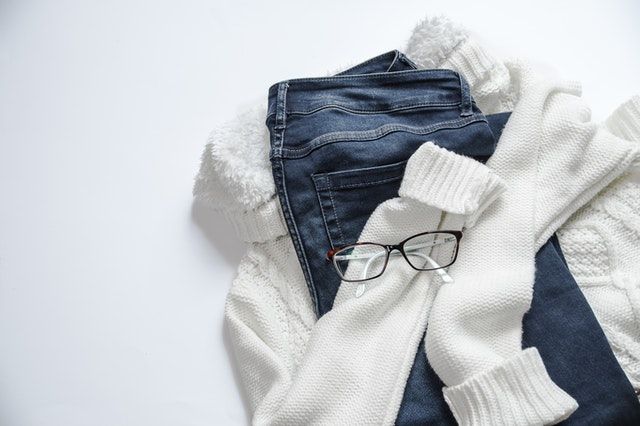
Ideally you will have done this long before a sale so you don't have to awkwardly renegotiate price or even cancel an order (been there--it's not the end of the world! But it's also not ideal). What to look for?
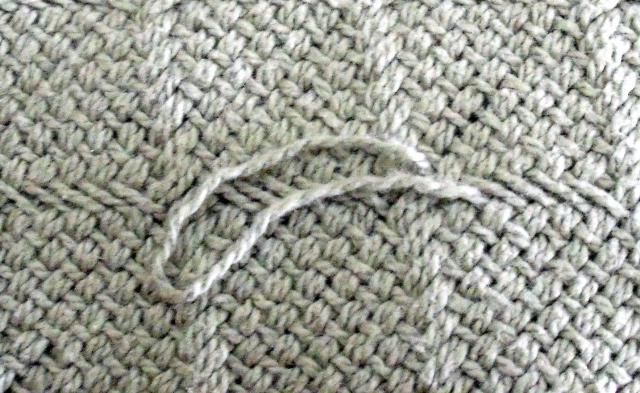
-Hold the item up to the light to check for holes
-Inspect under bright light looking for stains. Hot spots include fronts of garments, around sleeve cuffs, and pant hems.
-Check seams
-Inspect at an angle and run your hand over the garment to check for texture: wash wear, pilling, or sneaky repairs
-Check for bounce back: bad elastic will make a gross cracky sound and won't snap back when stretched; shrunken wool will have zero give and also look very off from its tag size.
Again, you will ideally have noticed these things in the store before purchase, but it doesn't hurt to give a last insurance check.
2. Do a Sniff Check

Since I have pets, I like to give my items a ceremonial mist of freshening spray even though they're steamed and stored in sealed ziplock bags. Some buyers can be very sensitive to scents, while others don't think something's clean without the vague aroma of Gain, so I split the difference with a combination of Febreeze and unscented odor remover combined in a spray bottle.
But even before you store items and long before selling them, I recommend doing a sniff test. Especially if you're a steamer vs. a washer for items that visually appear clean and are made of delicate fabrics, a smell check is key. If an item smells vaguely musty or has underarm odor (yes, you need to specifically check for this!), or it just seems unwashed, I take my chances on had washing or at-home dry cleaning.
3. Lint Roll

Friends, there's just no excuse to let clothing leave your house with lint on it. Whether you have pets or not, the simple likelihood that you have other sweaters in your inventory bouncing around with your sold item makes lint rolling a necessity. Don't be that seller that lovingly packs items in tissue paper and includes free give aways, but leaves conspicuous dog hair all over them. Your buyer will notice.
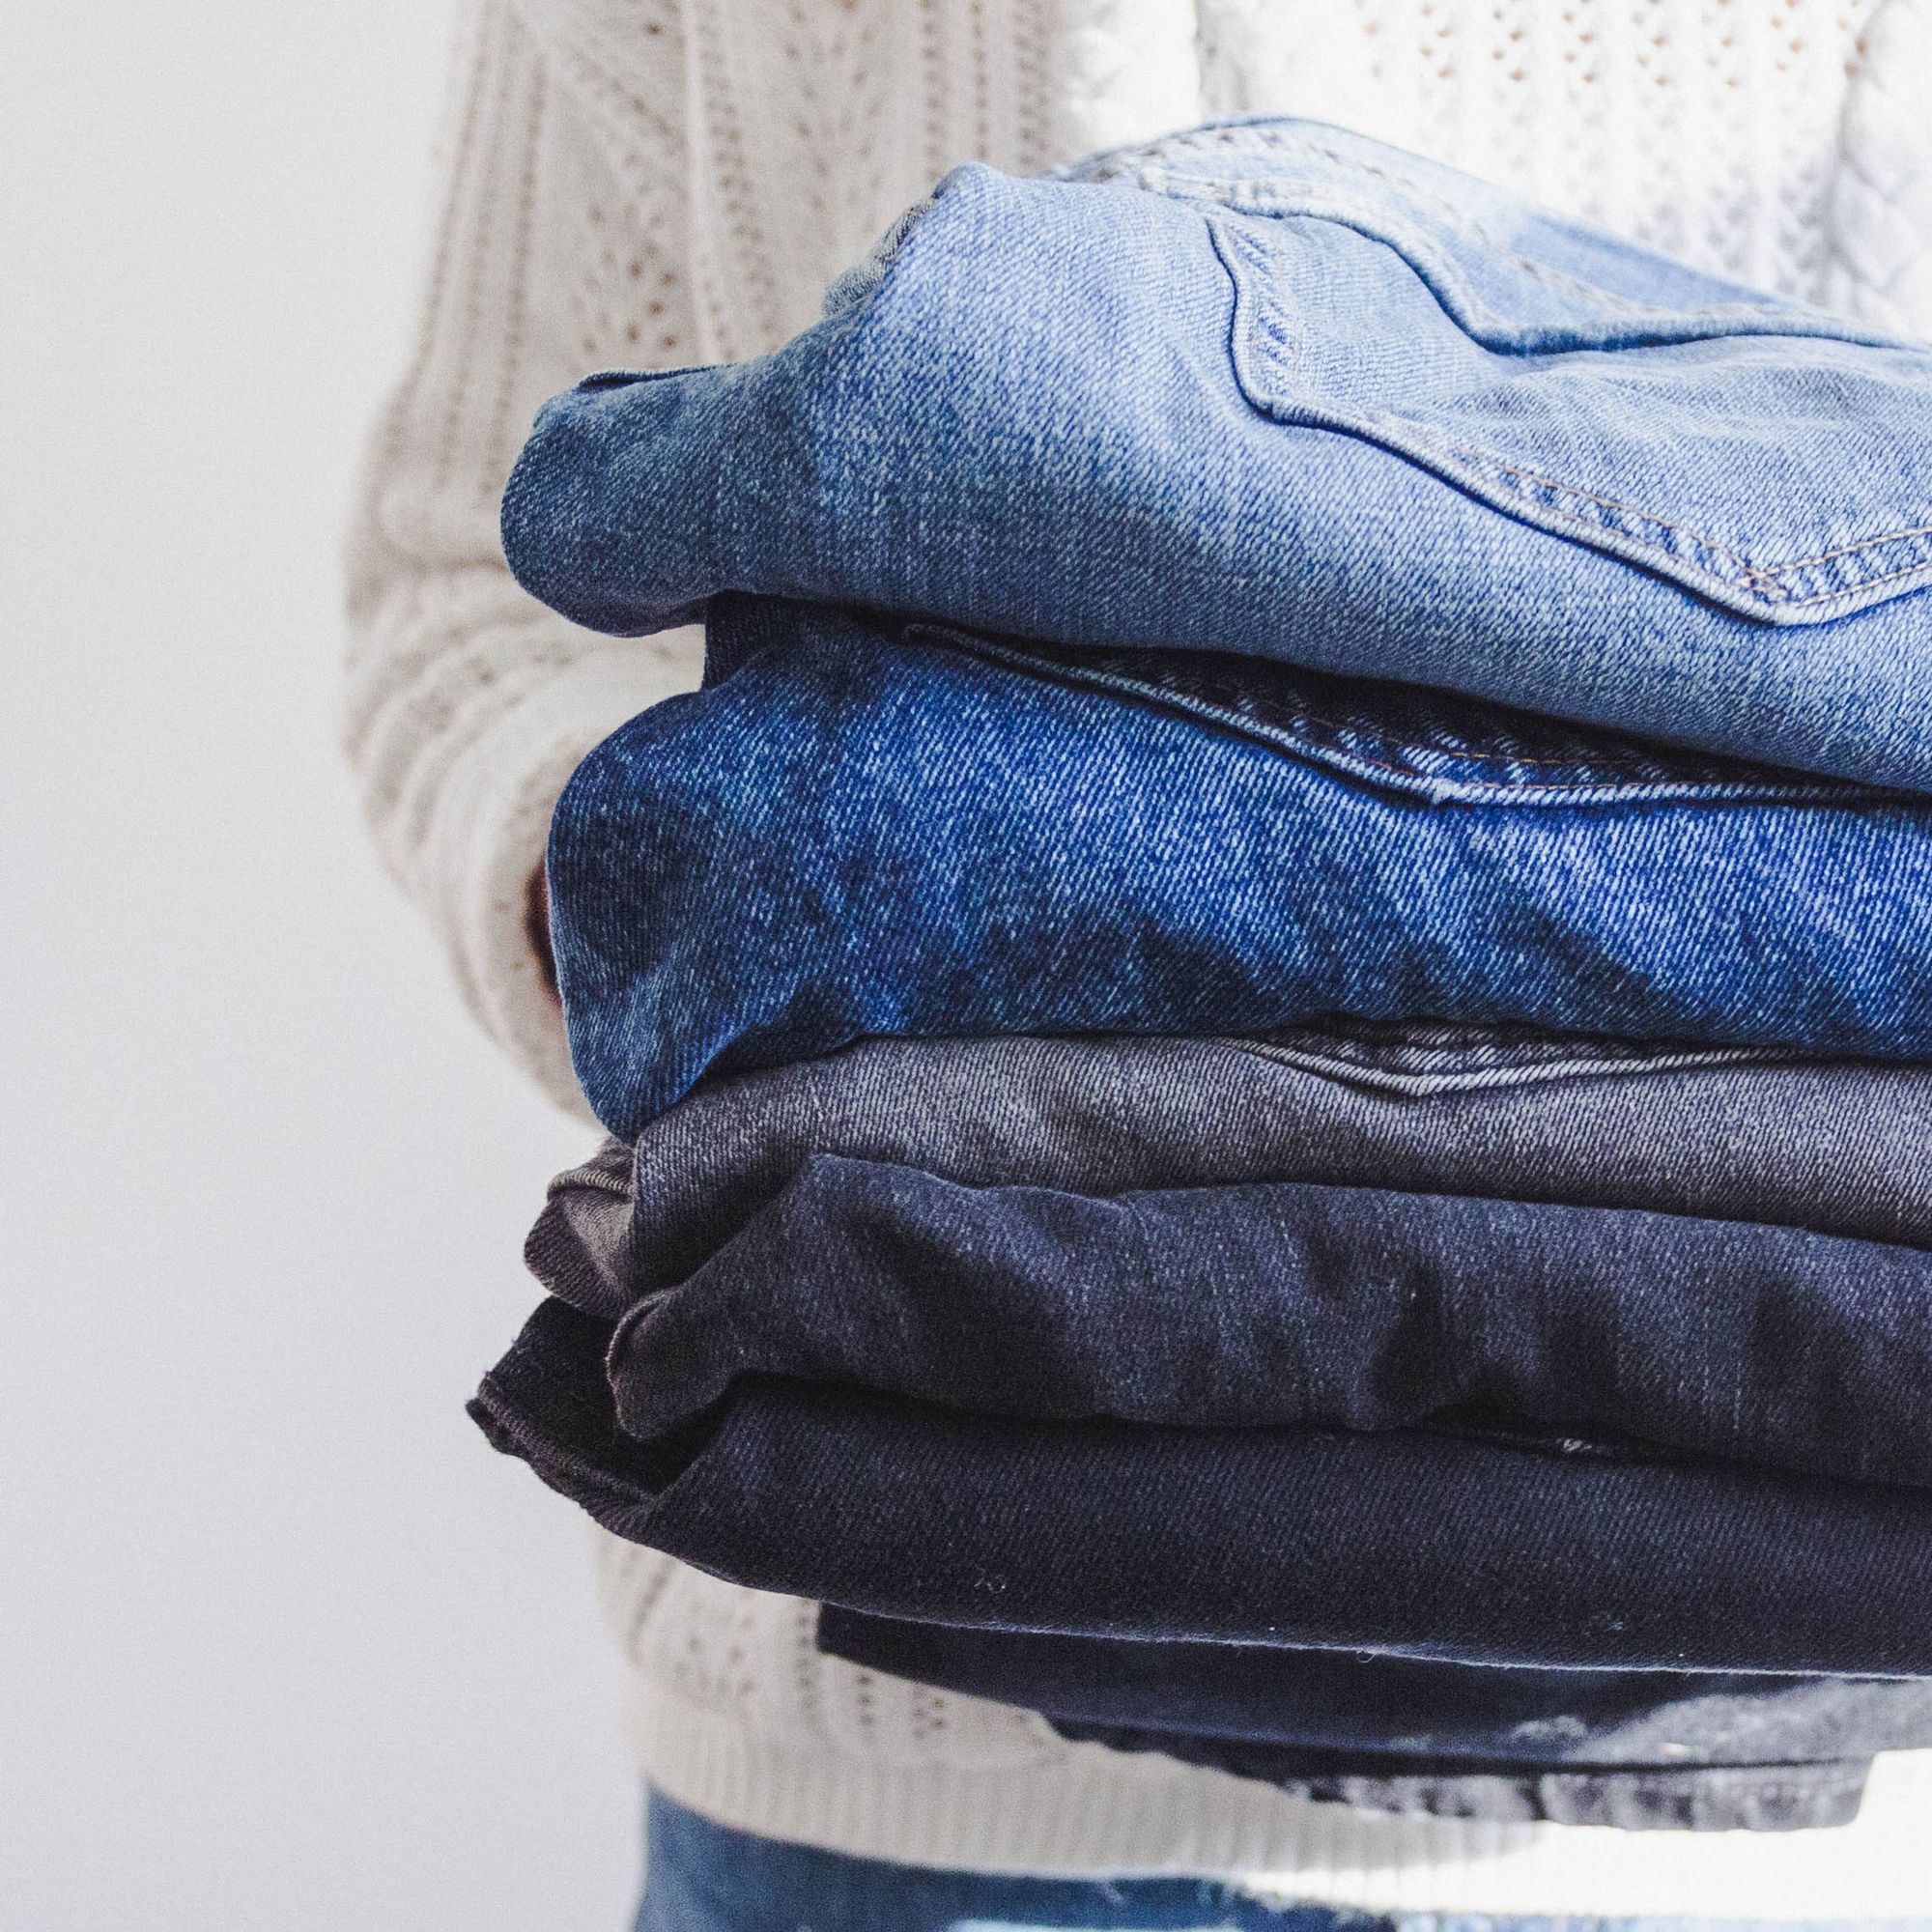
4. Fold Neatly
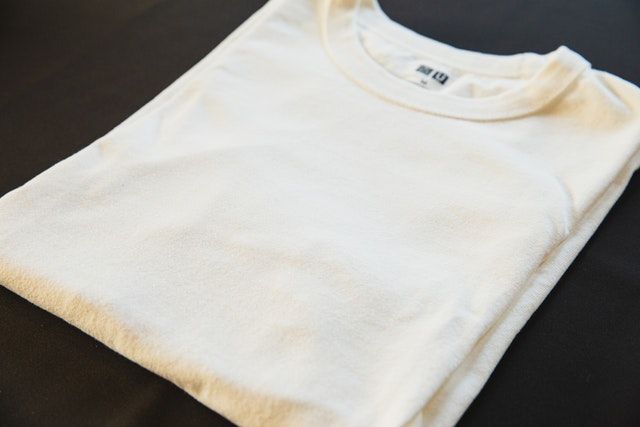
Folding boards are great, though I find I skip them most of the time for a quick tri-fold by hand that looks just as good. Take a moment to Google how stores fold their clothes for a great first impression for buyers.
For tops, that generally means folding the sleeves in, then folding left and right sides inward to meet in the middle, followed by folding in thirds (or in half and half again) to finish
Clean up your edges, pop the item face down on your packing surface, and you're ready to wrap.
5. Paper or Plastic?

Frankly, I just don't see a good reason to package your item in plastic unless it's extremely high end and fragile. My go-to is to wrap items in tissue paper and pop into a Tyvek (waterproof) envelope, or into a priority box and stuff with kraft paper or re-used bubble wrap. Maybe I've just had good luck, but in after almost 800 listings sold, I have yet to get a damage complaint. Simply wrap your items neatly and securely and make sure they're not bouncing around in their boxes, and you should be good to go.
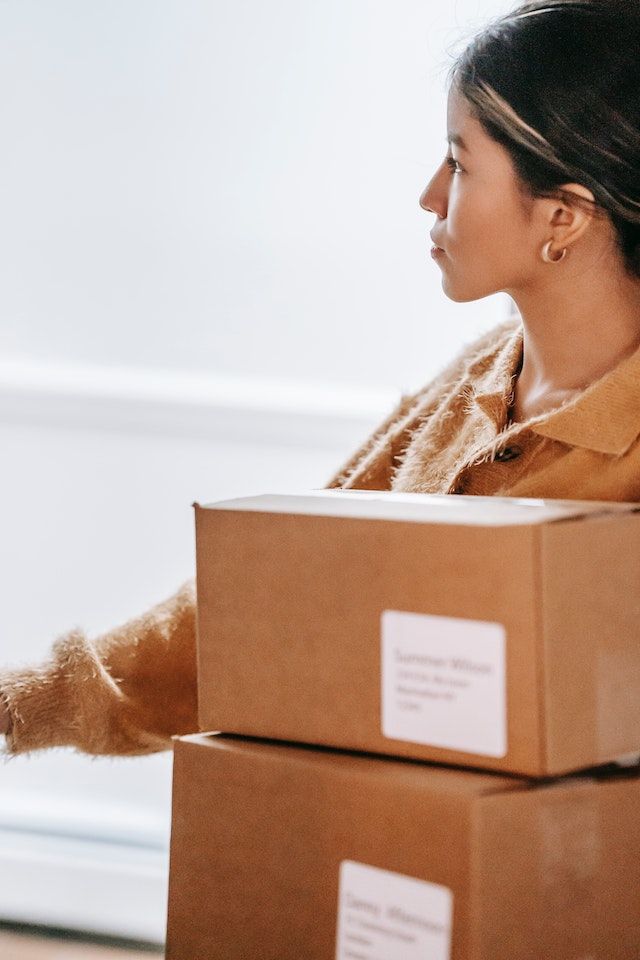
6. Label It

If you're a serious seller or planning to be one, getting a label printer will set you back a few bucks, but earn that back for you in time and headaches fairly quickly. If you go this route, it can be helpful to write the item name on the back of the label to ensure quick and easy package application, and reduce mix-ups. (Though, this has also happened to me, and it's not the end of the world--Poshmark will send your buyers shipping labels to mail to each other. Stressful, but okay in the end!).
If you're printing on computer paper, line up your labels in a stack and carefully cut at once to save a few precious minutes.
And pro tip: don't put packing tape directly over the bar codes on your labels when you attach them to the packages. Postal workers apparently hate this because the reflectiveness of the surface can make it difficult to scan. Who knew!
7. Post Office Planning
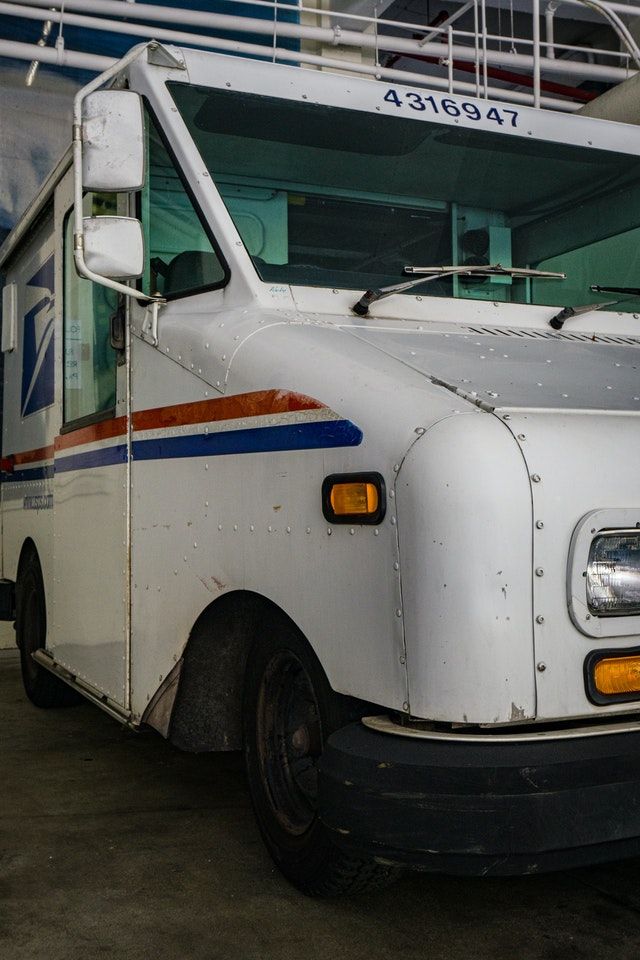
If you're assembling your orders in the evening, you can arrange for USPS service right to your door for the next day! You can request this right on the USPS website. And while you're at it, order shipping supplies too. They're free, and it's such a gift to get a bunch magically arriving at your door the day you run out of boxes and have 12 orders to send out. Truly the best feeling.
If you're dropping same day, make sure to plan ahead. I set a timer and budget about 15 minutes of packing time per item, and make sure that I leave 15 minutes before the post office closes, though it's a 5 minute trip away. Planning at least 15-30 minutes of a grace period will come in very handy on the occasion you have to do some last minute depilling or ironing.
8. To Drop or Not to Drop?
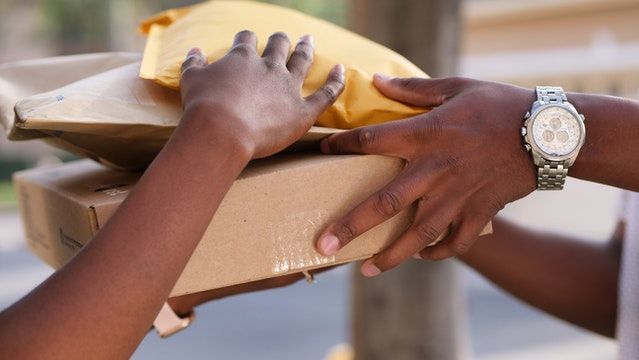
Though it's generally fine to leave packages with postal workers from a safety stand point, it doesn't guarantee a time when your packages will be scanned by, which can be stressful for both you and the buyer. I tend to drop items pre-paid items at the counter and leave if there's a long line for service, unless I'm shipping something expensive or that's running late. In those cases, I approach a window and wait while they scan. (The unspoken code for asking for this is saying "yes" when they ask if you want a receipt--if you say no, they assume you'll just leave and they can scan later). Waiting can take longer, but it means immediate tracking for your buyer, and peace of mind for you that your items are on their way and safely out of your hands.
After Shipping
You're done, yay! But there are a few last things you should be prepped for as you you wait for that sweet, sweet "buyer has accepted" notification.
9. The Waiting Game

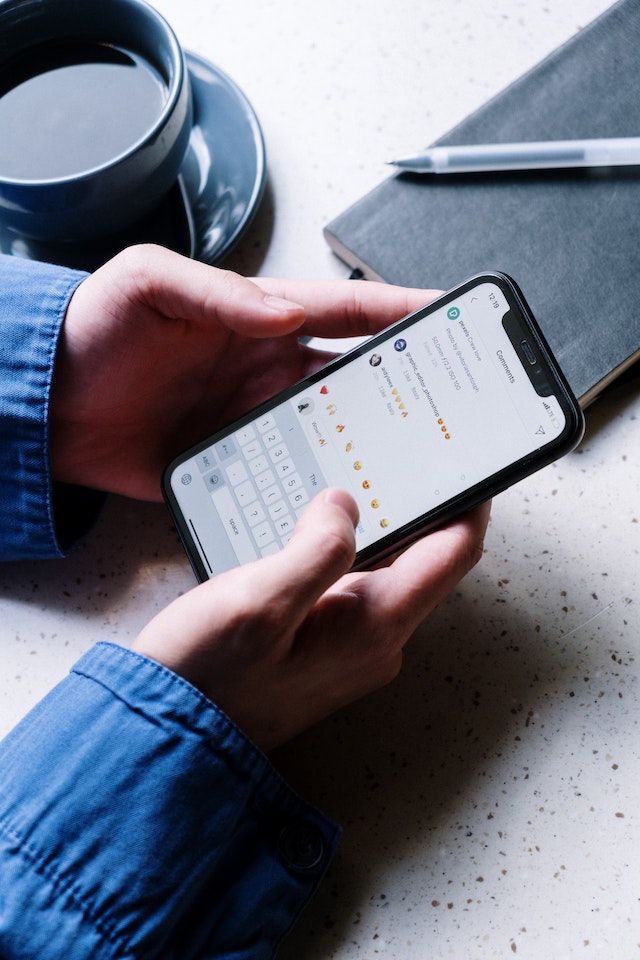
Buyers have up to three days to accept their item and rate it. Do NOT harass them. If they don't accept by hand within this time period, Poshmark will go ahead and process their payment to you regardless, and they won't be able to file a claim if they're unhappy with their order.
Know that you'll get paid either way unless they're a problem at this three day mark and resist the urge to "just check and make sure everything's okay" with your buyer. We know what you're up to and so do they!
10. Dealing with Claims
Generally, your buyer will be thrilled with their item if you were honest and forthcoming about condition in the listing, wrapped and prepped the item with care, and shipped quickly. But occasionally, you'll still get complaints. Here's what's NOT your problem, and you don't need to respond to, as well as a few things that are your problem:
-Item didn't fit your customer (unless they're claiming that the size was misrepresented; this is why it's a great idea to measure your item and get familiar with average flat lay measurements for different sizes).
-Customer doesn't like item
-Customer didn't get item quickly enough due to USPS delays
-Customer changed mind (THOUGH: be aware, they have up to three hours to cancel an order and get a refund, no questions asked, so allot at least this much time before rushing to the post office and then getting into a pickle).
Now, what you are responsible for responding to:
-Customer claims item was not as described: calmly and politely respond if cited flaws were indeed disclosed and/or photographed in your listing. If you're in the wrong because you missed a flaw, it's okay, it happens! Apologize and agree to a refund. Poshmark will handle logistics for you, and you'll have a relieved customer on your hands.
-Customer claims sizing is off/misrepresented: again, this is where measurements come in handy with a listing--you can cite these, though you'll have a stronger case if you also noted explicitly in your listing that an item runs large or small, etc, in addition to including the numbers.
-Customer claims they were sent the wrong item: this can totally happen! Again, Posh can help you handle if items were accidentally swapped, so don't panic, respond honestly and professionally about what happened, and let Posh help.
Above all else, handling claims well comes down to staying relaxed. Remember: this is one item of many. A return is fine. A less than happy customer is fine. Just learn from the mistake, handle it, and keep things moving. If you're the stellar Posher we know you are, you'll be on to the next order in no time.
...and then it's time to get nervous about shipping all over again.
Have any shipping hacks not included on this list, or advice for handling claims? Share below!
Love and magic,
Cathy @ClosetWitch
Read More: