Tips for Selling Shoes on Poshmark, Part 2: Cleaning & Prep
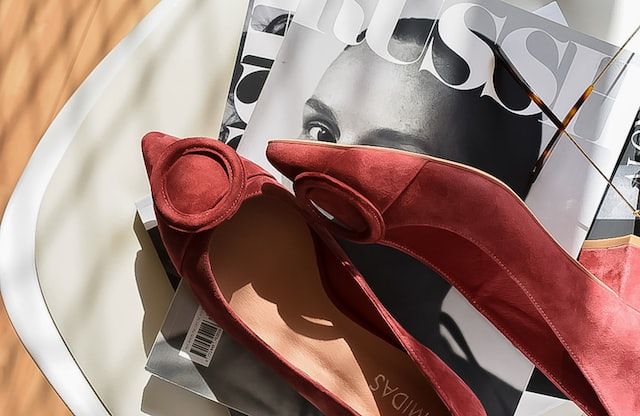
If you're planning to sell shoes on Poshmark, it's important to make sure they are in good condition and presented well. Hopefully you used our tips in Part 1 to weed out shoes with major condition or wear issues, and are ready to do a little simple spiffing up on a solid pair. Here are some steps to follow when preparing shoes to sell:
Cleaning the Uppers
Shoe uppers refer to the part of the shoe that covers the foot, including the toe box, vamp, and quarter. This can be made from a variety of materials, including leather, fabric, or synthetic materials.
So, step one: identify the material you’re working with and proceed accordingly.
Fabric Uppers
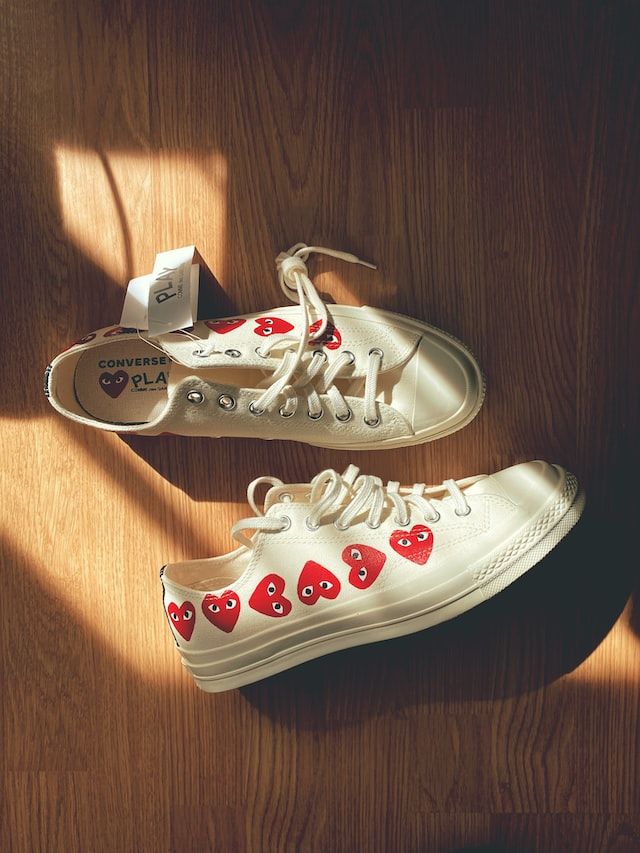
To start, use a soft-bristled brush or cloth to gently remove any dirt, dust, or debris from the surface of the shoes. Be sure to get into all the nooks and crannies, including the areas around the laces and the soles of the shoes. A soft toothbrush can help with stained or dirty areas, especially textured ones.
For hardy fabric shoes (ie. canvas sneakers) a little dish soap and water can be used to remove any stains or scuffs (that toothbrush can be handy again here, or a saturated rag or microfiber cloth). Be sure to test a small, inconspicuous area first to make sure that it does not damage the shoe. I’d proceed with much more caution for satiny-type material, probably starting with just a damp cloth.
White canvas shoes? Try adding a little baking powder for some whitening as you scrub.
To finish: wipe away soapy residue with a damp cloth, then speed up the drying process and help your shoes keep their shape by stuffing them with newspaper. This will help to absorb any moisture and prevent collapsing or wrinkling.
Finished Leather Uppers
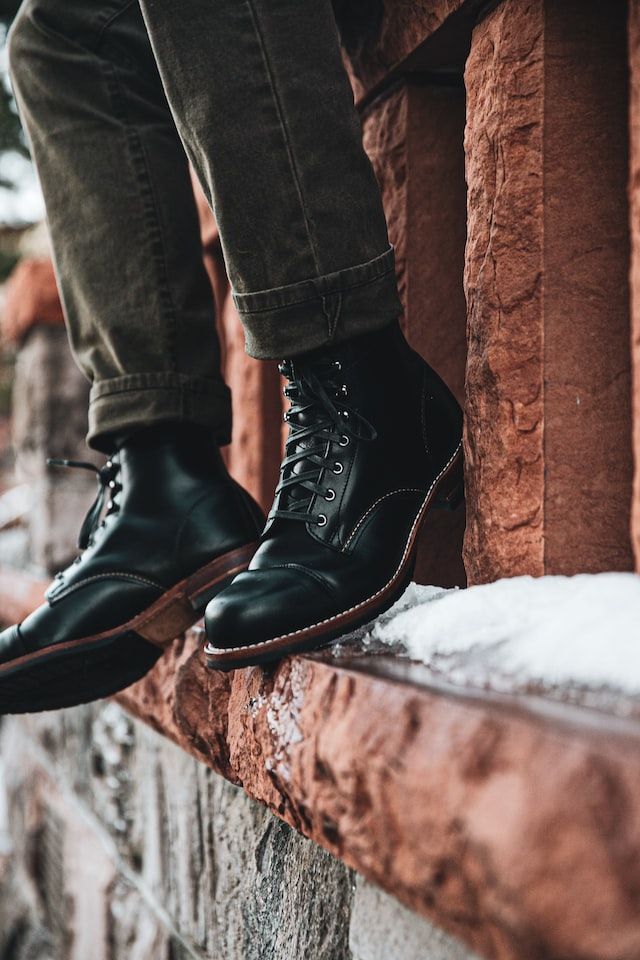
If you have a pair of leather shoes that need cleaning, you’ll need a few specific products and a careful hand. Start again by using a soft cloth, dry cloth or brush to wipe away any dirt or dust that has accumulated on the surface of the shoes. If they look pretty clean, you can also just go in with a leather wipe to get a jump on conditioning and shining.
Seeing discoloration? Try using a leather cleaner or mild soap and water on finished leather ONLY (never get suede or nubuck wet). Apply either with gentle circular motions, and be careful not to saturate the leather with moisture, as this can cause damage.
If you’re using a soapy product, remove the residue with a clean, damp cloth. Again, be careful not to use too much water, and air dry with newspaper in the shoe to help the shoe keep its shape. Definitely avoid using a heat source to speed up the drying process, as this can cause the leather to crack, shrink, or wrinkle.
Unfinished Leather Uppers (Nubuck or Suede):
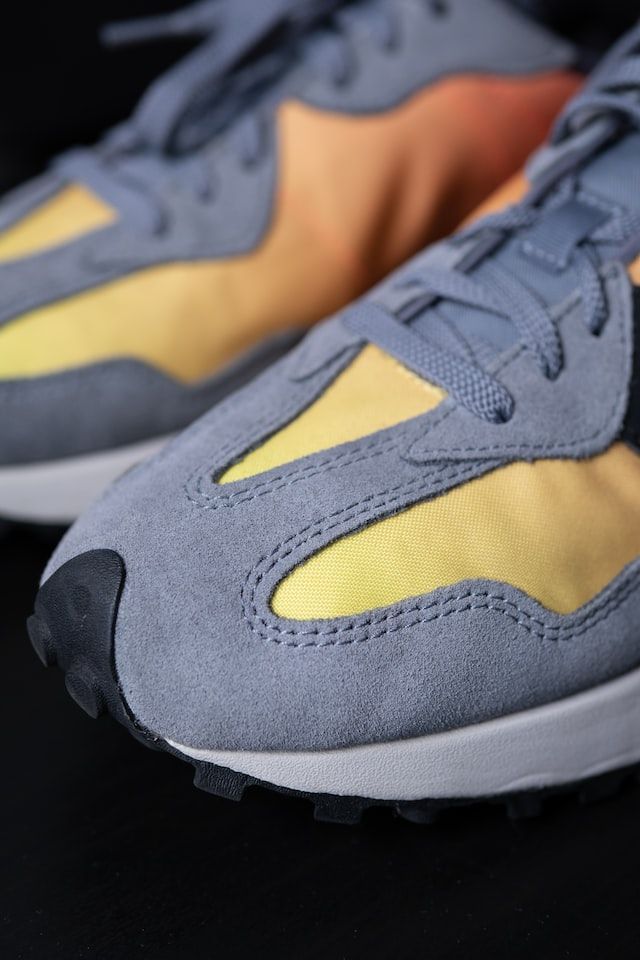
Nubuck leather is a type of unfinished leather with a soft, velvety surface, whereas suede has more of a napped finish. You'll need a few specific tools and techniques to work with either safely. Start by using a soft-bristled brush and/or nubuck/suede eraser to gently remove any dirt or debris from the surface of the shoes. Be sure to brush in one direction, as this will help to maintain the texture of the leather. Use the eraser on any little marks you see as you work.
If the shoes have embedded stains or scuffs, you can use a nubuck-specific cleaner to remove them. Again, do NOT use water, or water based products, unless they’re specifically formulated for suede or nubuck. Apply the cleaner to a soft cloth and rub it onto the leather in circular motions. Be sure to follow the instructions on the cleaner, and test it on a small, inconspicuous area first to make sure it doesn't do any damage.
After cleaning, use a nubuck or suede conditioner to moisturize and protect the leather, again, starting with a small, hidden area to check for adverse reactions.
I also find that suede conditioning spray does a nice job of deepening any colors, so I always include this step with dyed suede.
Conditioning and Polishing Finished Leather Uppers
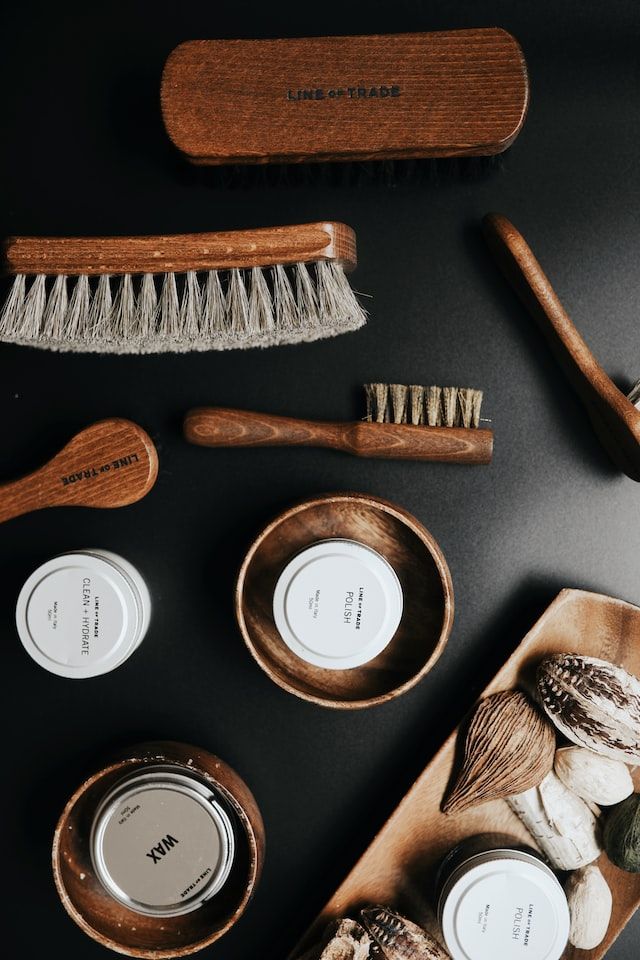
Now, the fun part! Conditioning and polishing leather shoes is an important step in both maintaining them and presenting them in the most attractive light. Who doesn’t love the look of shiny, supply leather?
But first: what are the remaining issues from your initial cleaning round? If you’re seeing any discolored or light spots, go in with polish in a corresponding color with a very light hand.
Color looking good? Skip to a little conditioning balm to shine things up, seal in moisture, and reduce the look of minor scuffs and scratches.
To polish: for black or brown shoes with minor discoloration or scuffs, apply a small amount of shoe polish in a corresponding color to a clean cloth and rub it onto the shoe in small circular motions. If you’re really going in on the whole shoe, you might want to remove laces too (though take a picture first, so you remember how to relace them!).
For polish, are lots of options out there: solid tins of polish with brushes, jars of cream, sponge-on liquids, even sprays. Use what you have on hand—I haven’t noticed a big difference in final presentation. While working though, you may find it’s easier to control solid formulas that liquid (or even compared with a cloth than with a brush). I’d definitely recommend this method for shoes with color blocking, or say, white laces you’re not removing.
For an extra shiny finish, use a polishing cloth to buff the shoes vigorously in a back-and-forth motion. This will create heat and friction, which will help to work the polish into the leather and create a high shine.
Have an odd or blended color, or don’t need tinted polish? Try a finishing balm like Dr. Martens. I also like this over colored polish to seal everything in and reduce color transfer. This balm comes with a little applicator sponge and I like to get some on the sponge, press it on gentle all over the shoe, then work in with circular motions. Make sure to get the tongue of the shoe too, since it gets a lot of wear.
Cleaning the Soles of Shoes
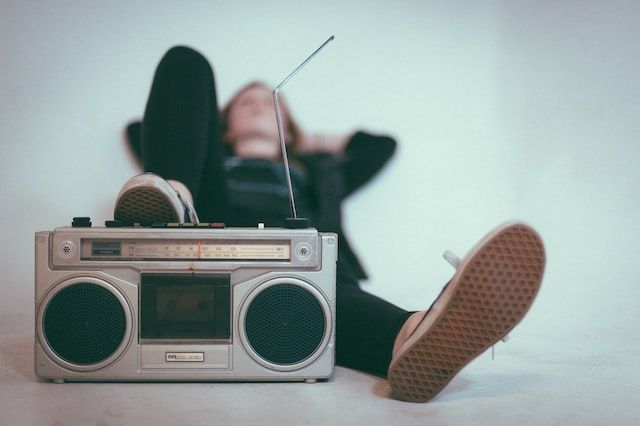
If you’re doing your job right, you’ll also be photographing the bottoms of shoes for potential buyers. Make sure to show them at their best! To clean the soles of shoes, knock shoes together over a protected surface to get any visible mud off. Then use a soft-bristled brush or cloth to remove any dirt or debris (you saw that coming, didn’t you?). Basically, you can get get as much crud off as possible before adding water, since dirt+water=muddy mess. If the soles are lightly dirty, you can ignore them (I mean, they’re shoes), or give them a swipe with a clorox wipe or damp cloth. I like to spray down a damp rag (ie. cut of old towel) with a vinegar-dishsoap mixture to take a quick pass.
If they soles are particularly dirty, and you’re okay risking getting other parts of the shoe wet, you can use a toothbrush or scrub brush and some dish-soapy-water to gently scrub away any stubborn grime. For tougher stains, try a mixture of baking soda and water and the dishsoap, or a specialty shoe cleaner. Be sure to rinse the soles thoroughly with water and allow them to air dry completely before wearing.
For the sides of soles, I love magic erasers on dirt, discoloration, and even small scuffs. Simply wet the magic eraser and gently rub it over the affected areas until they are clean. Be careful not to scrub too hard, as magic erasers are essentially gentle sand paper. And skip this trick if the side soles have a lot of texture—you’ll get better results with a little scrub brush and some patience.
Finish it all off with a wipe from a damp, clean rag.
Cleaning the Interiors of Shoes
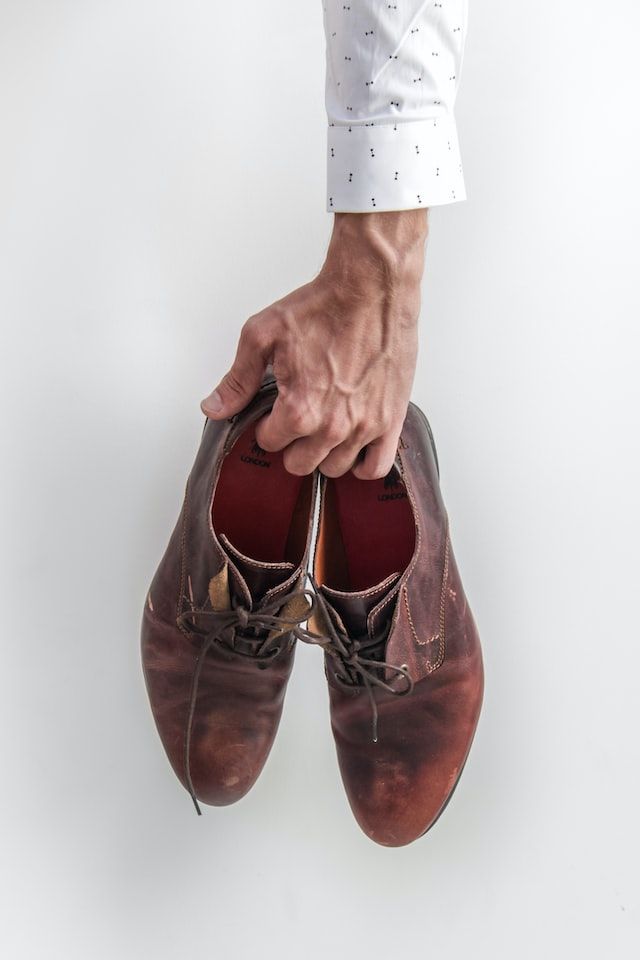
Start, as always, by shaking out, brushing away, or even vacuuming the inside of shoes with a small attachment.
Things looking pretty clean? Give the inside of shoes a quick mist with something to freshen them up and kill some germs. You can go one of two ways: nuclear with Lysol (or other disinfectant spray), or gentle with equal parts water and white vinegar in a spray bottle.
For visible dirt, you can try using a textured disinfectant wipe on hardy-looking interiors, or even a scrub a bit with that toothbrush and dish soap again, if you’re careful not to get things too wet.
Leather insoles? Stick with leather wipes, gently using a little more pressure on discolored spots.
Allow the shoes to air dry completely before wearing or packaging for sale.
Troubleshooting
Strong Odors
If the shoes have a strong odor, you can also try stuffing them with newspaper or activated charcoal to absorb any remaining smells. Leave the shoes stuffed for a few days to allow the odor to dissipate.
Scuffs on Patent Leather
Try alcohol! This works like an absolute charm for me. Even hand sanitizer helps in a pinch. Gently work with a q-tip until the marks disappear.
Dirty Laces
Pop-em off and soak in dish-soapy hot water, scrubbing a bit with a clean toothbrush to work out any spots. You can add a little bleach for light shoe laces, diluting about 1/4 cup to a gallon.
Though: I find it handy to keep a collection of shoe laces handy for replacements. You might want to do this too if you work with shoes often! When replacing for a specific pair, make sure to take account of the number of eyelets your shoe has. This will determine the length of lace you'll need.
Plastic/Waterproof Shoes
Got a pair of muddy Crocs or Keens? You might find it faster to just hand wash them in a sink or bucket with dish soap and something to scrub them with.
Handy Products for Working with Shoes
Here's what I keep on hand, personally. You might prefer other brands, or need less than this if you niche down.
Moneysworth & Best Patent Cleaner & Conditioner great for removing stick from patent boots and bags, a nice overall cleaner and protectant to have on hand.
Weiman Leather Wipes doesn't get easier than this for anything leather! I used them on leather jackets and bags in additions to shoes.
Fiebing's Suede & Nubuck Cleaner Kit this won't perform miracles, but it's a good get-you-started set to have on hand.
Care & Cool Suede and Nubuck Conditioner, Renovator, and Protector the nozzle keeps clogging on me, but it works great. Use as a follow up to brushing suede for instant impact.
Dr. Martens Wonder Balsam if you're keeping your product collection lean, get a leather cleaning spray or wipe, and this. It adds depth, shine, and protection to leather of all colors and also works great on leather bags and jackets.
Phew, did we cover everything? Hopefully you’re still with us, because cleaning and preparing the shoes is just the beginning—to sell your shoes on Poshmark, you’ll need to take clear photos, providing accurate details in the item description, pricing competitively, and package the shoes carefully for shipping. We’ll go over this in our next segments, so watch for more from this series on Tuesdays!
XOXO,
ClosetWitch
Ready More:
Tips for Selling Shoes on Poshmark, Part 3: Photographing and Listing
Tips for Selling Shoes on Poshmark, Part 1: Evaluating Condition

