Tips for Selling Shoes on Poshmark, Part 3: Photographing and Listing

Welcome back! If you’ve read parts 1 and part 2 of our shoe selling series, you’ve learned how to evaluate and prep shoes for selling on Poshmark. Now it’s time to photograph and describe them for potential buyers.
When it comes to selling anything on Poshmark, a detailed and informative listing is crucial. Not only does it provide likers with the necessary information to become buyers (or more realistically, offer senders!), it also helps to build trust and credibility with them in you as a seller. Here are some tips for creating an effective shoe listing on Poshmark:
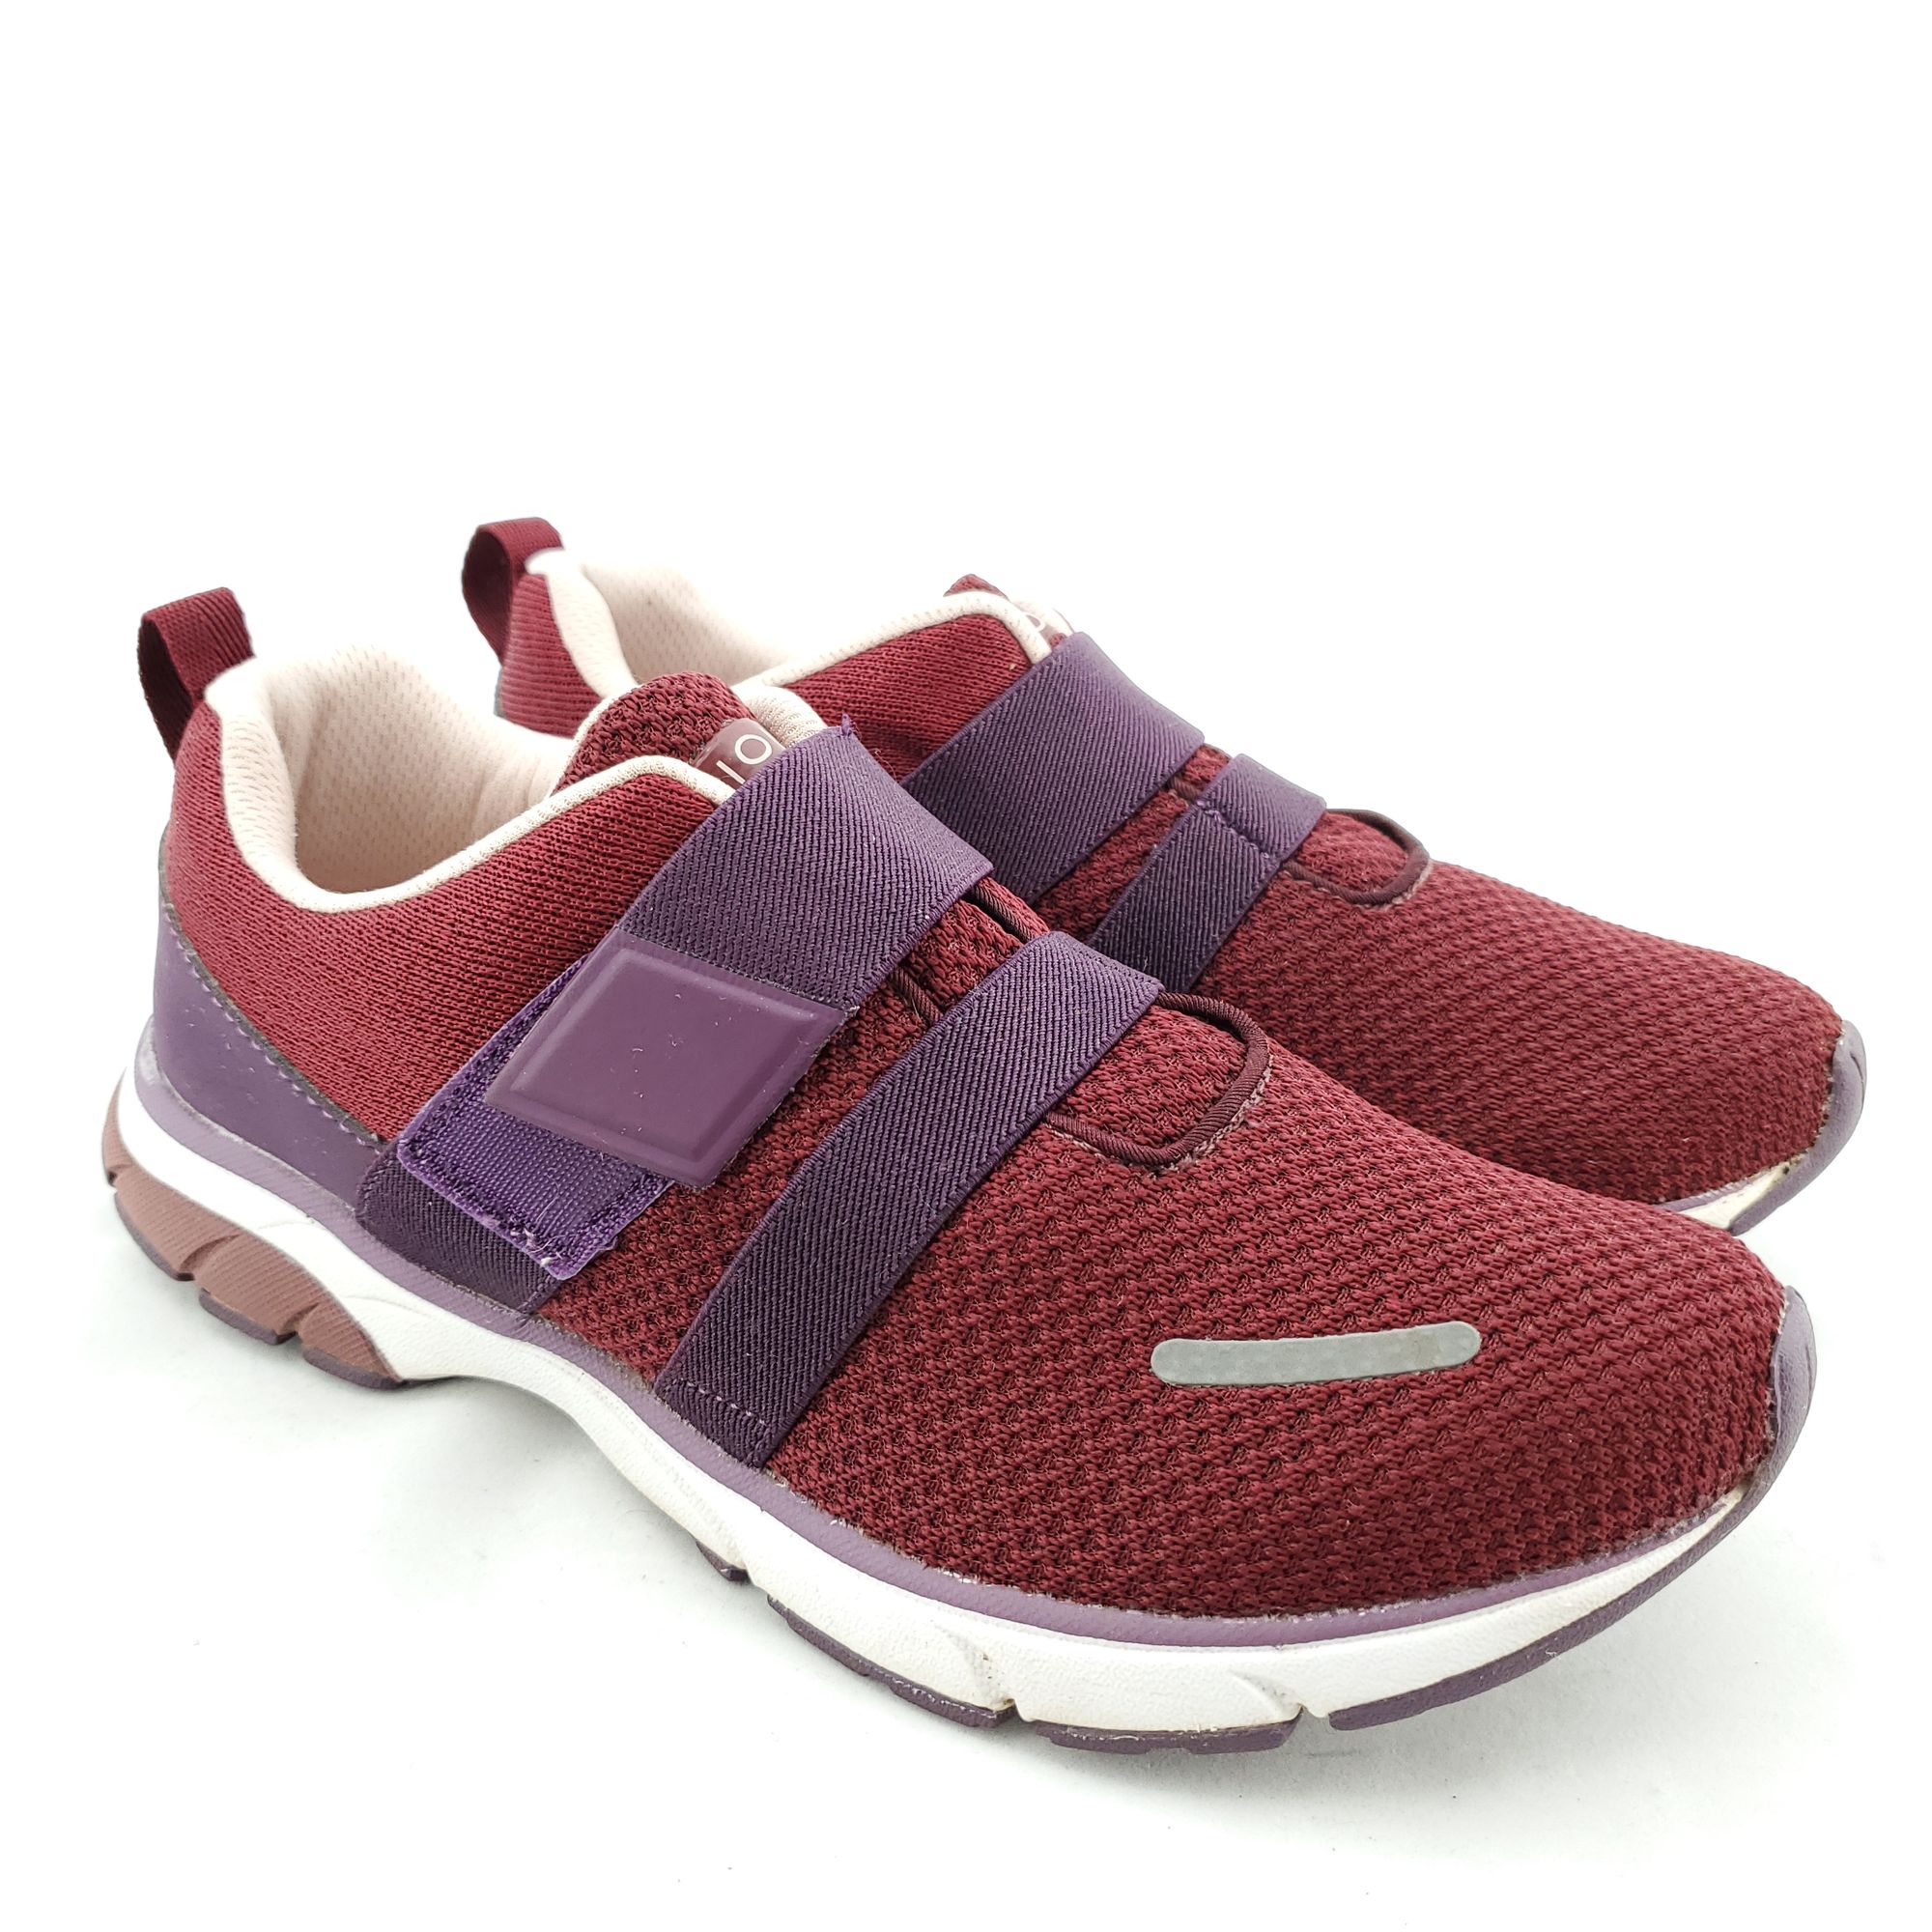
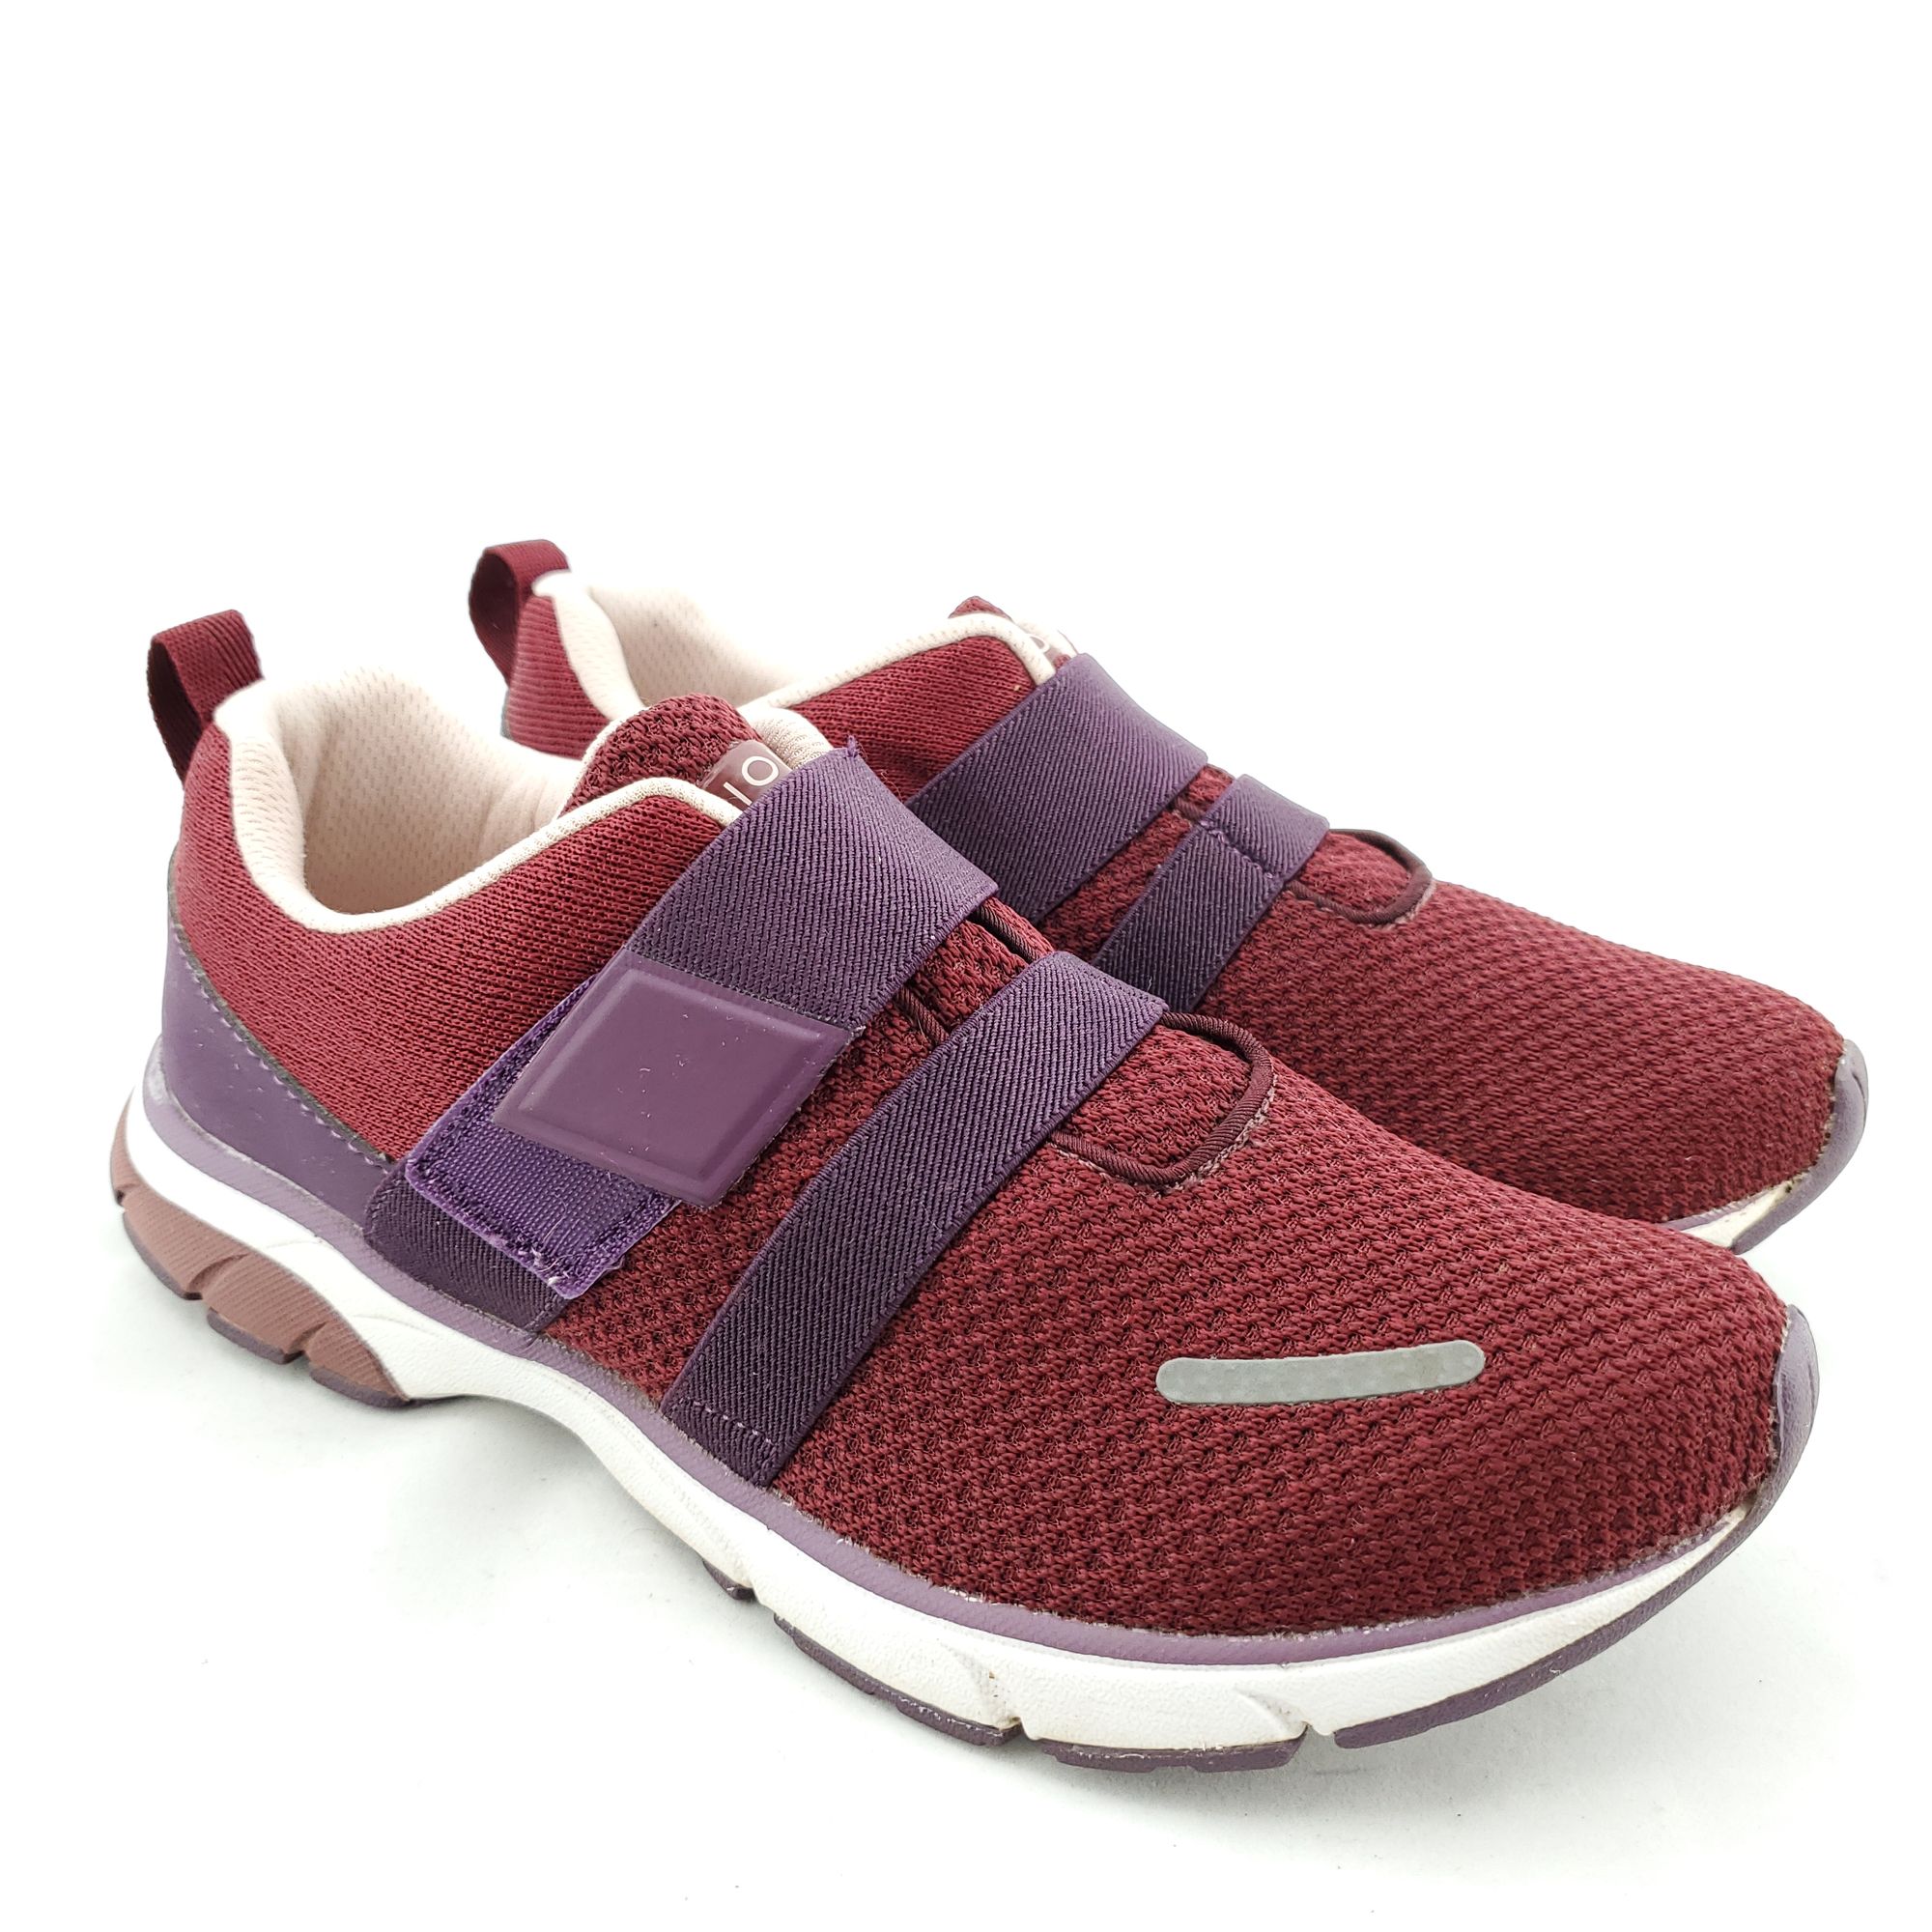
1. Take Clear, Well-Lit Photos with a Clean Background
Take high-quality, well-lit photos of the shoes from different angles.
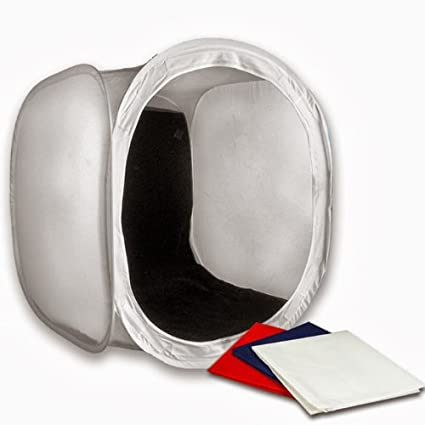
While it’s not mandatory, I’ve found that a photo box is incredible for this. It creates a completely clean background and evenly distributes light with zero effort on your part. If you have an existing photo set up with lights, just pop this bad boy open and set it on a table to get flawless photos with minimal bending. (Pro tip: give the little backdrop on the inside a quick blast with your clothes steamer to remove any fold lines).
No photo box? No problem. Strong natural light and a clean background are all you need for good pictures. Set up a little area in front of a window with something neutral to set the shoes on. A throw rug, fabric sample, or piece of faux fur (preferably one you can throw in the wash) will create a clean backdrop. White is always great, but I find it can be a little unforgiving and shoe footprints on fabrics like bedsheets after a few pairs of shoes. A synthetic photo drop is definitely a better bet if you’re going for that crisp, pure white look.
And, it may sound obvious, but watch your background! It’s easy to lose track of what’s lurking there as you get focused on the shoes, but a glimpse of a messy bedroom can kill the professional vibe and be distracting for buyers.
Lastly, stuff shoes with a little paper before photographing. This will help the buyer envision what the shoe looks like on, and the pictures will look tidier.
1. Have a Checklist for Photos
It’s the WORST to have to haul out a pair of shoes again for more photos because you only realize while listing that you forgot to get a picture of the size tag, soles, or back of the shoe. Make sure you get what you need with a checklist of shots to get, until you have it down pat. Then always take your pictures in the same order so you don’t forget.
I always include:
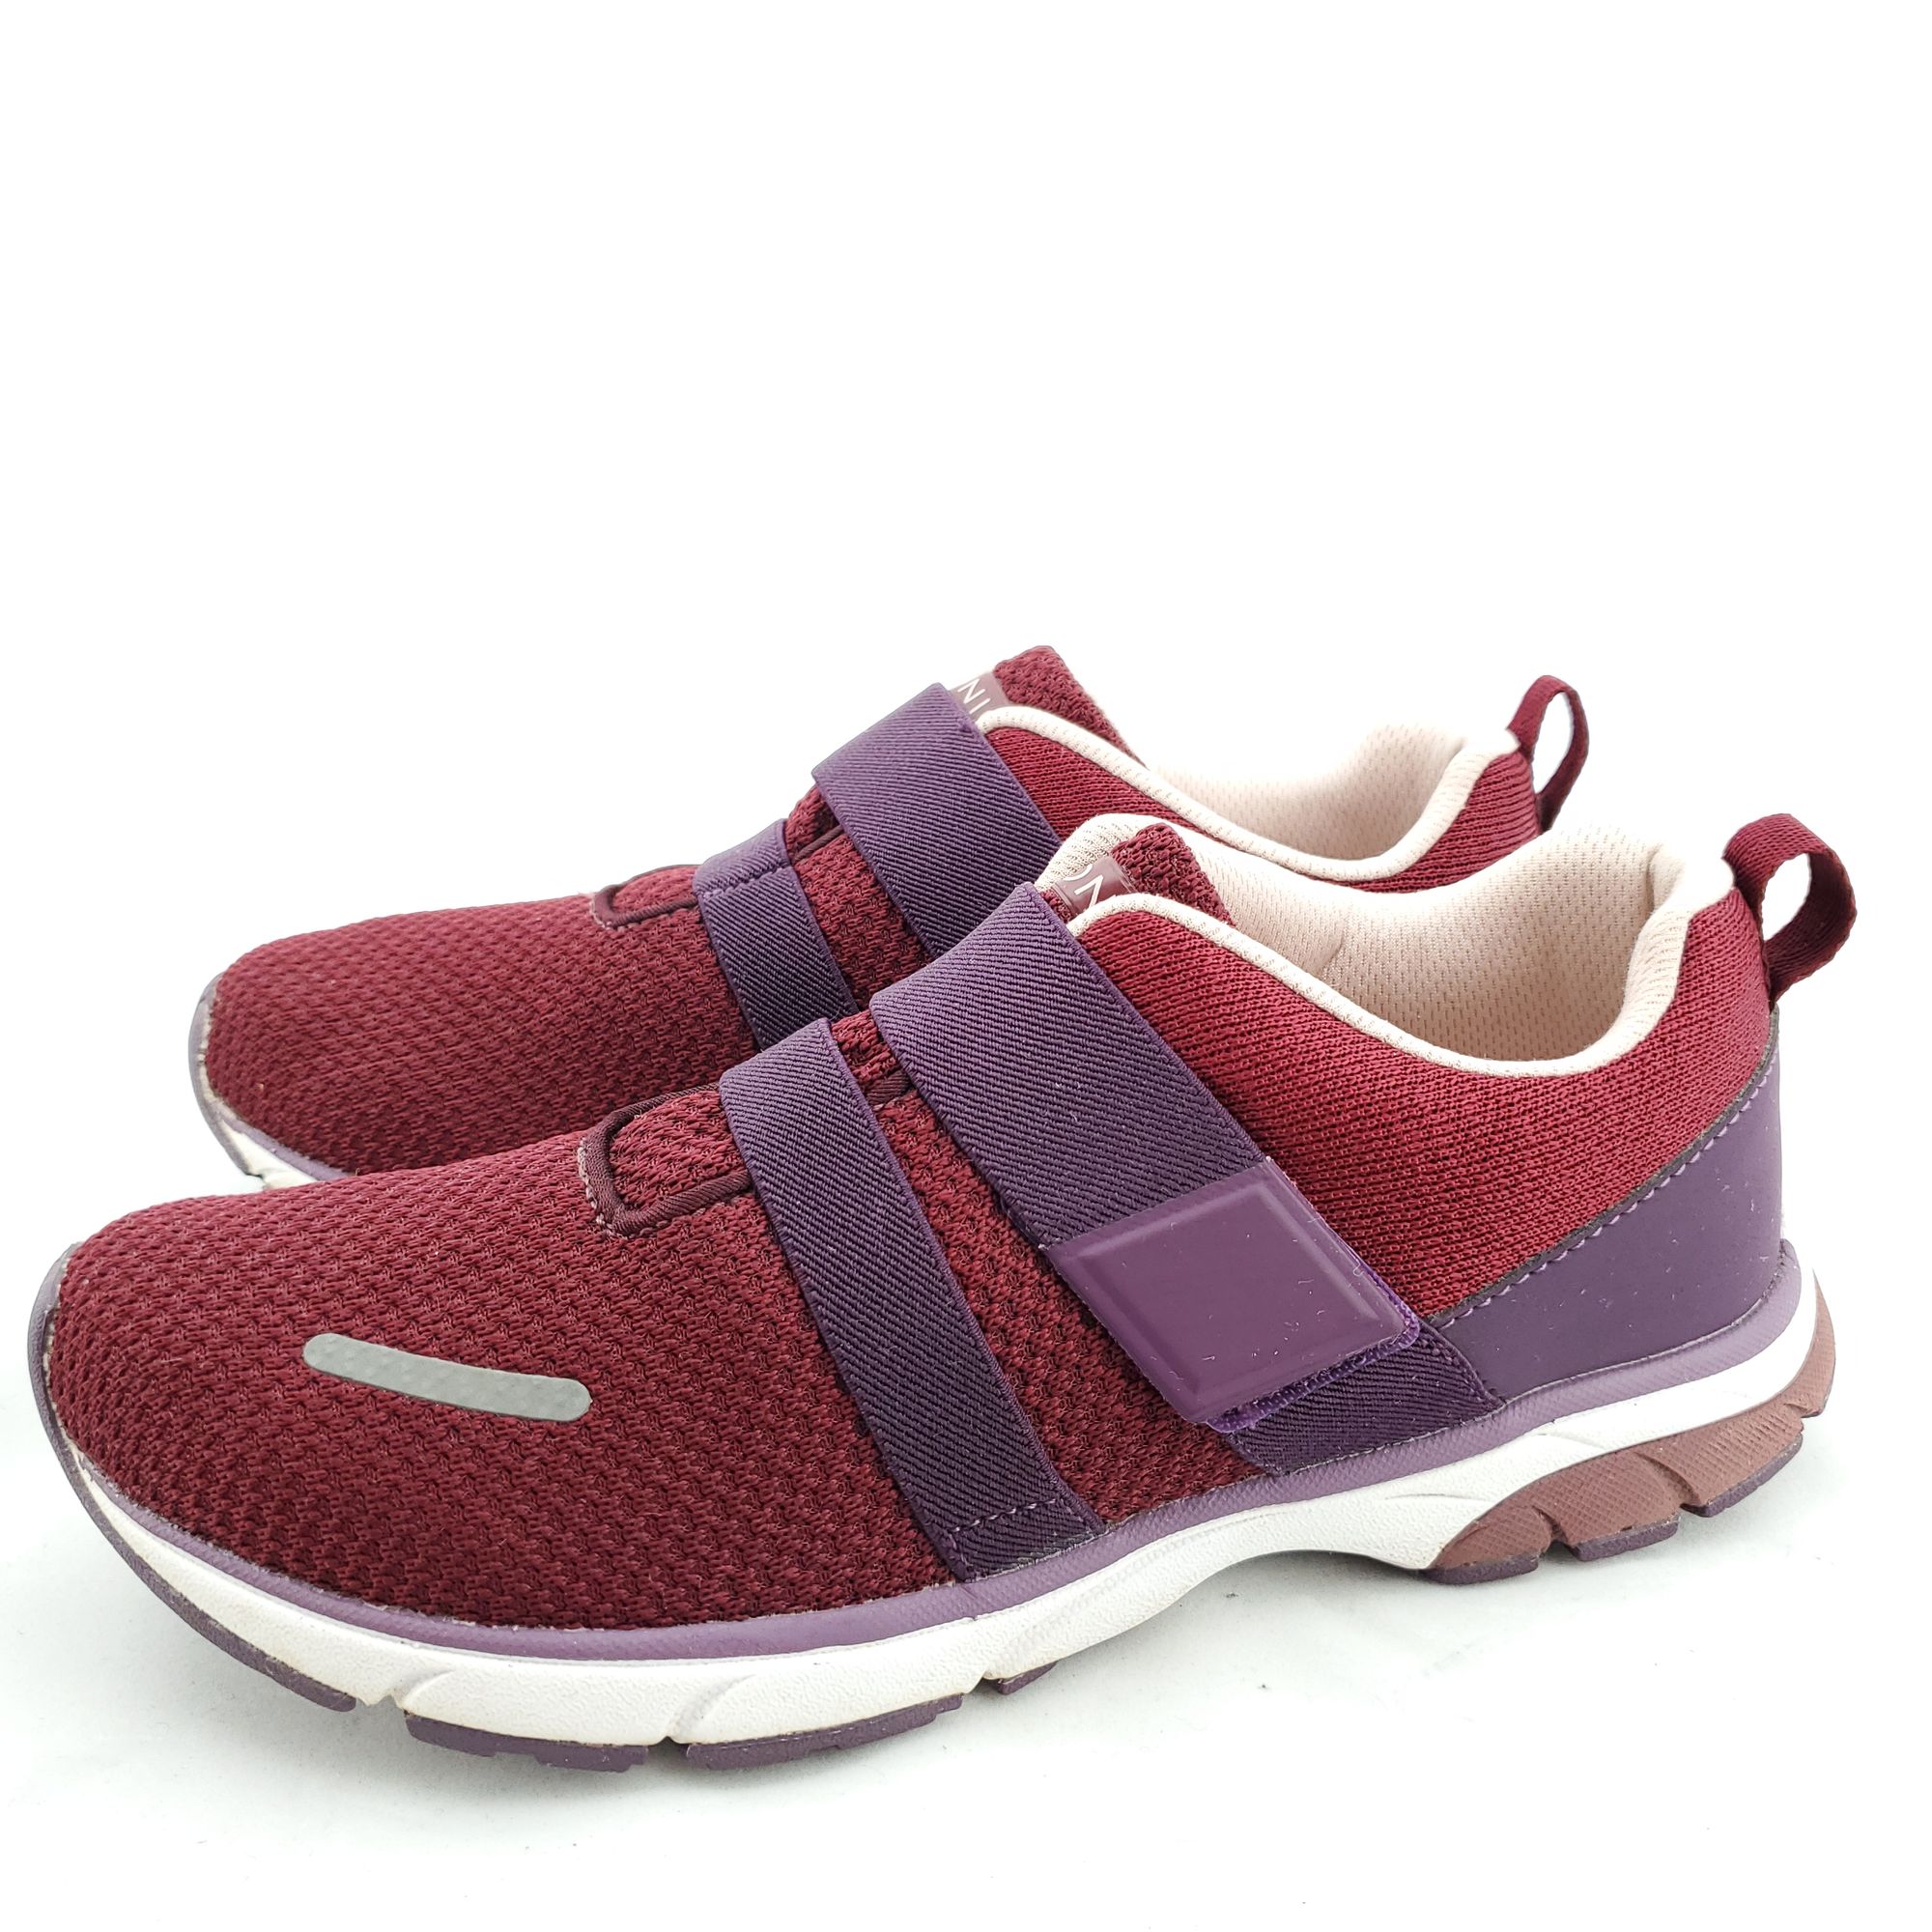
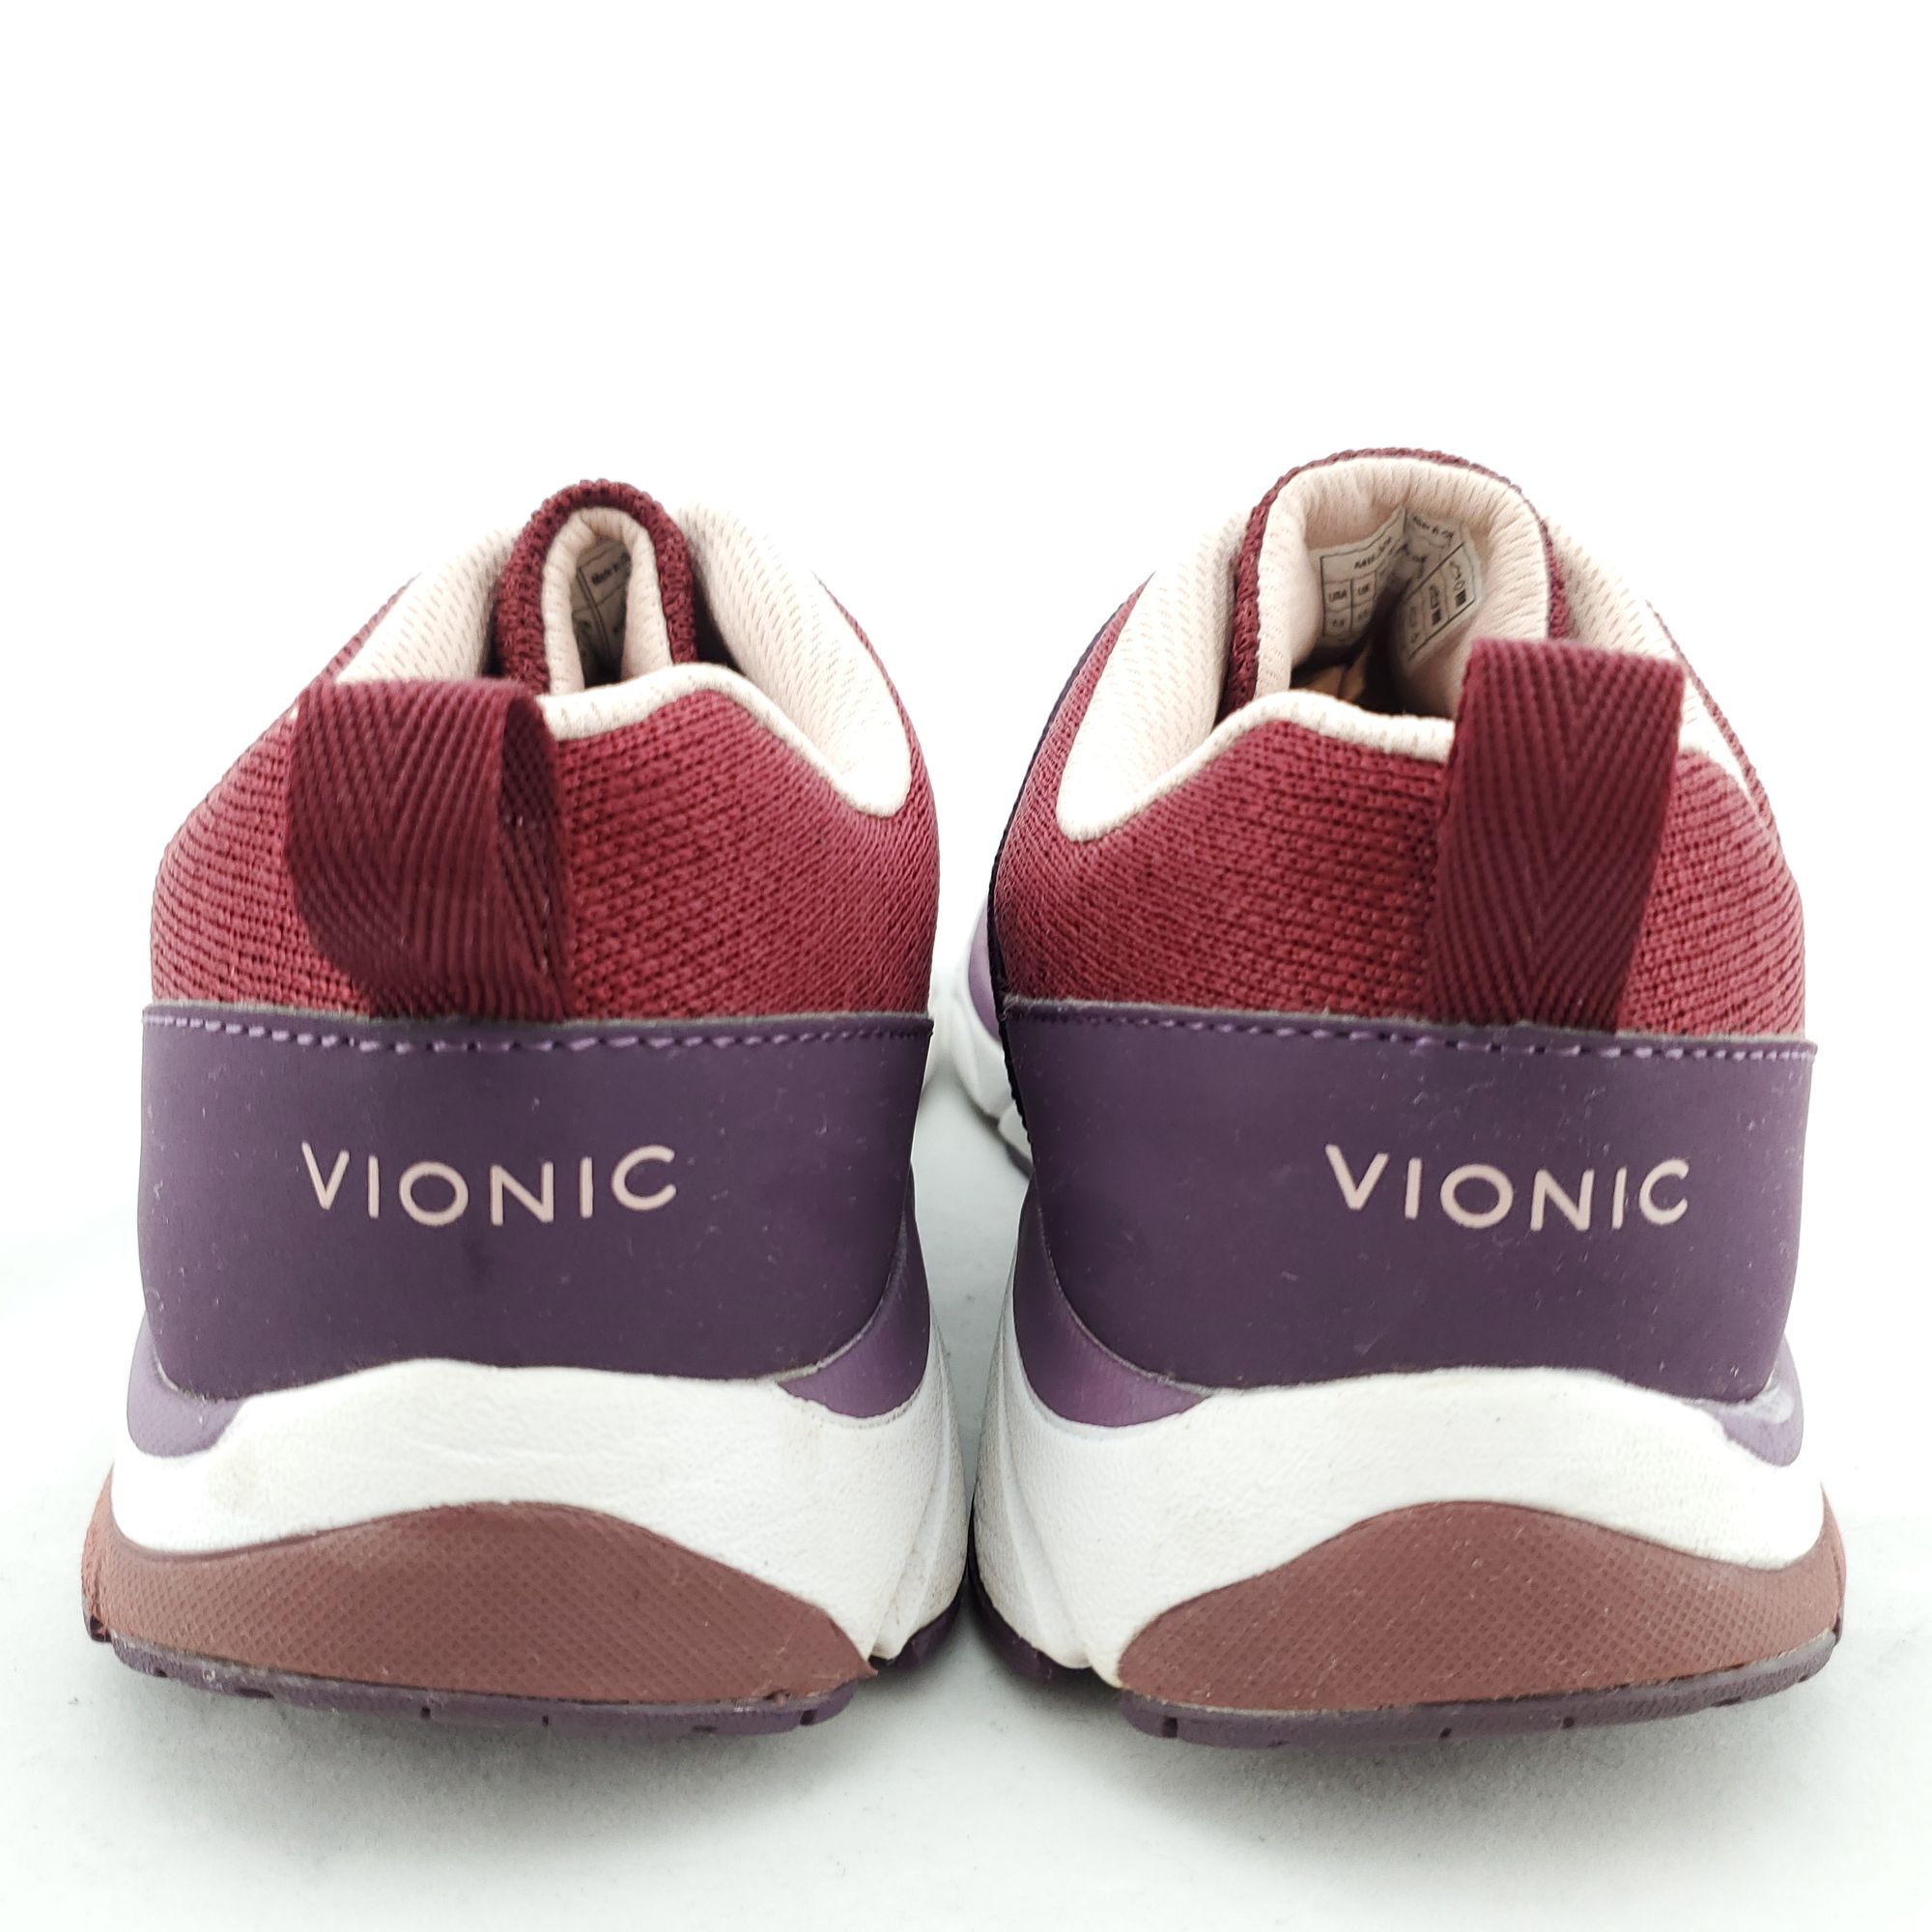
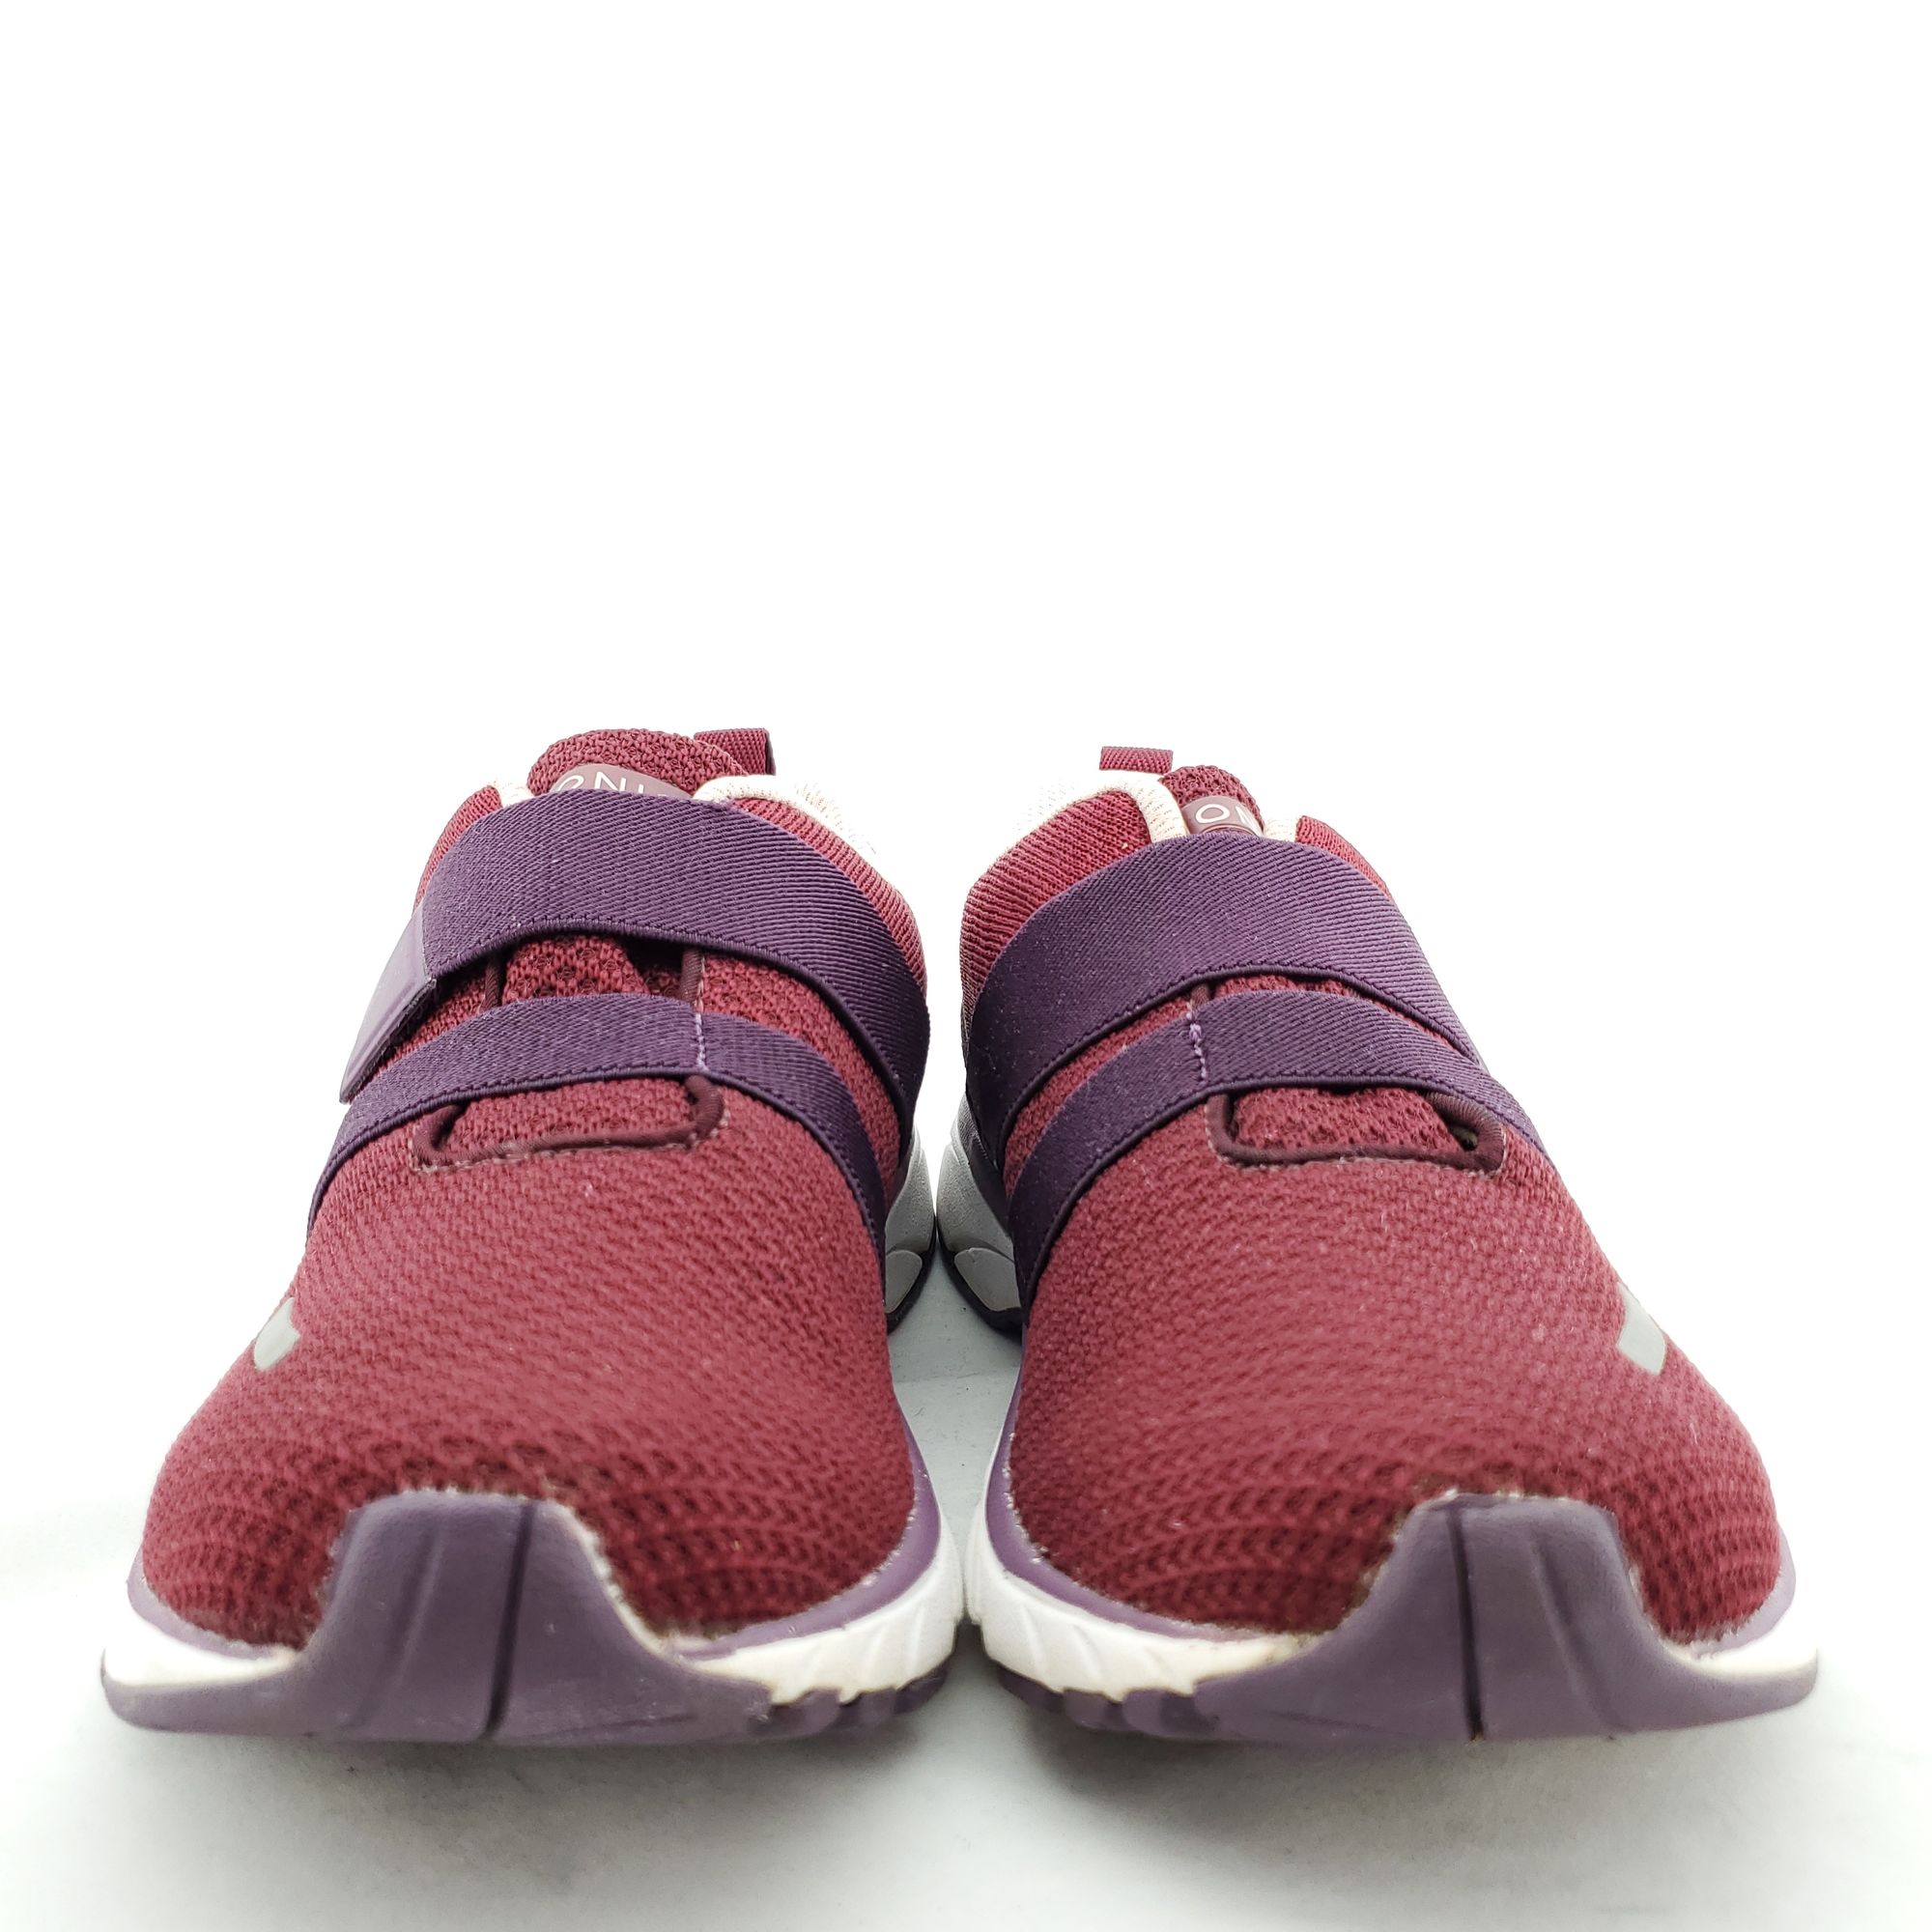
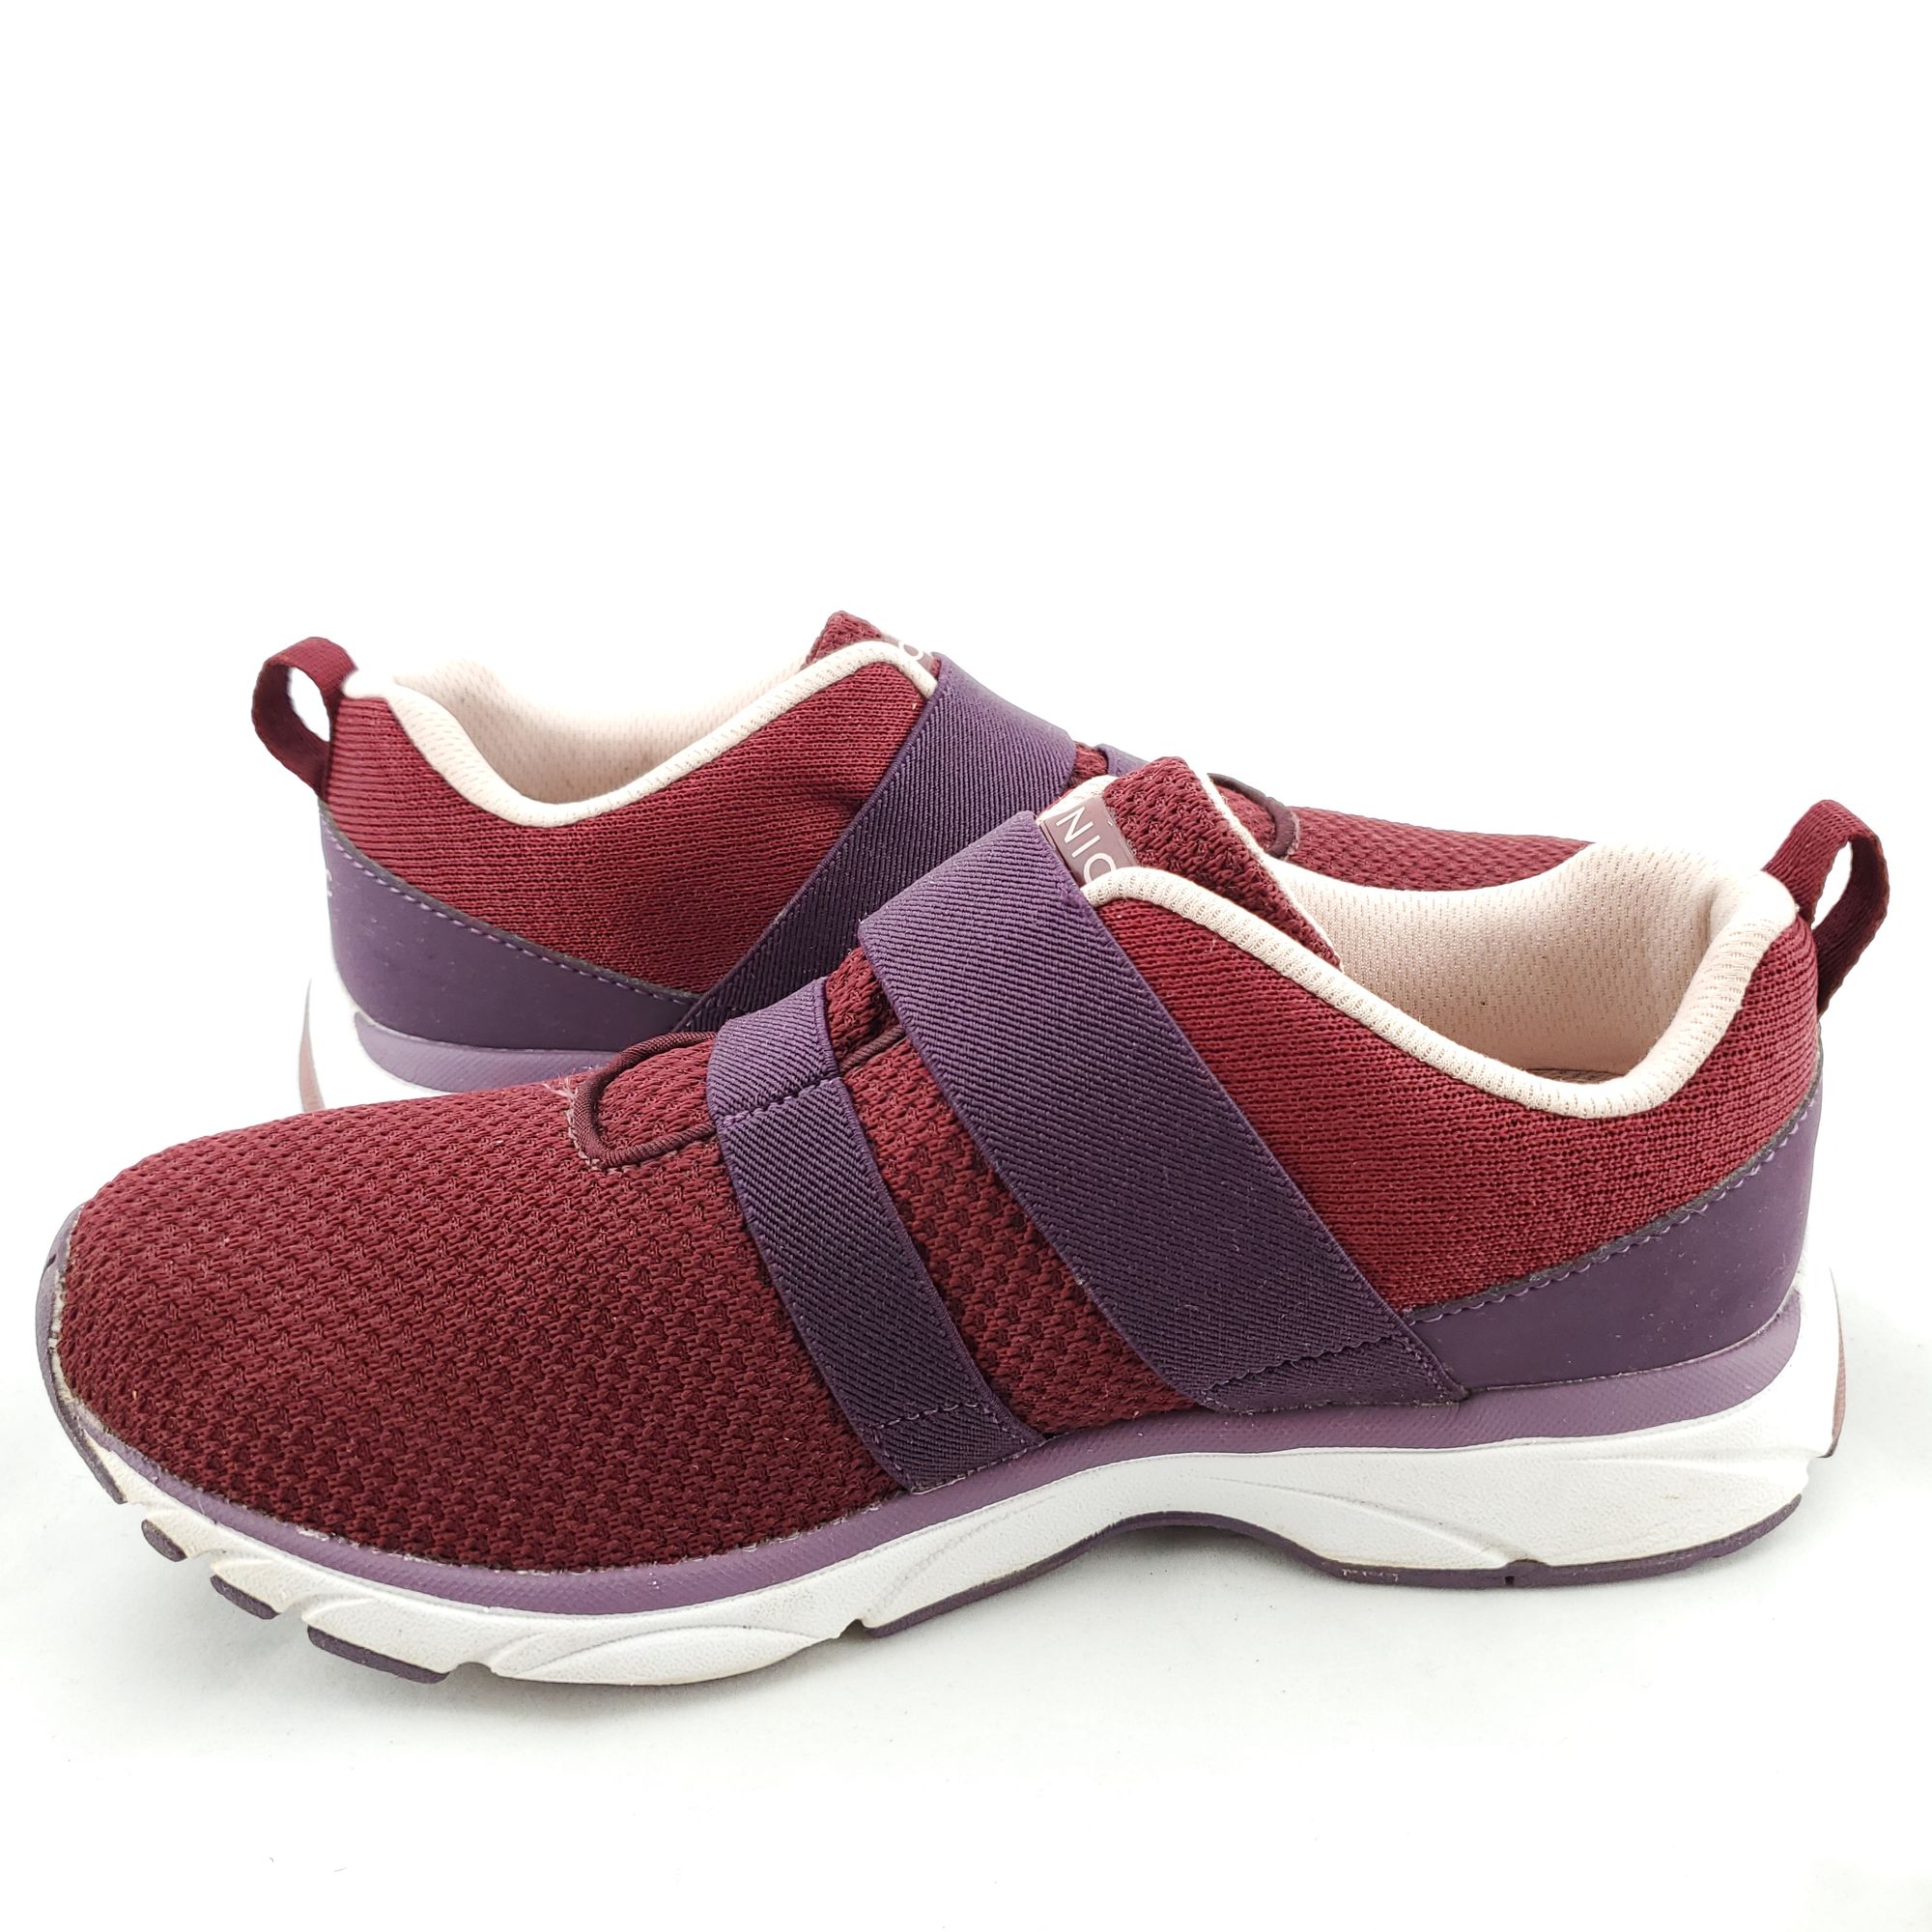
- Right side, front, left, and back side of shoes while paired together
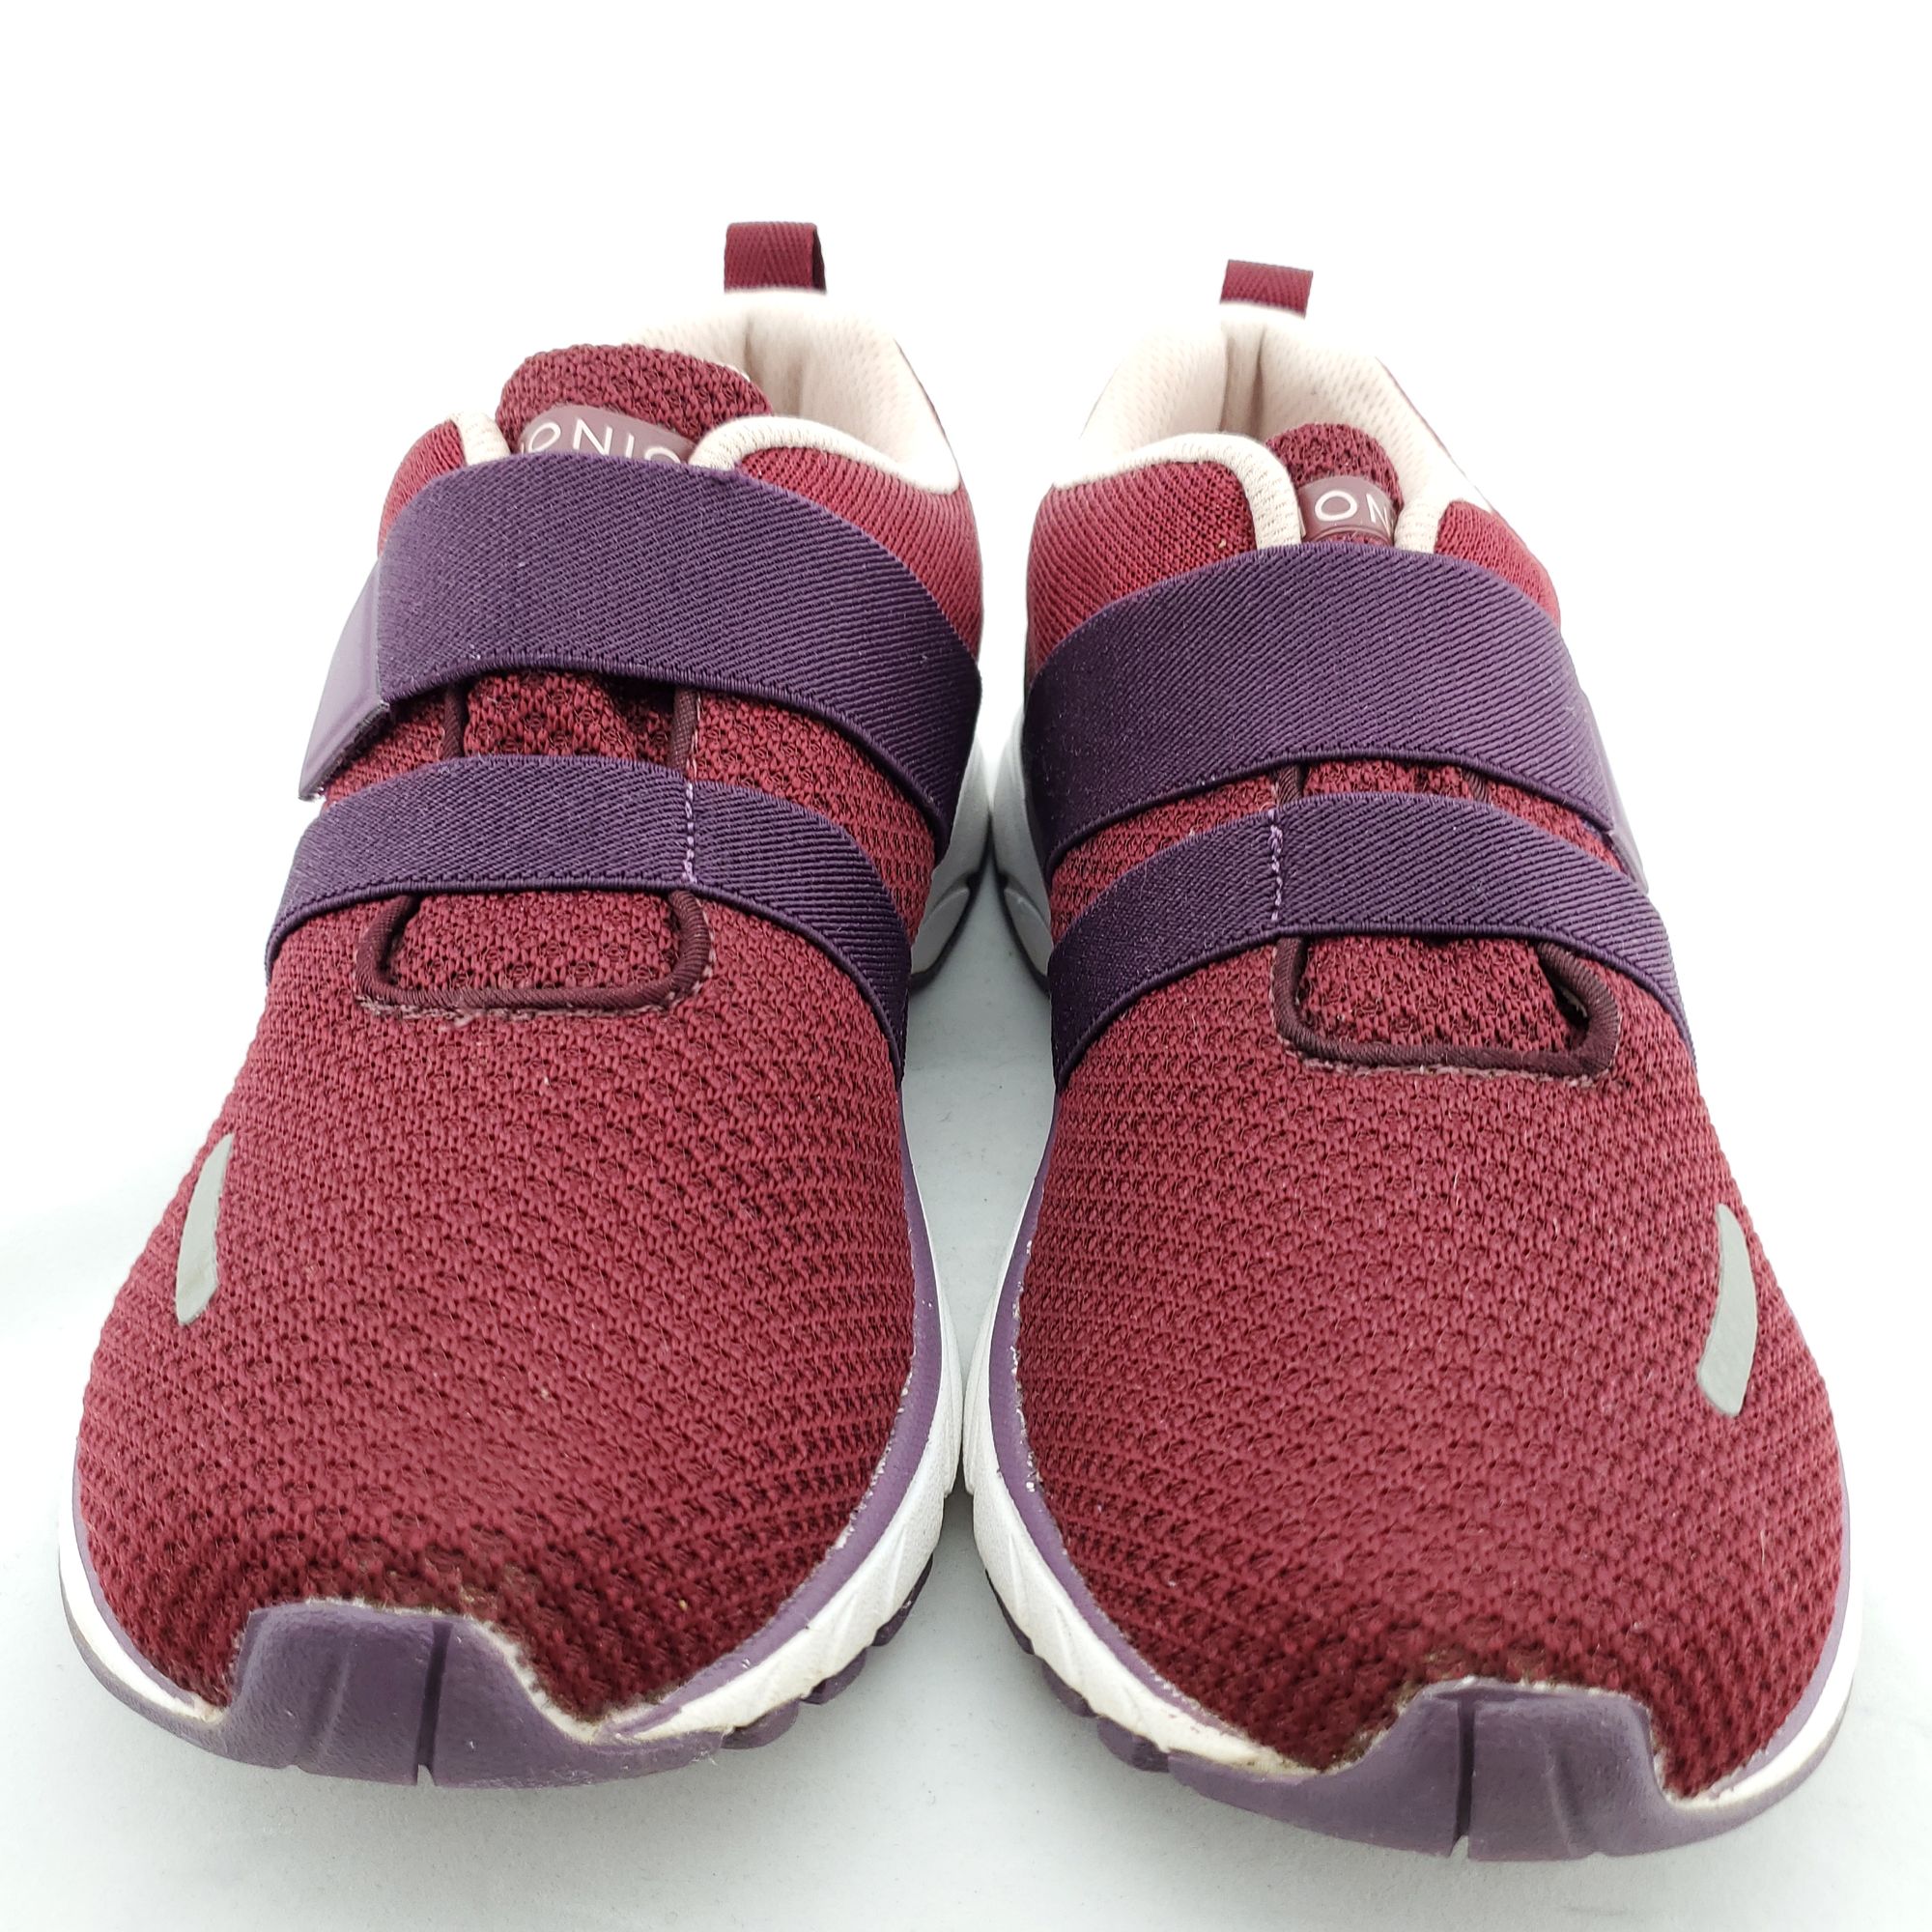
2. Eye level view of heels and toes while paired together to show heel height and any uneven wear to soles.
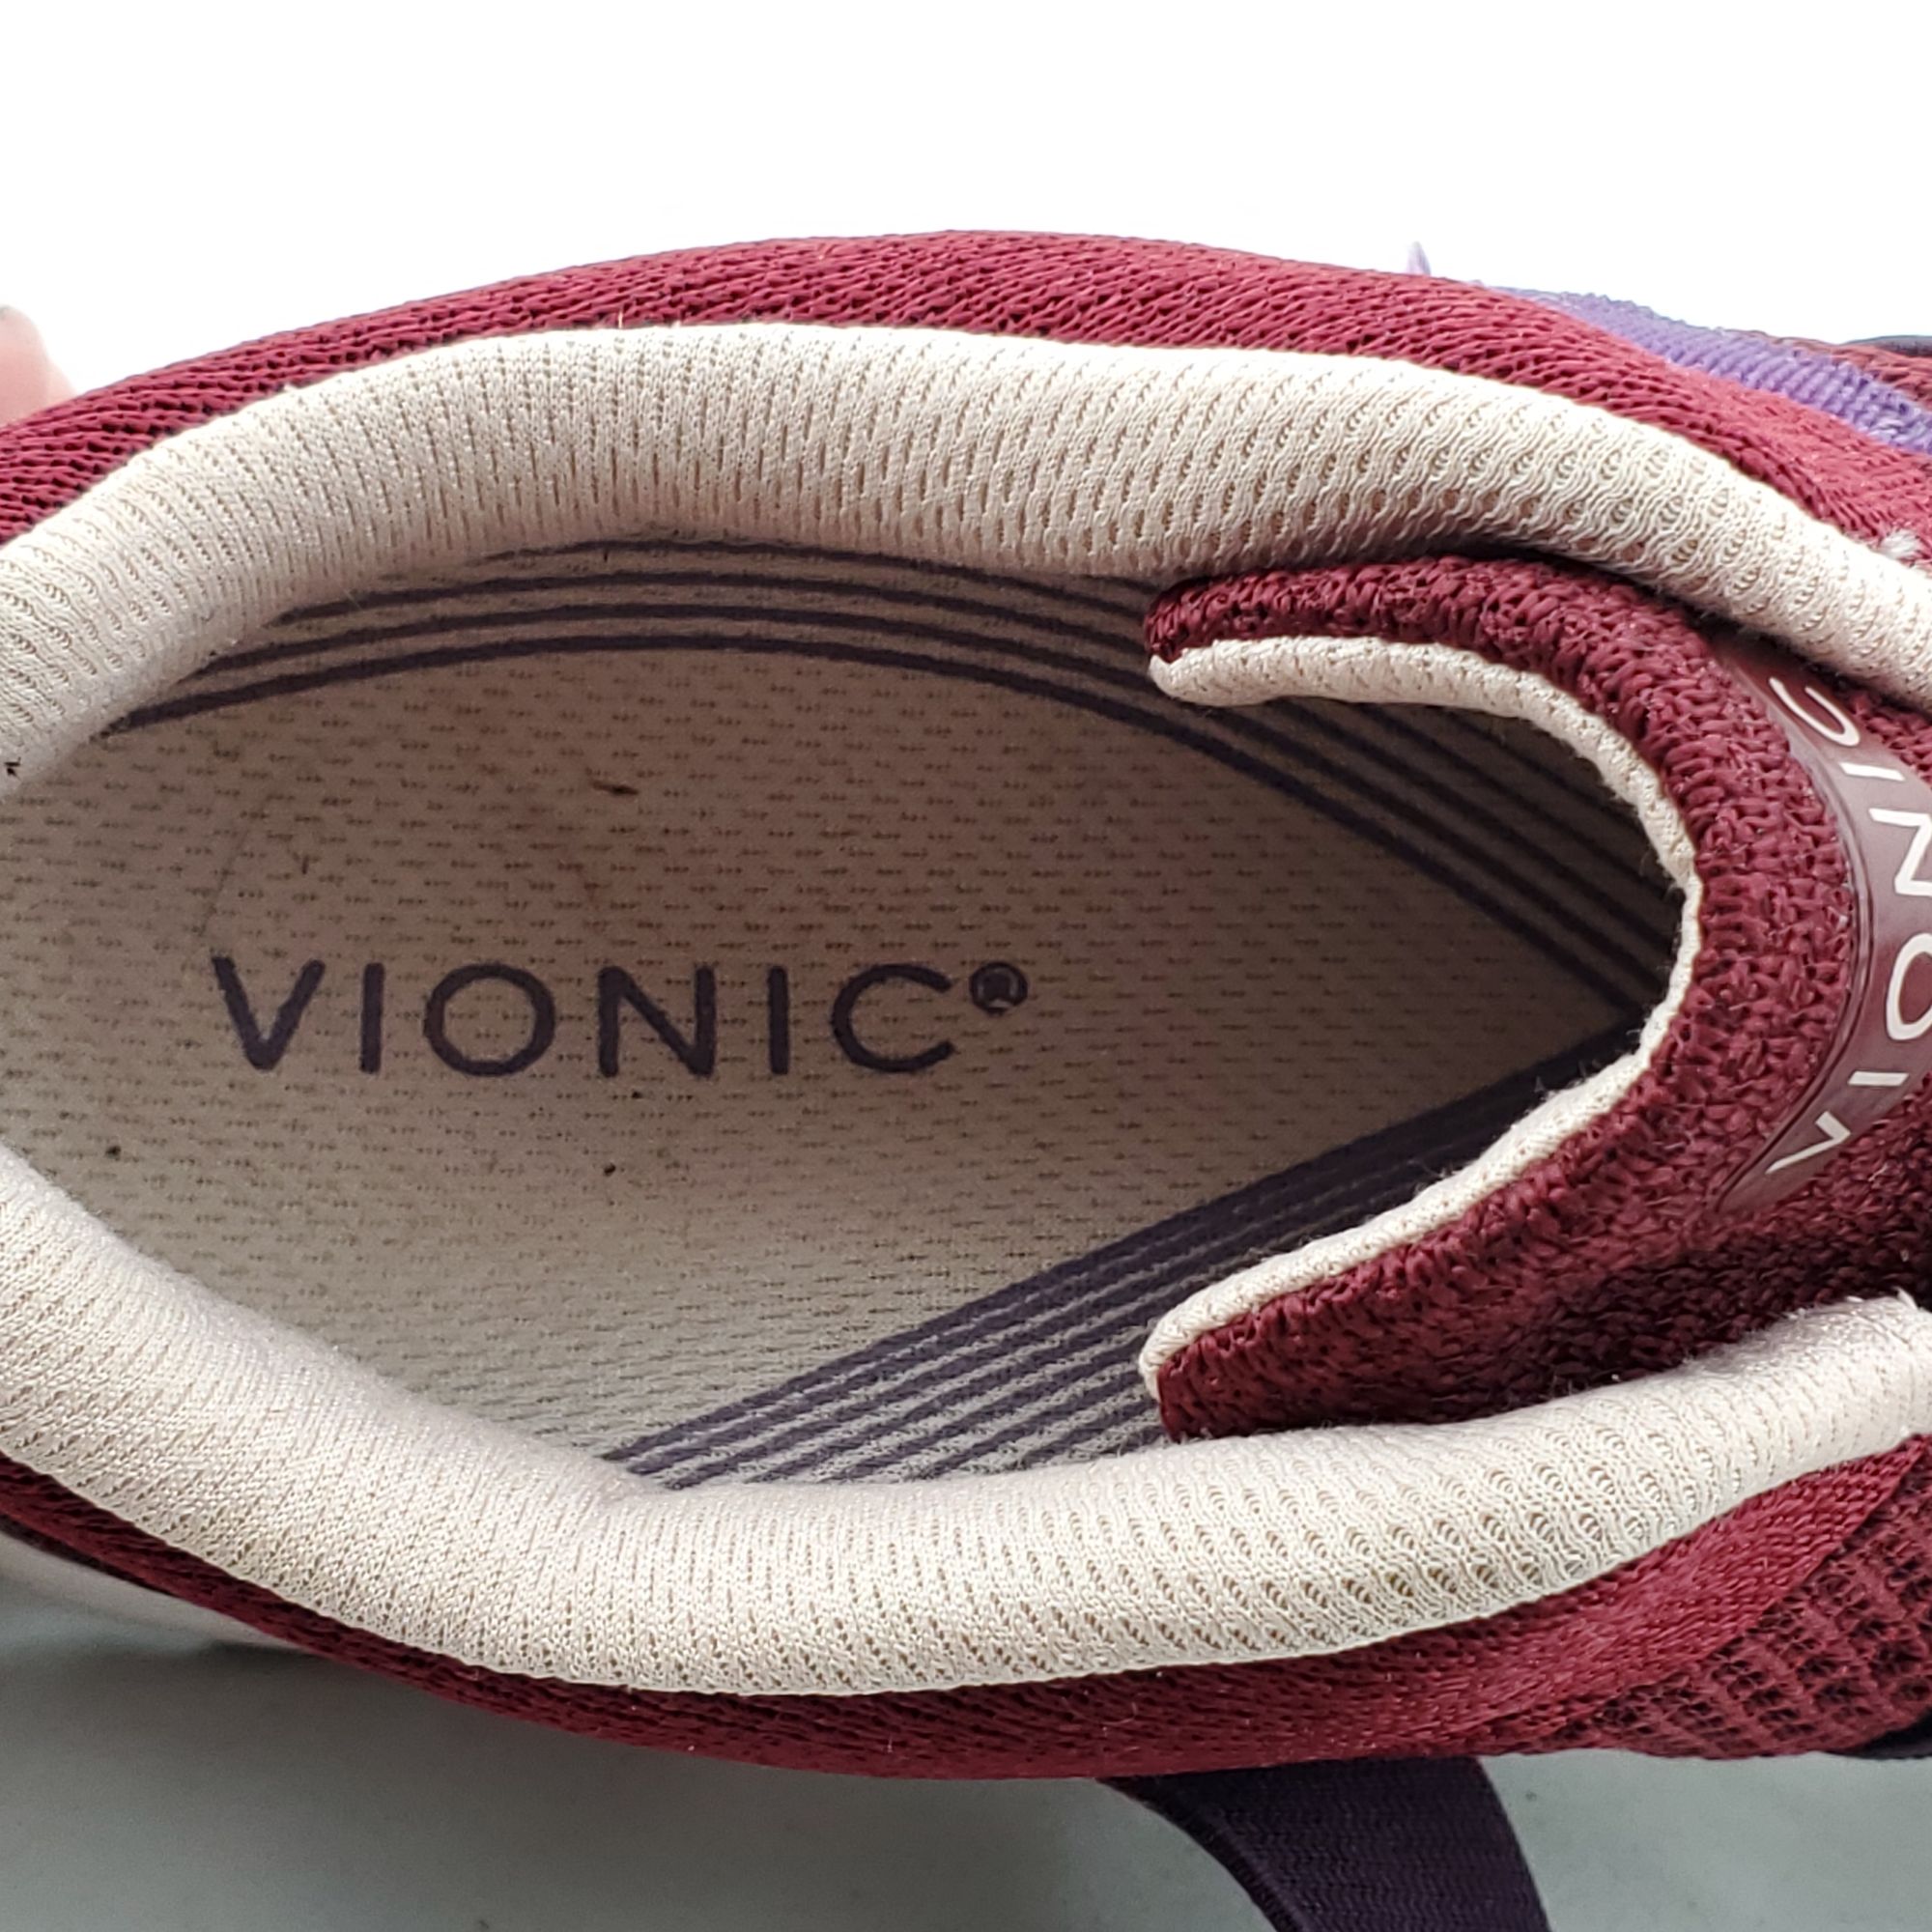
3. Insides of each shoe (paired together the opposite way)

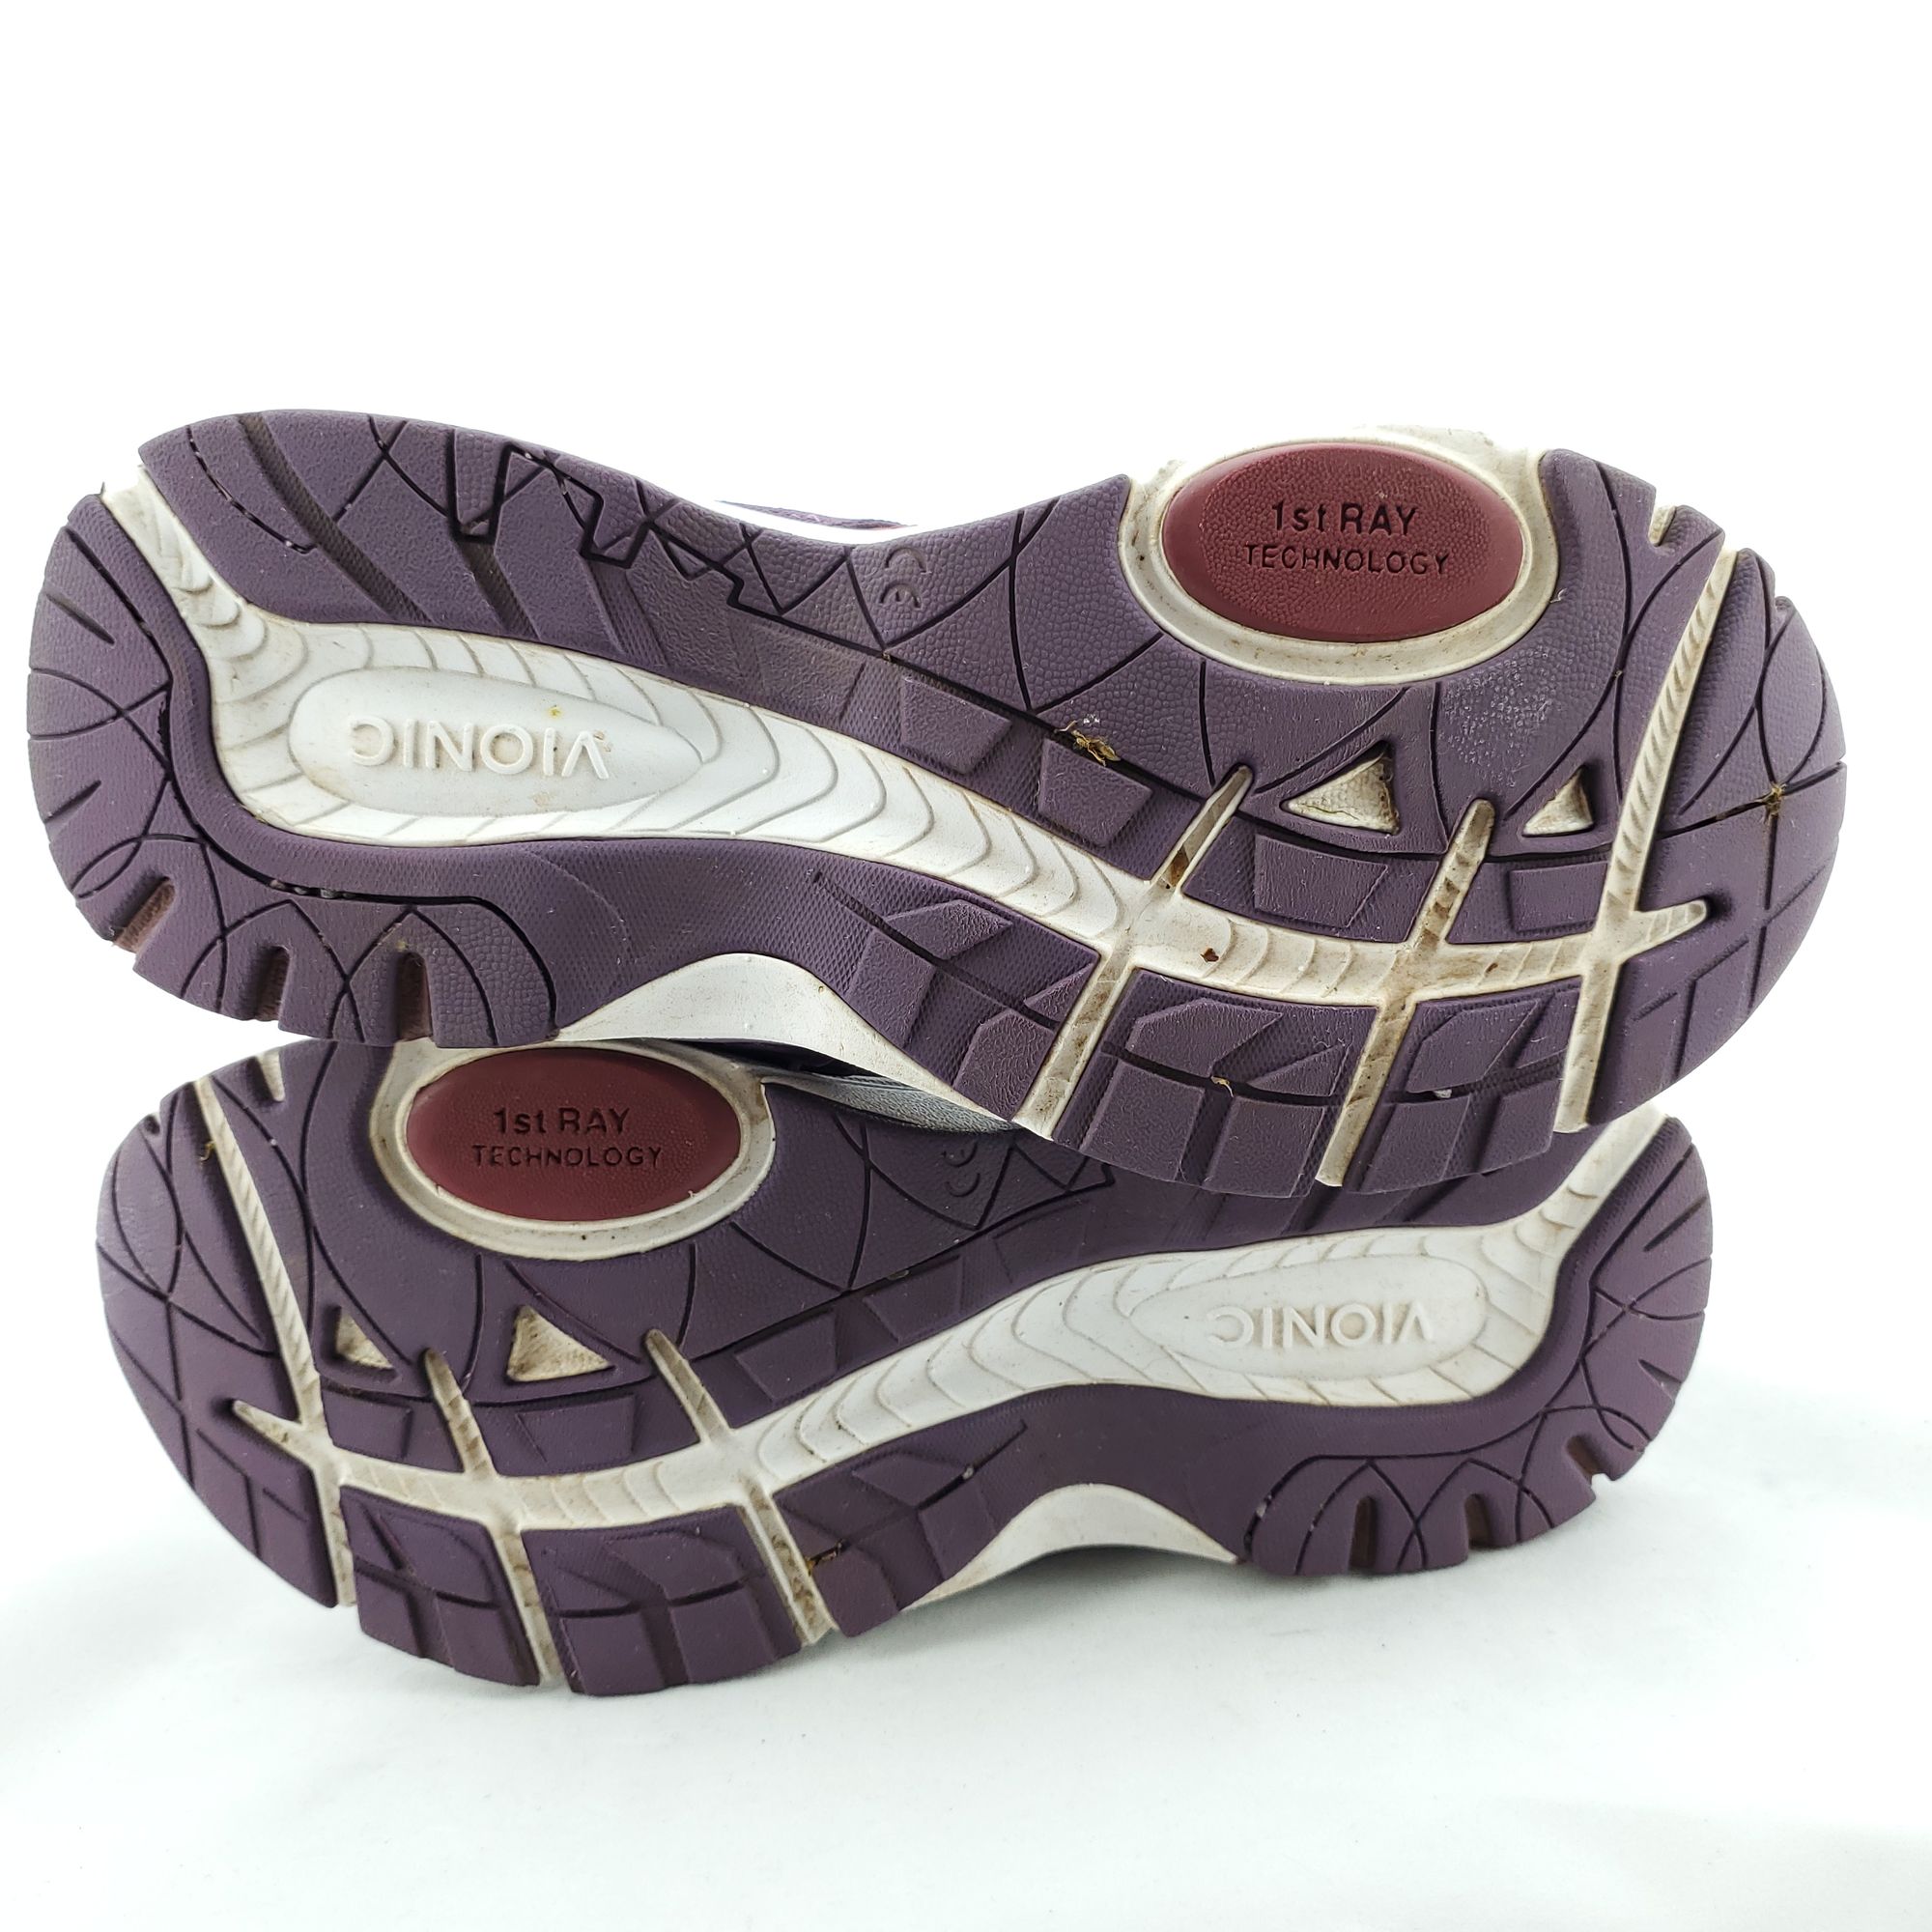
4. Soles of shoes (I balance them on their sides, usually in the same heel-to-toe configuration as for the inside view).
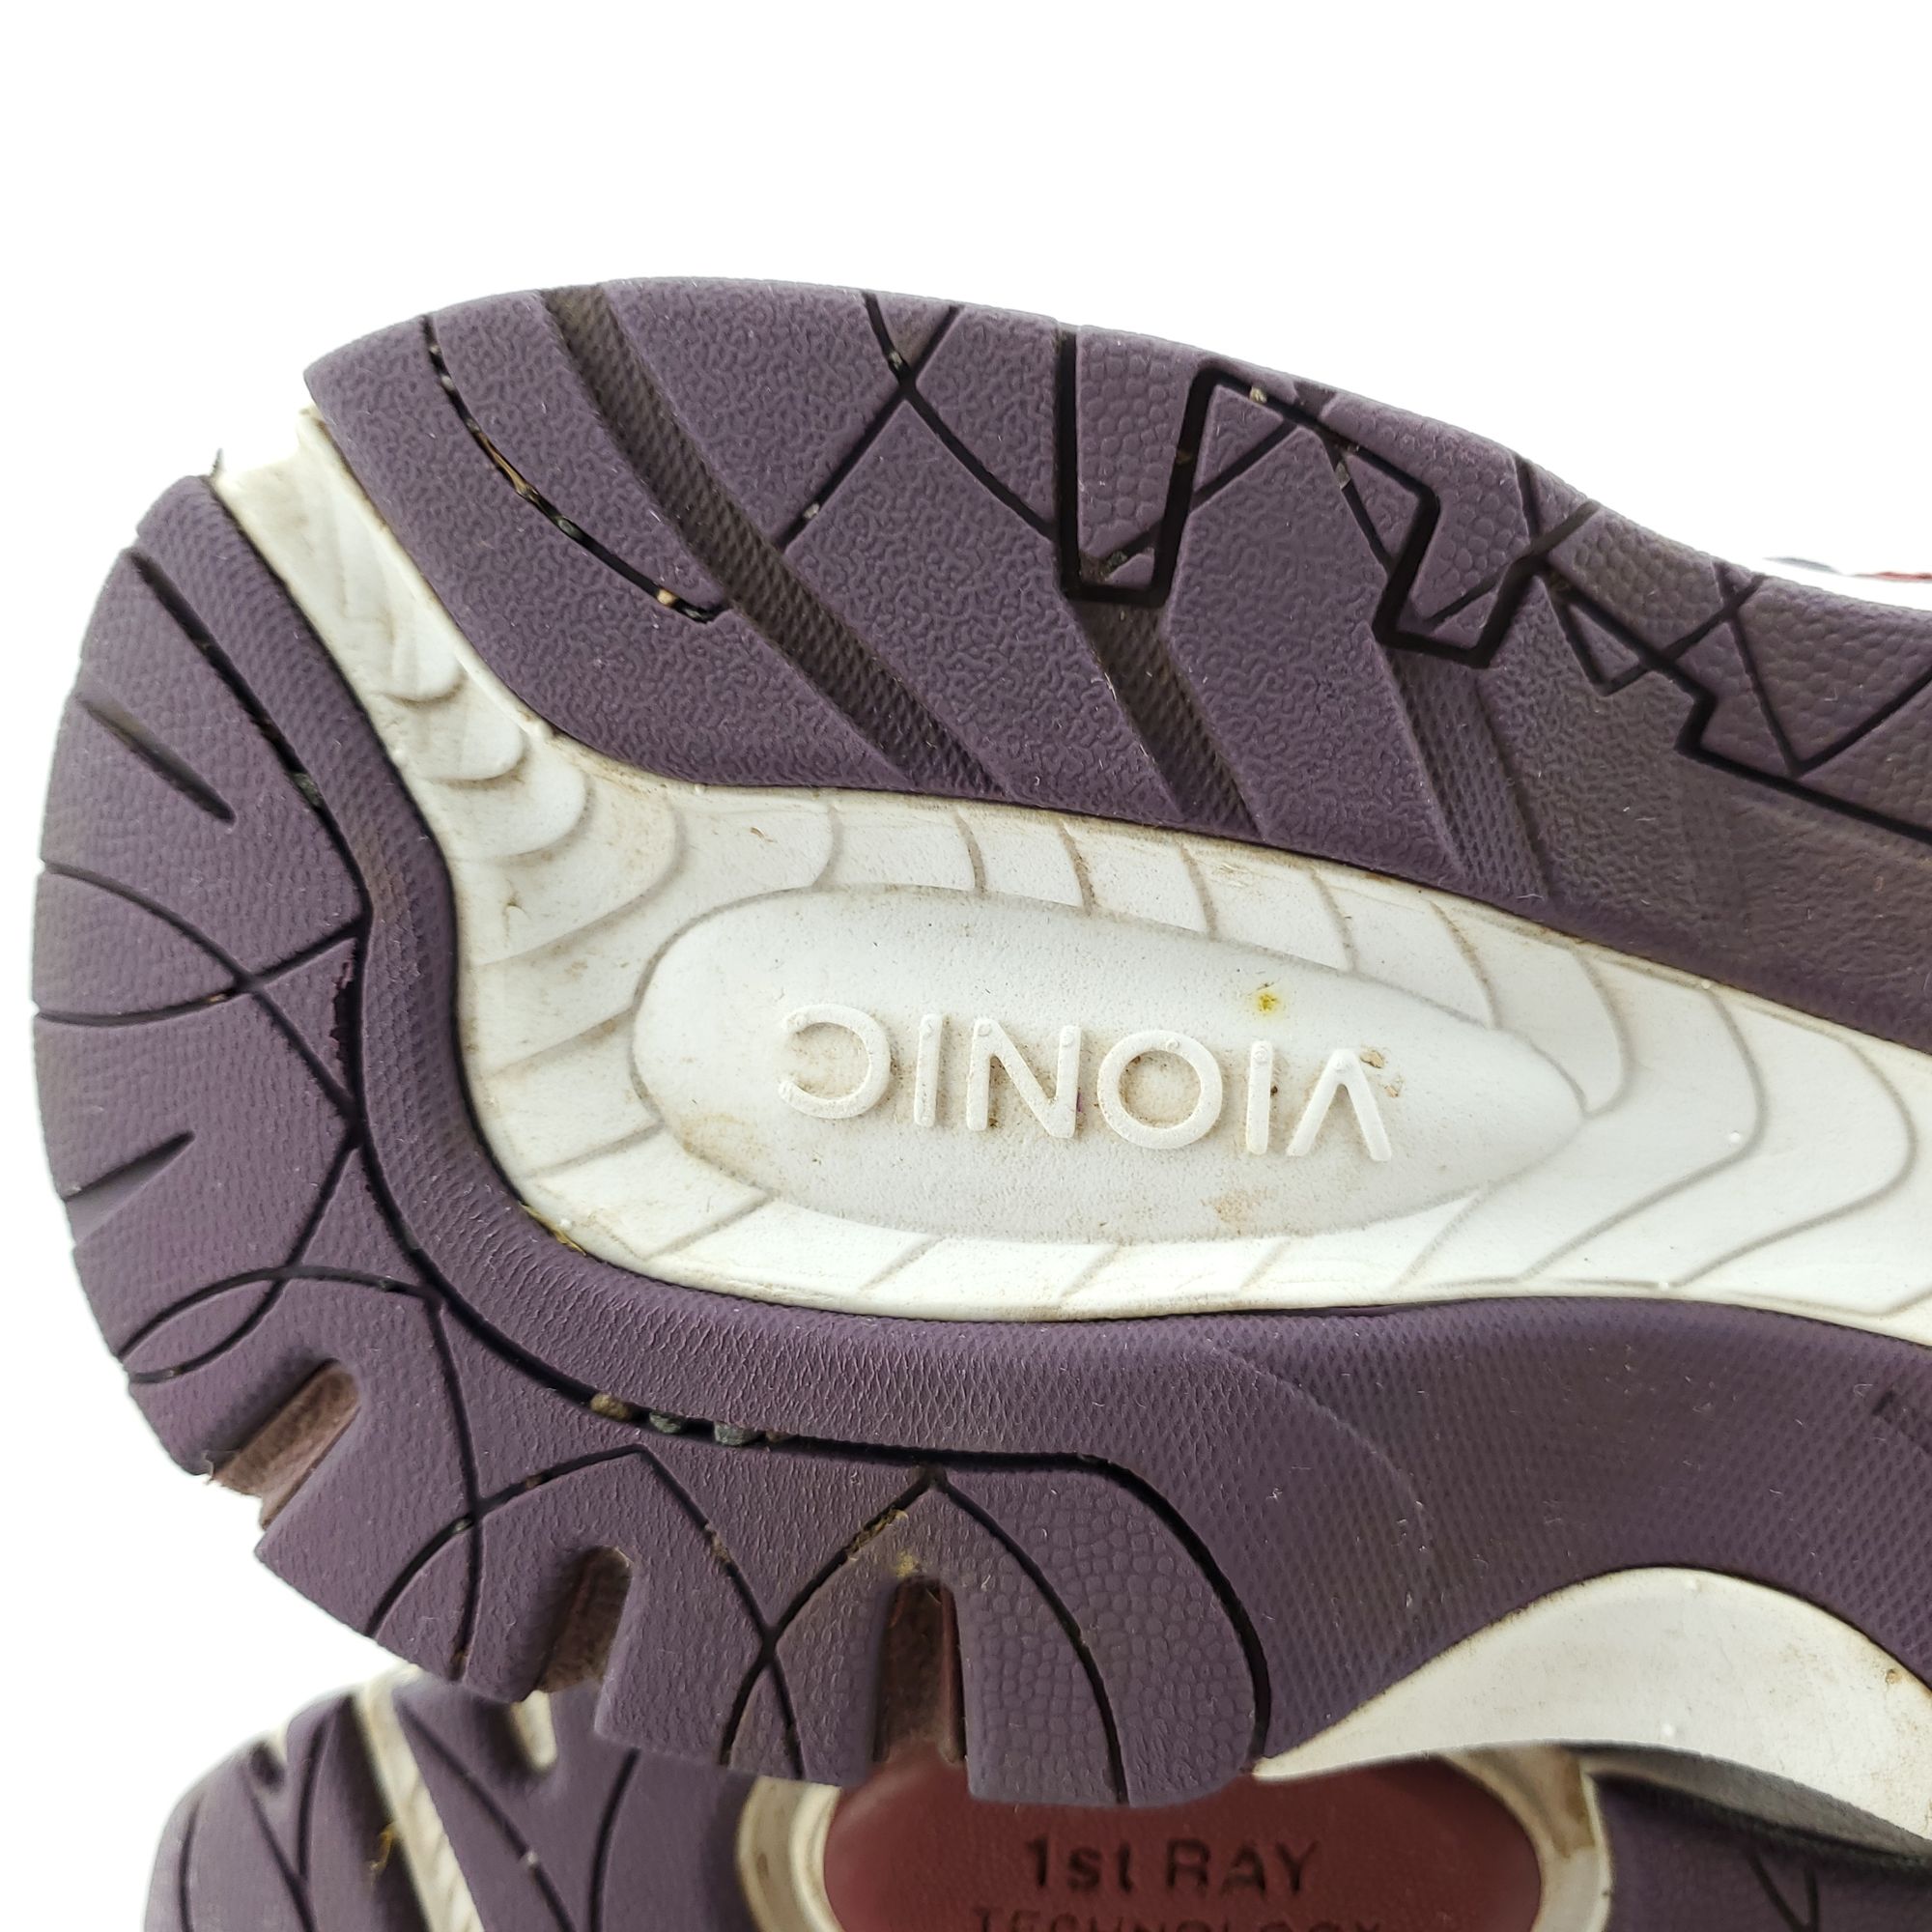
5. Detail shots: any special logos, features, and of course any damage, wear, or flaws.
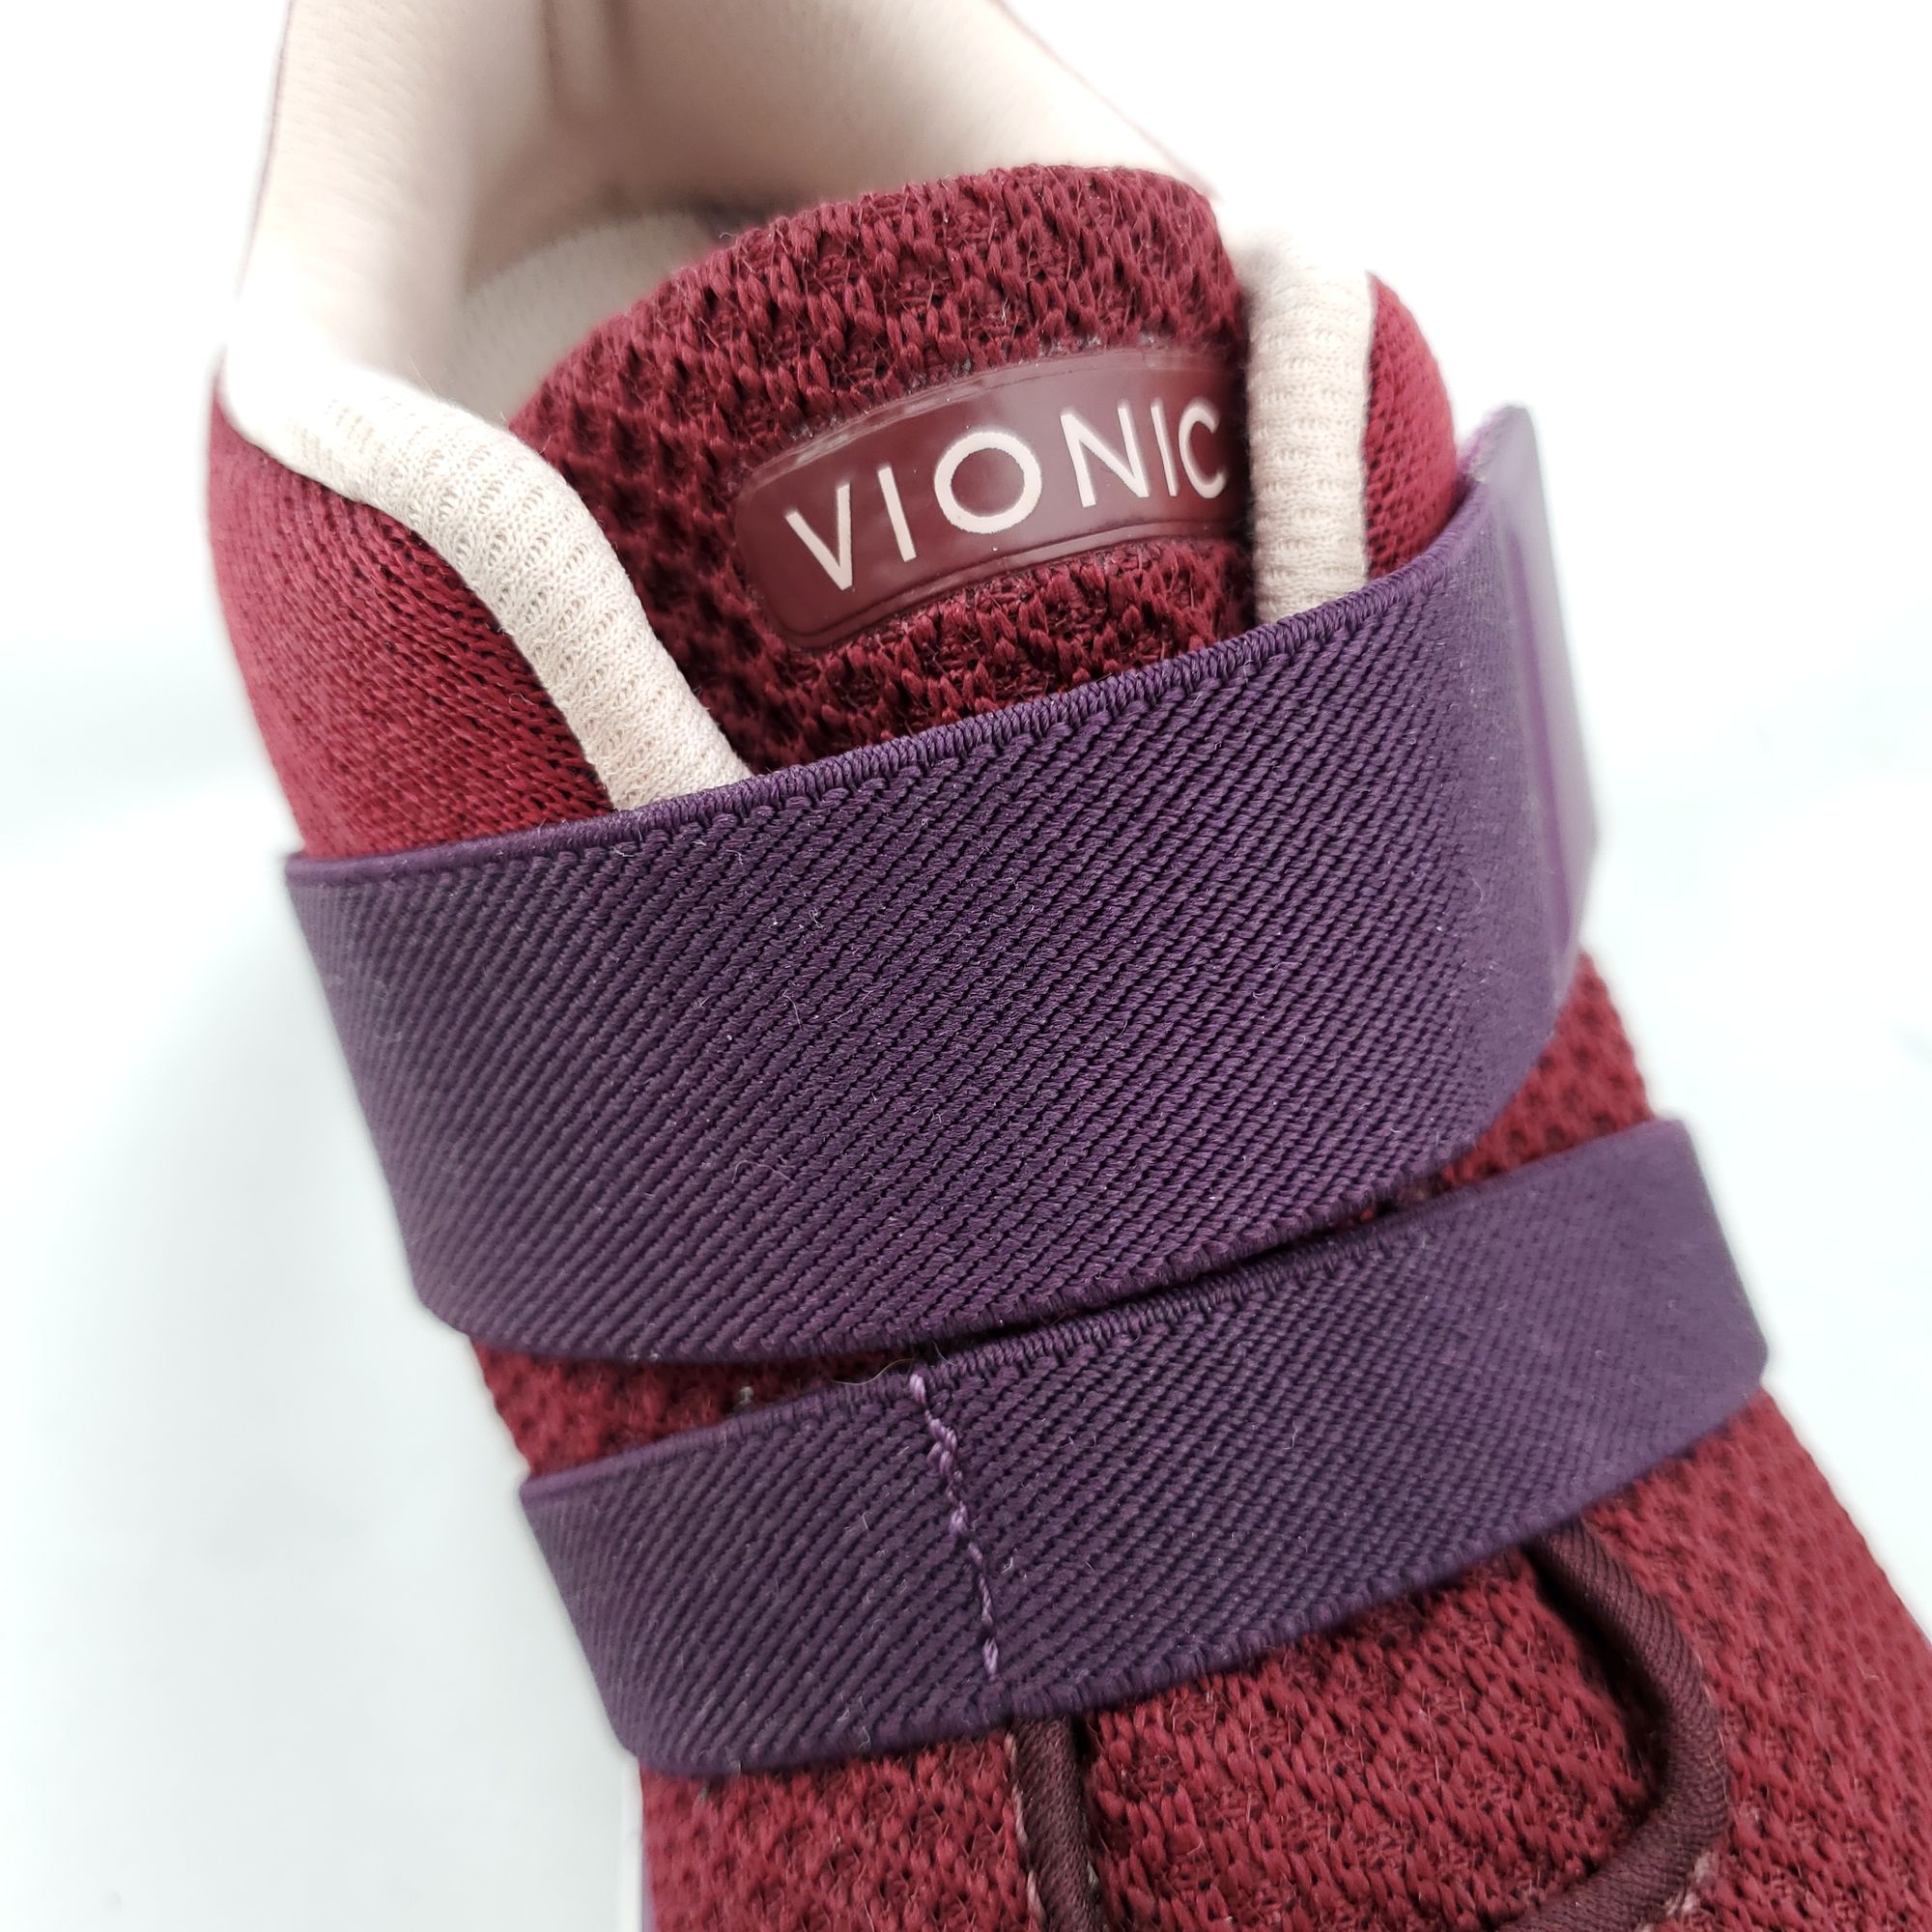
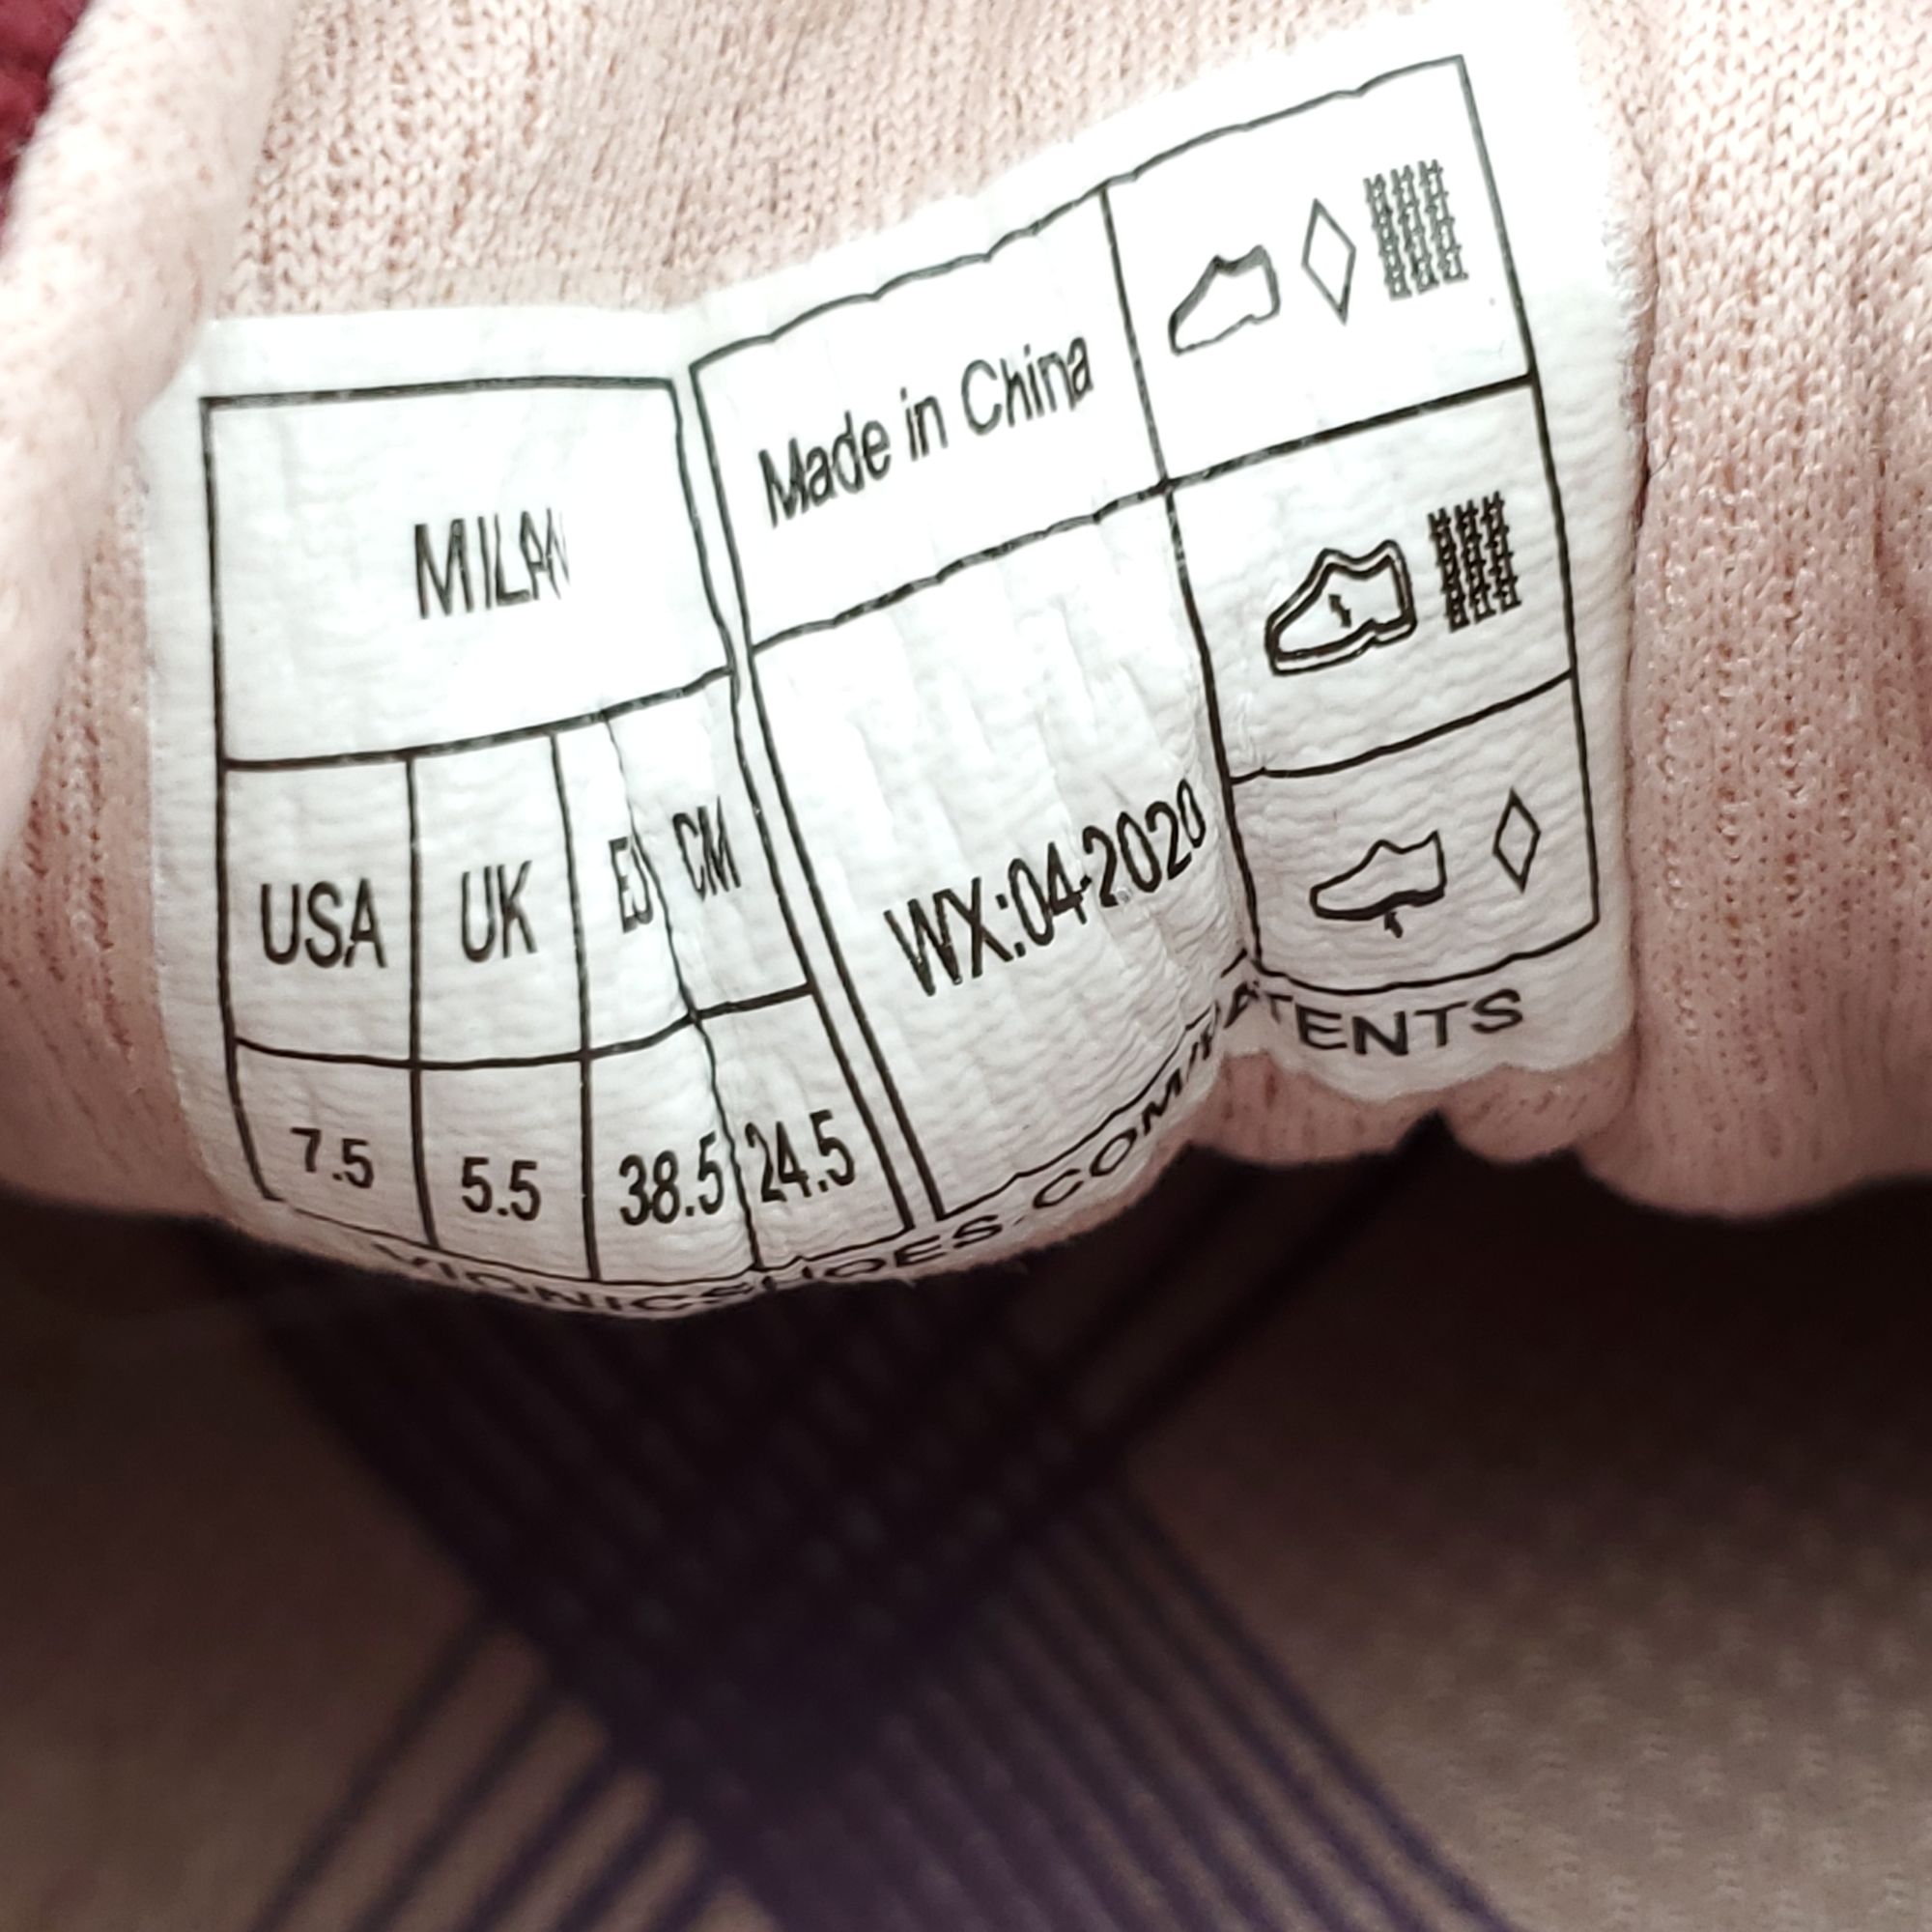
6. Info photos: size, brand, style number—basically any written info on the shoes whether it’s on the insole, tongue, or sole.

2. Write a Descriptive Title
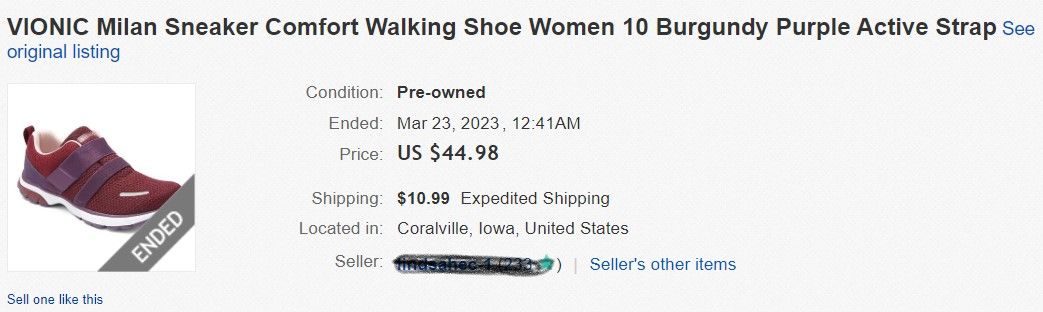
Your title should include the brand, style, and size of the shoes. If they’re unisex, include the size in men’s vs. women’s or youths’. Be sure to include color, material, and any trendy/aesthetic vibe info, like “skater” for Vans, or “boho” for Free People. And remember that classic marketing maxim about features vs. benefits—you’re selling here, so make an effort to translate literal info into a selling point when it makes sense. Are these shoes tan, or are they cognac, classic and neutral?
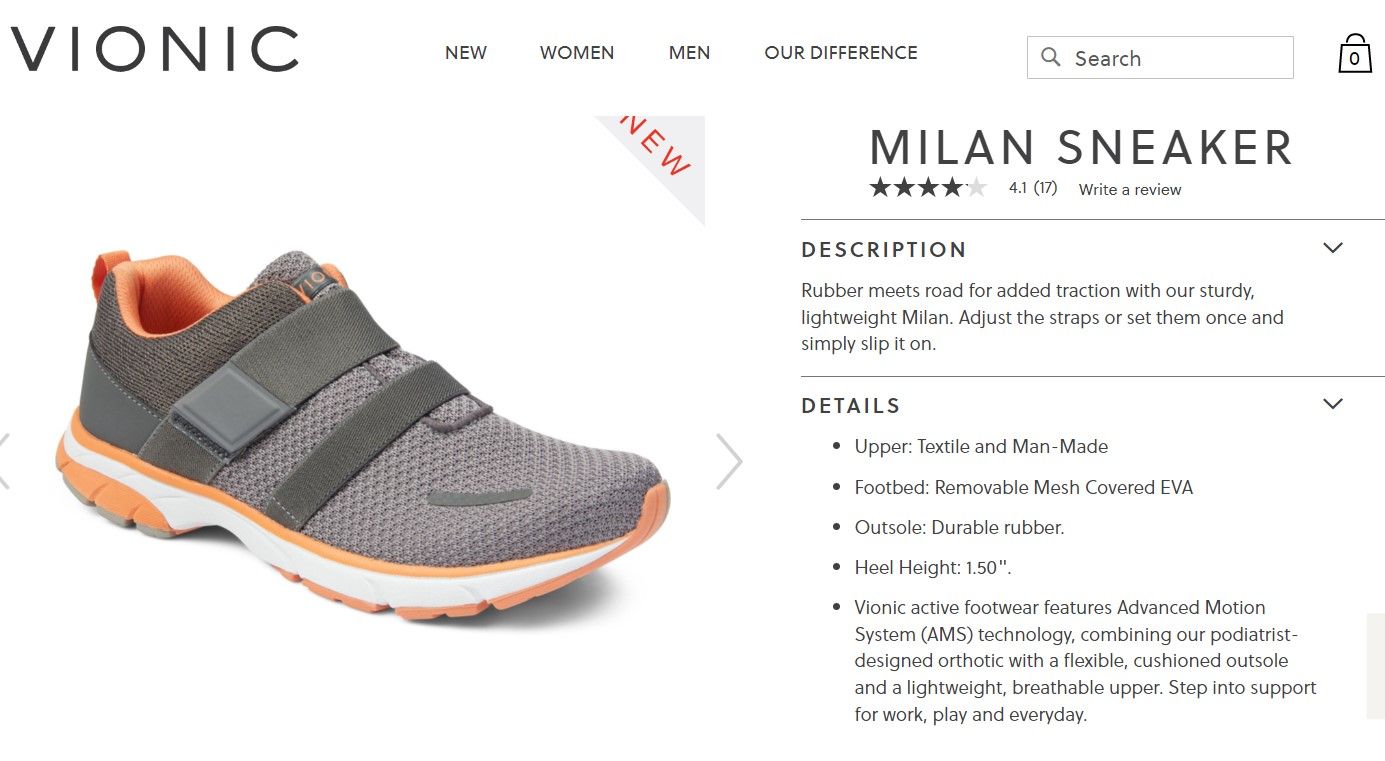
It’s a good practice to find and read the blurbs for shoes you’re selling on the actual retail websites to get a feel for how they’re described in a compelling way. You’ll soon get a feel for when a 1” inch heel should be described as a “comfort” shoe that you might note is perfect for dancing at wedding receptions. Similarly, you’ll learn which brands, like Vionic or FitFlop, boast special orthopedic benefits you should note, are waterproof (Keen sandals), or can go through the wash (All Birds).
3. Provide Detailed Description of the Actual Shoes
It’s not enough to just photograph wear or flaws and assume the buyers will see it—you must note these things in your descriptions too. Be sure to write up the overall condition, any flaws or damage, and of course, any unique features or selling points (ie. a particular colorway). Be honest and transparent about the item's condition to avoid any potential disputes with buyers—and to ensure you can win cases if they arise.
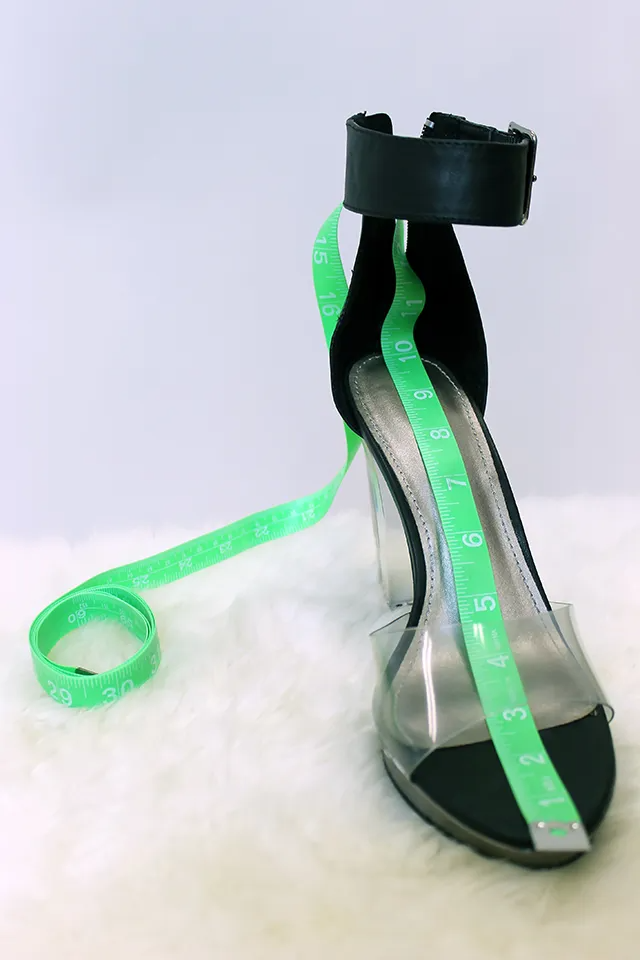
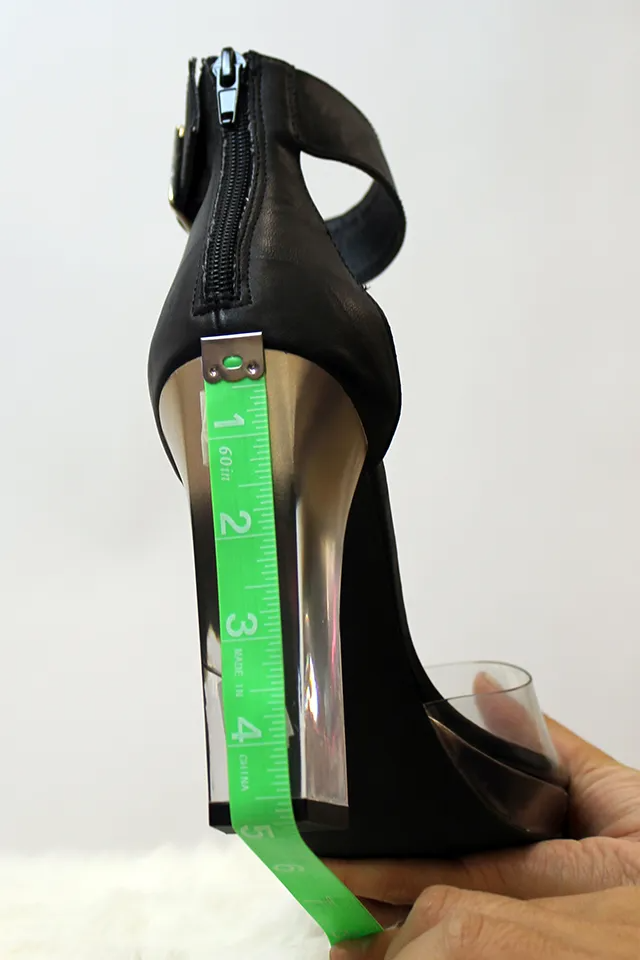
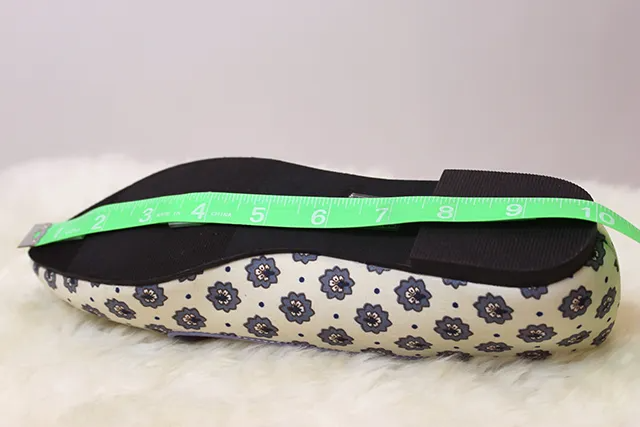
Measurements are also good to include: I usually take heel height, length of instep to heel (taken from insole right down the middle with a tape measure), and platform if applicable.
4. Set a Reasonable Price
Do some research to determine the fair market value of the shoes, taking into account their condition, brand, and style. Comp Crystal Ball on the free version of the ClosetWitch extension is perfect for this. Watch a comping demo here to see how it works.
Remember to set a price that is reasonable and competitive, but also allows for offer sending and some negotiation with potential buyers. My personal rule of thumb is to expect around 10% less than the average or most recent few solds unless my item is an especially desirable version or size of the item.
5. Respond to Questions and Offers Promptly
As with anything else on Poshmark, be responsive to any questions or offers from potential buyers. This again helps to build trust and credibility with them, and can also lead to a successful sale.
But if you’ve done your homework with pictures and descriptions, hopefully the only notifications you’ll be seeing on Poshmark are about offers and sales.
So that’s it! By following these tips, you can create an effective and informative listing for your shoes on Poshmark. Bookmark these tips for future reference, and happy selling!
Love and magic,
ClosetWitch
Read More:
Tips for Selling Shoes on Poshmark, Part 2: Cleaning & Prep
Tips for Selling Shoes on Poshmark, Part 1: Evaluating Condition